Page Contents
- 1 Quick Answer
- 2 What is a Garbage Disposal Flange?
- 3 When to Replace a Garbage Disposal Flange
- 4 Tools and Materials Needed
- 5 Turn Off Power and Water Supply
- 6 Disconnect Drain Pipes and Wiring
- 7 Remove Garbage Disposal Unit
- 8 Clean Sink Flange Area
- 9 Apply New Plumber’s Putty
- 10 Install New Garbage Disposal Flange
- 11 Replace Garbage Disposal Unit
- 12 Reconnect Drain Pipes
- 13 Reconnect Wiring
- 14 Restore Power and Water
- 15 Verify Proper Operation
- 16 Cleaning Up the Job
- 17 Tips for Garbage Disposal Flange Replacement
- 18 Common Garbage Disposal Flange Problems
- 19 When to Call a Professional for Flange Replacement
- 20 Conclusion
Quick Answer
Replacing a flange on a garbage disposal is a straightforward project that can usually be completed in under an hour with some basic tools. The key steps are:
- Turn off power to the garbage disposal at the circuit breaker
- Disconnect the drain pipes, discharge tube, and electrical connections
- Unscrew the mounting ring and remove the garbage disposal
- Clean the flange area thoroughly and apply plumber’s putty
- Line up the new flange and re-attach the garbage disposal
- Reconnect the drain pipes, discharge tube, and electrical connections
- Turn the power back on and test for leaks and proper operation
Safety is paramount when working with electricity and plumbing. Be sure to turn off the power at the breaker before starting. Have all necessary tools assembled beforehand. Work slowly and carefully.
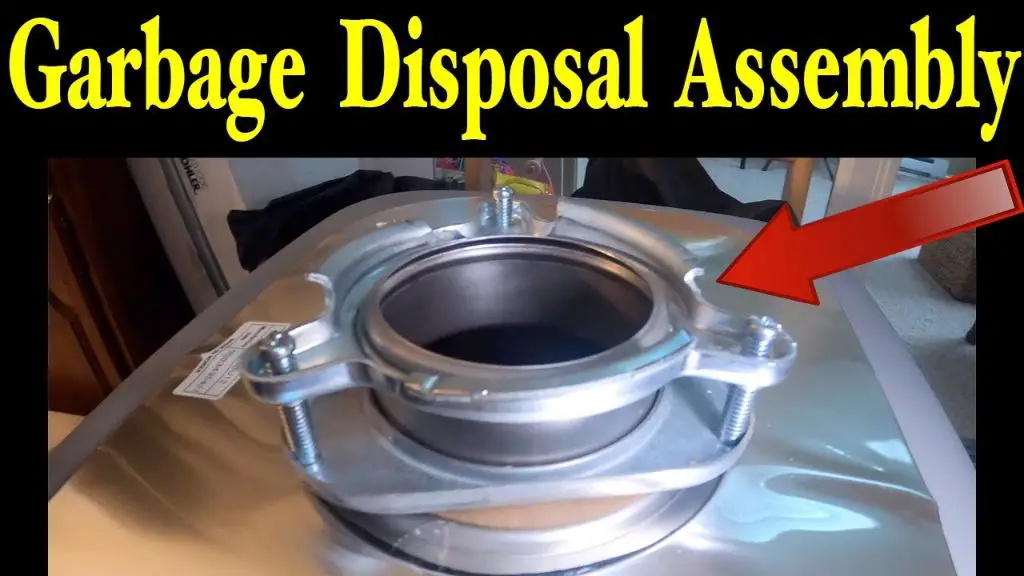
What is a Garbage Disposal Flange?
The flange is a critical component that connects the garbage disposal unit to the sink drain. It is a ring-shaped piece, usually made of black ABS or PVC plastic, that sits between the sink drain opening and the garbage disposal inlet.

The flange has several purposes:
- Forms a tight seal between the sink and disposal to prevent leaks
- Aligns the garbage disposal unit with the sink drain opening
- Provides stability and weight bearing for the garbage disposal unit
- Allows proper drainage from the sink into the garbage disposal
Over time, a flange can become cracked, warped, or misaligned due to regular use and vibration from the garbage disposal. A leaky, broken, or unaligned flange needs to be replaced to restore proper function.
When to Replace a Garbage Disposal Flange
Here are some signs that indicate it’s time to replace a garbage disposal flange:
- Water leaking between the sink and garbage disposal unit
- Visibly cracked or warped flange
- Garbage disposal has excessive vibration or wobble
- Sink drainage seems slowed or clogged through the disposal
- Food particles accumulating around flange area
- Corrosion visible around flange bolts
Replacing the flange involves disconnecting and detaching the garbage disposal unit, so it’s recommended to replace the flange when other repairs are needed. For example, replace the flange when replacing a garbage disposal or repairing a clogged or jammed unit.
Tools and Materials Needed
Gather the following tools and materials before starting the garbage disposal flange replacement process:
- Adjustable wrench
- Channel lock pliers
- Flat head screwdriver
- Flashlight
- Gasket or plumber’s putty
- New garbage disposal flange
- Protective gloves
- Safety goggles
- Wire cutters
Turn Off Power and Water Supply
Before removing the garbage disposal unit, turn off:
- The circuit breaker powering the garbage disposal. Turn wall switch to OFF position.
- Water supply lines connected to the garbage disposal under the sink.
This prevents the risk of shock and water damage during the flange replacement process. Verify power is off by trying to activate the disposal unit.
Disconnect Drain Pipes and Wiring
- Place a bucket under the garbage disposal to catch any water remaining in the pipes.
- Use a wrench to loosen the slip-nut connecting the disposal to the sink drain trap. Detach the disposal from the trap and set aside.
- Disconnect the dishwasher discharge tube from the disposal if applicable.
- Disconnect the electrical wiring from the garbage disposal. Trace wires back and disconnect from wire nuts and wall switch.
Remove Garbage Disposal Unit
With the plumbing and wiring detached, you can now remove the garbage disposal:
- Turn the lower mounting ring counter-clockwise using pliers or a special disposal wrench.
- Once mounting ring can spin freely, support disposal weight and continue turning ring until disposal is completely free.
- Carefully maneuver disposal unit down and out from sink opening.
Take care not to knock the unit around too much during removal. Place disposal on a towel or other padding to avoid damage.
Clean Sink Flange Area
With the garbage disposal removed, thoroughly clean the flange area in preparation for the new flange:
- Remove old plumber’s putty from sink drain opening using a putty knife.
- Remove any food particles or grease buildup around the sink opening.
- Wipe down mounting ring bolts to remove corrosion.
- Scrub sink drain opening and underside of sink with a nonabrasive pad and soapy water.
Proper prep ensures a tight, lasting seal with the new flange and disposal.
Apply New Plumber’s Putty
Follow these steps to apply a new ring of plumber’s putty:
- Knead plumber’s putty until soft and moldable.
- Roll putty into a rope approximately 1/2″ thick.
- Press putty into a ring around the sink drain opening, ensuring no gaps.
- Trim excess putty flush with bottom of sink.
The fresh plumber’s putty seals the new flange and prevents leaks.
Install New Garbage Disposal Flange
- Align new flange with mount ring bolts and sink drain opening.
- Press flange firmly into putty to adhere.
- Insert flange bolts into mount ring and hand tighten.
Double check that the flange is centered and fully seated before replacing disposal.
Replace Garbage Disposal Unit
- Hang disposal back up into sink opening, aligning with flange.
- Supporting weight of disposal, turn mount ring clockwise to start threading onto bolts.
- Once ring is started, continue slowly turning by hand until disposal is fully mounted.
- Firmly tighten all mount ring bolts using pliers or wrench.
Do not over tighten flange bolts. Snug is sufficient to form a seal and hold disposal in place.
Reconnect Drain Pipes
- Attach discharge tube from dishwasher if disconnected earlier.
- Connect sink drain P-trap back to disposal discharge tube.
- Tighten all slip joints with wrench. Adjust tubes as needed.
Aim for leak-free slip connections by evenly hand tightening joints before finishing with a wrench.
Reconnect Wiring
- Connect electrical wiring back to garbage disposal wires.
- Make sure wiring connectors are firmly secured.
- Position wires safely away from disposal unit openings.
Improper electrical connections can cause shocks, shorts, or fires. Use care when connecting wires.
Restore Power and Water
- Turn on water supply valves under sink.
- Plug power cord back into outlet or turn circuit breaker back on.
Verify Proper Operation
- Run water and check for leaks at all connections.
- Turn on wall switch to activate disposal and listen for unusual noises.
- Drop a small amount of food waste down disposal and run unit to check grinding operation.
Immediately turn off power if you hear odd sounds or don’t feel safe. Adjust flange bolts as needed to eliminate leaks.
Cleaning Up the Job
Once operation looks good:
- Wipe up any plumber’s putty or other mess under the sink.
- Run hot water to flush waste from pipes.
- Run disposal with hot water again to rinse unit.
- Check under sink to make sure no tools or extra parts were left behind.
Take a moment to clean up the work area thoroughly after finishing the flange installation.
Tips for Garbage Disposal Flange Replacement
Follow these tips for smooth sailing on your DIY flange replacement project:
- Clear under sink area of cleaners, chemicals, etc. that could spill during work.
- Have a small wet/dry vacuum handy to manage any water spills.
- An A-shaped stand can hold the disposal up for easier access and reattachment.
- Put a towel in the sink to protect the finish from tools and hardware.
- If necessary, lubricate mount ring bolts with penetrant spray beforehand.
- Wear eye protection – metal shavings often fall during garbage disposal handling.
Common Garbage Disposal Flange Problems
While replacing the flange is the solution for the issues below, it helps to understand what causes the problems in the first place:
| Issue | Potential Causes |
|---|---|
| Water leaking between sink and disposal | Hardened putty, cracked flange, loose flange bolts |
| Food debris accumulating around flange | Flange alignment is off center from sink drain opening |
| Excess vibration of garbage disposal unit | Flange has become warped and does not properly support disposal |
| Sink drains slowly through garbage disposal | Warped or misaligned flange blocks full drainage flow |
Regular flange inspection and immediate replacement at any sign of issue can prevent bigger problems down the road.
When to Call a Professional for Flange Replacement
While a handy homeowner can usually tackle a flange replacement job, there are a few cases where it pays to call in a pro:
- Significant leakage that may damage cabinets or flooring
- No circuit breaker panel or inaccessible electrical connections
- Pipes that require soldering for removal and installation
- Cast iron or otherwise corroded drain pipes
- Specialty plumbing tools needed to disconnect sink drain
- If the job proves too difficult or complex halfway through
Professionals have specialized tools and the skills to quickly troubleshoot issues that homeowners may struggle with. The cost of an hour or two of a plumber’s time is reasonable insurance compared to greater damages or a costly do-over of a botched DIY flange replacement job.
Conclusion
While replacing a garbage disposal flange may sound intimidating, it’s a straightforward plumbing job most DIYers can tackle in under an hour. The key steps are disconnecting and removing the disposal, cleaning the flange area thoroughly, installing a new gasket, re-mounting the disposal, and carefully reconnecting all drains, wiring, and water.
Paying attention to safety and taking your time are critical, as rushing leads to leaks and other problems. But with the right tools and preparation, you can replace a flange, save money over hiring a plumber, and keep your waste disposal system functioning properly. If the project seems too complex, however, don’t hesitate to hire a professional to ensure the job is done right.