Splicing 10 gauge stranded wire is an important skill for electricians and DIYers working on electrical projects. While it may seem intimidating, with the right tools and technique, anyone can learn to make clean and secure splices in 10 gauge stranded wire.
Page Contents
- 1 What You Need
- 2 Step 1: Cut the Wire
- 3 Step 2: Strip the Insulation
- 4 Step 3: Twist the Strands
- 5 Step 4: Join the Wires
- 6 Step 5: Apply the Connector
- 7 Step 6: Check Your Work
- 8 Step 7: Wrap with Electrical Tape
- 9 Helpful Tips
- 10 Important Safety Notes
- 11 Splicing Wires in a Junction Box
- 12 Using Crimp Connectors
- 13 Splicing Solid vs. Stranded Wire
- 14 Splicing Aluminum Wiring
- 15 Conclusion
What You Need
Before you begin splicing 10 gauge stranded wire, make sure you have the proper supplies on hand. Here’s what you’ll need:
- 10 gauge stranded copper wire
- Wire strippers
- Wire cutters
- Electrical tape
- Wire nuts or crimp connectors
- Scissors
- Electrical tape
Using the right size of wire nut or crimp connector is critical for making a good splice. For 10 gauge wire, you’ll want to use yellow wire nuts rated for 10-12 gauge wires.
Step 1: Cut the Wire
Start by cutting the 10 gauge stranded wire to the desired length using your wire cutters. Make sure to cut both ends so you have fresh copper to work with. Cutting the wire will expose multiple strands of thin copper wires inside.
Step 2: Strip the Insulation
The next step is to strip off about 1/2 inch of the plastic insulation from each cut end using your wire strippers. Make sure not to cut into the copper strands inside. You want to expose just enough copper so you can fit the wires into the wire connector.
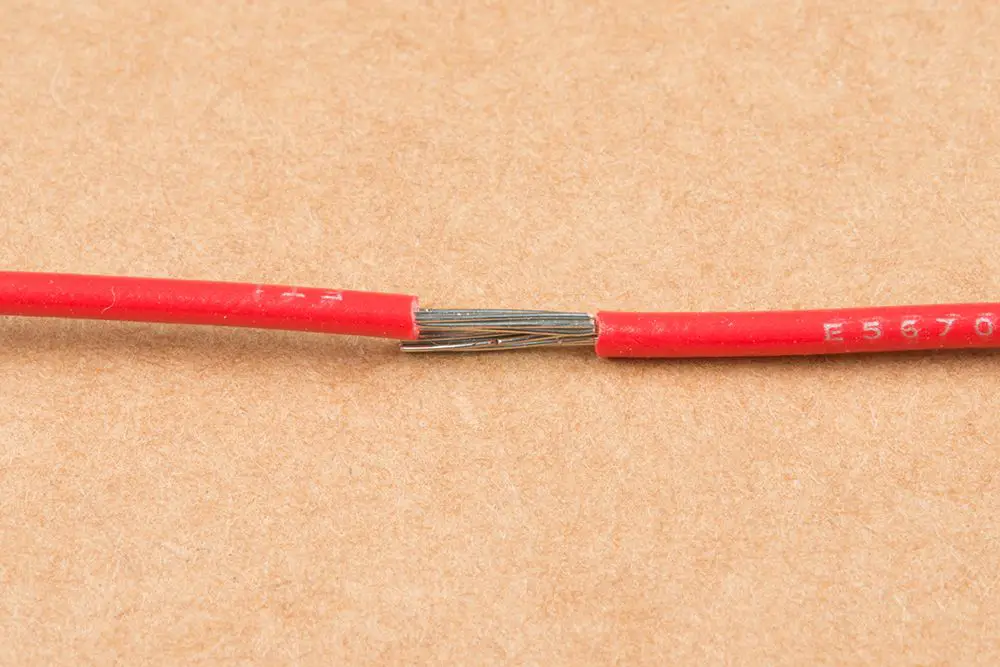
Step 3: Twist the Strands
With the insulation removed, use your fingers to twist the exposed copper strands tightly together. This helps join all the thin strands into one solid conductor for a better connection inside the wire nut.
Step 4: Join the Wires
Take the two twisted ends of 10 gauge wire and twist them together so the exposed copper interlocks. Make sure no copper strands stick out. The tighter you can twist the joined ends together, the better.
Step 5: Apply the Connector
With the wires securely twisted together, slide a yellow 10-12 gauge wire nut over one end and twist it on. Twist clockwise firmly to screw the wire nut in place over the wires. Alternately, you can use a 10-12 gauge crimp connector crimped tightly in place for a solid splice.
Step 6: Check Your Work
Gently pull on the wires to ensure they are firmly joined together. There should be no looseness or separation. If the splice feels loose, re-do it with more twisting force on the wires.
Step 7: Wrap with Electrical Tape
As a final step, wrap electrical tape around the wire nut splice. This seals the connection and provides an extra layer of insulation. Make sure to wrap the tape nice and tight with at least 2-3 overlapping layers.
Helpful Tips
Follow these tips for great results when splicing 10 gauge stranded wire:
- Ensure your wire strippers are the right size for 10 gauge wire. Strippers designed for this thickness will remove insulation cleanly.
- Twist wires together very tightly before capping with a wire nut. The firmer the join, the better.
- Apply firm pressure and twist force when installing wire nuts and crimp connectors.
- Use electrical tape rated for outdoor use if splicing wires outside.
- Trim wire nut ends close to the nut to avoid sharp points.
- Avoid cheap wire nuts that can crack – spend a little more for quality.
Important Safety Notes
Working with electrical wires can be unsafe if proper precautions are not taken. Keep these safety tips in mind:
- Make sure power is shut off at the breaker before splicing any wires.
- Wear insulated gloves and eye protection.
- Use insulated tools designed for electrical work.
- Tape off connected wires to avoid accidental contact.
- Double-check all connections are tight before restoring power.
- Never work on wires that may be live.
Splicing Wires in a Junction Box
For permanent splices, it’s best to join wires inside an electrical box rather than in open wiring:
- Choose a junction box sized for the number of wires you are connecting.
- Securely mount the junction box in an accessible location.
- Feed the cables through the openings and strip 1/2″ of insulation from each wire.
- Use wire nuts to join all black/hot wires, white/neutral wires, and green/ground wires together.
- Neatly fold wires into the box so the connections are not strained.
- Close up the junction box with a suitable cover plate.
This creates a safe and up-to-code enclosure for your spliced wire connections.
Using Crimp Connectors
An alternative to wire nuts is to splice wires together with crimp connectors:
- Select the proper open-barrel crimp connector sized for 10 gauge wires.
- Insert stripped wire ends fully into the crimp connector slots.
- Use a crimping tool to securely compress the metal around the wires.
- Test connection by gently tugging wires to ensure they are firmly joined.
Properly crimped connections can be just as strong as a wire nut splice. However, using the wrong size or type of crimp can result in a loose or faulty splice.
Splicing Solid vs. Stranded Wire
You should avoid splicing stranded and solid core wire together:
- Solid wire has a single conductor while stranded wire has many fine strands.
- Their different materials and flexibilities make them incompatible for splicing.
- Joining solid and stranded wires can create a weak connection point prone to failure.
For best results, splice stranded to stranded and solid to solid wire when making connections.
Splicing Aluminum Wiring
Splicing copper and aluminum wires together also requires special techniques:
- Use special CO/ALR rated wire nuts designated for copper/aluminum connections.
- Thoroughly clean and abrade aluminum wire ends to expose fresh metal.
- Apply antioxidant paste to aluminum before twisting copper and aluminum strands together.
- Follow manufacturer’s directions carefully for these splice connections.
Aluminum wires must be properly prepared to avoid galvanic corrosion when joined with copper wiring.
Conclusion
Learning how to splice 10 gauge stranded wire is a valuable skill for completing your own electrical projects. With the right materials and proper technique, you can create secure and long-lasting splices. Just be sure to always exercise caution and turn off power before working on any electrical wiring connections. Following the steps outlined, you’ll be splicing like a pro in no time.