Leaking pipes can be a frustrating and costly problem for homeowners. If left unaddressed, a small leak can quickly turn into a major issue, causing damage to floors, walls, and ceilings. Fortunately, fixing a leaking pipe is a task that can be tackled by most homeowners with the right tools and knowledge.
The first step in fixing a leaking pipe is identifying the type of leak. This may involve checking for visible signs of water damage or using a moisture meter to detect hidden leaks. Once the type of leak has been identified, homeowners can choose the right tools and safety measures to fix the problem. Depending on the severity of the leak, this may involve using epoxy putty, pipe tape, or replacing a section of pipe altogether.
By following a few simple steps, homeowners can fix a leaking pipe and avoid costly repairs. In this article, we will provide a step-by-step guide to fixing a leaking pipe, as well as tips for identifying the type of leak and choosing the right tools for the job. We will also provide answers to frequently asked questions about fixing leaking pipes.
Page Contents
Key Takeaways
- Identifying the type of leak is the first step in fixing a leaking pipe.
- Homeowners can choose from a variety of tools and safety measures to fix a leaking pipe, depending on the severity of the leak.
- By following a few simple steps, homeowners can fix a leaking pipe and avoid costly repairs.
Identifying the Type of Leak
When it comes to fixing a leaking pipe, the first step is identifying the type of leak. This will help determine the best course of action for fixing the problem. Here are some common types of leaks and how to identify them.
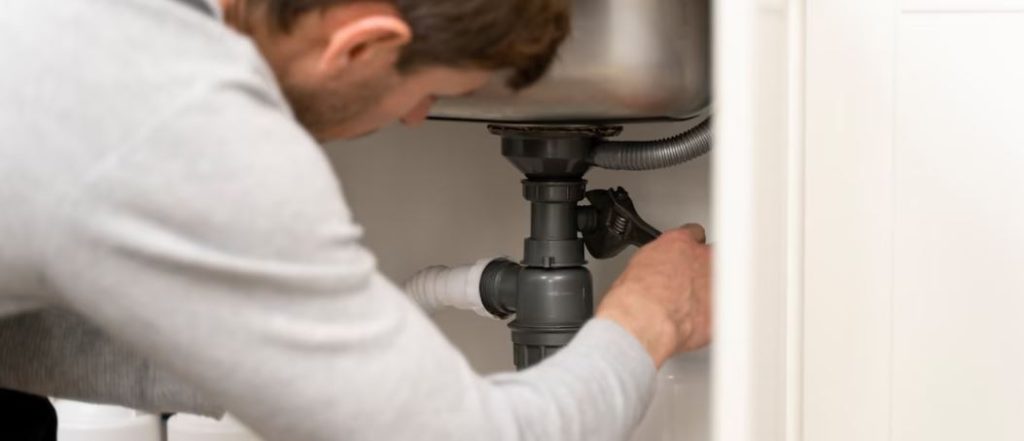
Sink Pipe Leak
A sink pipe leak is a common type of leak that can occur in both the bathroom and kitchen. To identify a sink pipe leak, look for water stains or puddles under the sink. You may also notice a musty smell or mold growth in the area. If the leak is coming from the drain, you may see water dripping from the P-trap or the pipe that connects the sink to the wall.
Toilet Pipe Leak
A toilet pipe leak is another common type of leak. To identify a toilet pipe leak, check the base of the toilet for water. If the leak is coming from the tank, you may see water dripping from the bottom of the tank or running down the sides. You may also hear the toilet running constantly, which can be a sign of a leak.
Bathtub Pipe Leak
A bathtub pipe leak can be more difficult to identify, as the leak may not be visible. To check for a bathtub pipe leak, fill the tub with water and let it sit for a few hours. If the water level drops, there may be a leak in the drain or overflow pipe. You may also notice water stains or mold growth on the ceiling below the bathtub.
Outdoor Pipe Leak
An outdoor pipe leak can be caused by a variety of factors, including freezing temperatures, tree roots, or damage to the pipe. To identify an outdoor pipe leak, check for wet spots or puddles in the yard. You may also notice a decrease in water pressure or an increase in your water bill.
In summary, identifying the type of leak is crucial to fixing a leaking pipe. By knowing what to look for, you can take the necessary steps to repair the leak and prevent further damage.
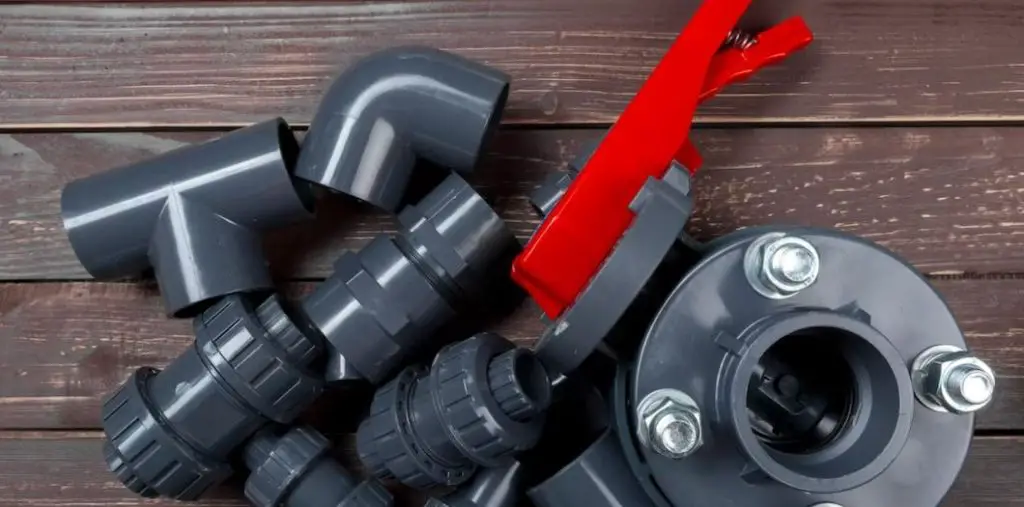
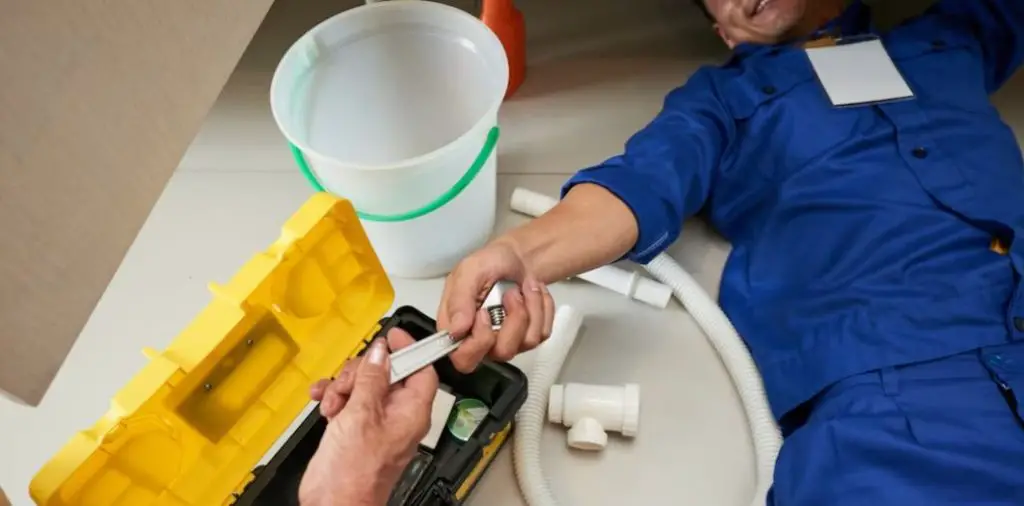
Choosing the Right Tools
When it comes to fixing a leaking pipe, having the right tools is crucial to getting the job done correctly. Here are some essential tools that you should have on hand:
Pipe Cutters
Pipe cutters are necessary when you need to cut a section of pipe to replace a damaged or leaking area. They come in various sizes, so make sure to choose the right size for the job.
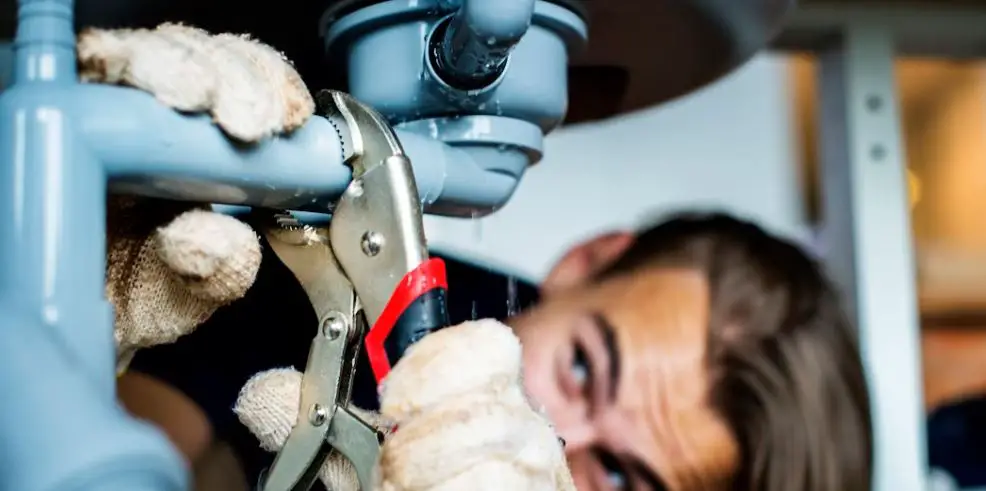
Wrenches
Wrenches are essential for tightening and loosening nuts and bolts. A pipe wrench is specifically designed for use on pipes and has serrated teeth that grip the pipe securely. Adjustable wrenches are also useful for tightening or loosening nuts and bolts.
Plumber’s Tape
Plumber’s tape, also known as Teflon tape, is a thin, white tape that is used to seal pipe threads. It is an effective sealant that can provide emergency relief from leaks.
Pipe Repair Clamps
Pipe repair clamps are used to stop leaks in pipes. They come in various sizes and can be used on both metal and plastic pipes. They are easy to install and can provide a temporary fix until a permanent repair can be made.
Epoxy Putty
Epoxy putty is a two-part adhesive that can be used to repair leaks in pipes. It is easy to use and can provide a temporary fix until a permanent repair can be made.
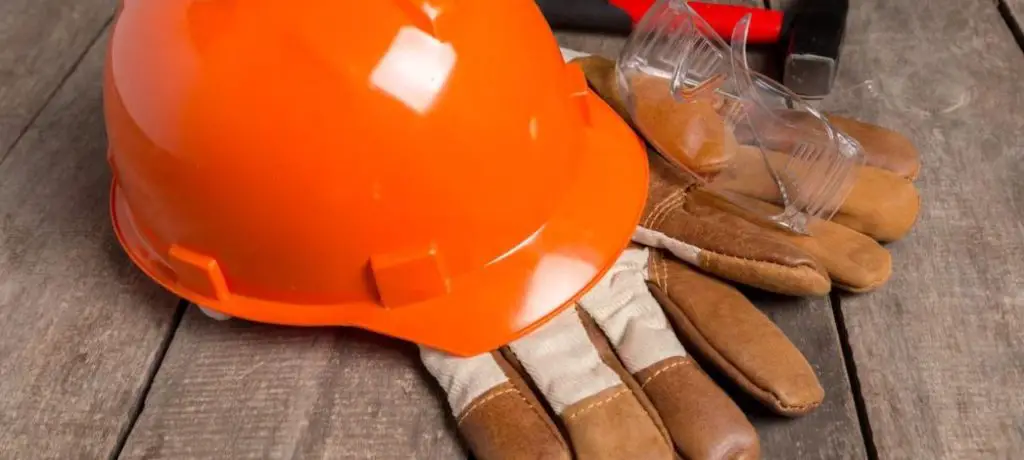
Safety Gear
It is essential to wear safety gear when working on pipes. Safety glasses can protect your eyes from debris and chemicals, and gloves can protect your hands from cuts and burns.
By having these essential tools on hand, you can be confident in your ability to fix a leaking pipe.
Safety Measures
When dealing with a leaking pipe, safety should be a top priority. Here are some safety measures to keep in mind:
- Turn off the water supply: Before attempting any repairs, it is important to turn off the water supply to the affected area. This will prevent further water damage and reduce the risk of injury.
- Wear protective gear: When working with pipes, it is important to wear protective gear such as gloves, safety glasses, and a dust mask. This will protect your hands, eyes, and lungs from harmful chemicals and debris.
- Use the right tools: Using the right tools for the job can help prevent accidents and injuries. Make sure you have the appropriate wrenches, pliers, and other tools needed for the repair.
- Keep the area well-ventilated: When using chemicals or adhesives to repair a leaky pipe, it is important to keep the area well-ventilated. This will prevent the buildup of harmful fumes and reduce the risk of respiratory problems.
- Avoid open flames: When working with pipes, it is important to avoid open flames such as candles or cigarettes. This can be a fire hazard and cause serious injury.
- Know when to call a professional: If you are unsure about how to fix a leaking pipe or feel uncomfortable doing the repair yourself, it is best to call a professional plumber. They have the experience and knowledge needed to make the repair safely and effectively.
By following these safety measures, you can help prevent accidents and injuries when fixing a leaking pipe.
Steps to Fix a Leaking Pipe
Fixing a leaking pipe can be a daunting task, but with the right tools and knowledge, it can be a simple and quick fix. Here are the steps to follow to repair a leaking pipe.
Turn Off the Water
The first step in fixing a leaking pipe is to turn off the water supply. Locate the main water supply valve and turn it off. This will stop the water flow and prevent any further damage to the area. If you are not sure where the main water supply valve is located, check the basement or crawl space.
Clean and Dry the Pipe
Once the water supply is turned off, clean and dry the area around the leaking pipe. Use a dry cloth or towel to remove any water or moisture from the pipe. This will ensure that the repair material will adhere properly to the pipe.
Apply the Repair Material
There are different types of repair materials available for fixing a leaking pipe. One of the most commonly used materials is epoxy putty. Epoxy putty is a two-part adhesive that can be mixed together and applied to the leaking area. Apply the epoxy putty to the leaking area and smooth it out with a putty knife. Make sure to cover the entire area around the leak.
Check for Leaks
After applying the repair material, turn the water supply back on and check for any leaks. If there are no leaks, the repair is complete. If there are still leaks, turn off the water supply and apply more repair material to the leaking area. Repeat the process until there are no more leaks.
In conclusion, fixing a leaking pipe can be a simple and quick fix if you follow the right steps. Turn off the water supply, clean and dry the area, apply the repair material, and check for leaks. With these steps, you can fix a leaking pipe and prevent any further damage to your home.
Conclusion
Fixing a leaking pipe may seem like a daunting task, but with the right tools and techniques, it can be done quickly and easily. Whether it’s a small leak or a major one, it’s important to address the issue as soon as possible to prevent further damage and costly repairs.
In this article, we have discussed several methods for fixing a leaking pipe, including using a wrench to tighten loose connections, applying leak tape or epoxy putty to seal the leak, and replacing damaged sections of pipe. Each method has its own advantages and disadvantages, and the best approach will depend on the severity and location of the leak, as well as the type of pipe and fittings involved.
It’s important to note that while temporary fixes such as leak tape or epoxy putty can be effective in stopping a leak, they are not a permanent solution. It’s always recommended to have a professional plumber inspect and repair the pipe to ensure a safe and long-lasting fix.
Overall, fixing a leaking pipe is a manageable task that can save homeowners time, money, and stress in the long run. By following the steps outlined in this article and seeking professional help when needed, anyone can tackle a leaking pipe with confidence and ease.
Frequently Asked Questions
How do you fix a leaking pipe joint without replacing it?
If the reason behind the leak is a loose coupling nut connecting the pipes, then you can fix it by tightening the nut. However, if the leak is due to a crack or break in the pipe, then you will need to replace the damaged section of the pipe. A temporary fix can be made by using a pipe repair clamp or a rubber patch until a permanent solution can be implemented.
What are the best methods for repairing a copper pipe leak?
Copper pipes are commonly used in plumbing systems and can be repaired using various methods. One of the most effective methods is to use a compression fitting. This involves cutting out the damaged section of the pipe and inserting a compression fitting that seals the leak. Another method is to use a soldering technique, which involves heating the damaged section of the pipe and applying solder to seal the leak.
How do you use a pipe repair clamp?
A pipe repair clamp is a temporary solution for fixing a leaking pipe. To use a pipe repair clamp, first, turn off the water supply to the affected area. Then, clean the damaged section of the pipe and place the clamp over the leak. Tighten the screws on the clamp to create a seal around the pipe. Finally, turn on the water supply to check if the leak has been fixed. It is important to note that a pipe repair clamp is not a permanent solution and should be replaced with a permanent fix as soon as possible.