
Wall cracks are a common problem in both new and old homes. They can be caused by various reasons such as settling of the foundation, humidity, or even temperature changes. Cracks can be minor or severe, but no matter how small they are, it is important to fix them before they become worse. In this article, we will explore different ways to repair wall cracks and provide tips on how to prevent them from happening in the future.
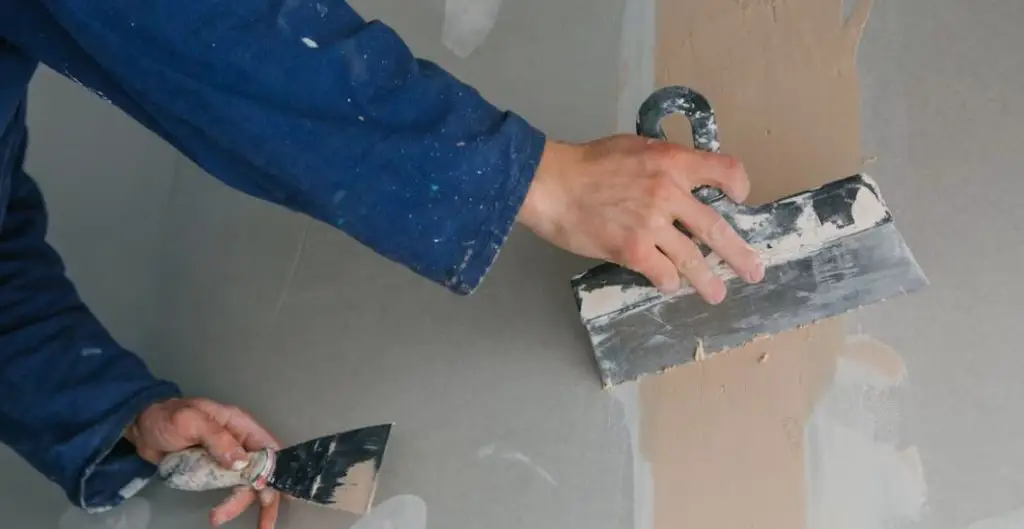
One of the most common methods to fix wall cracks is to use joint compound. Joint compound is a type of plaster that can be applied to the crack to fill it in. It is available in either pre-mixed or powder form. It is important to use the right tools when applying joint compound, such as a taping knife and a mud tray. These tools can be found at most hardware stores and home centers.
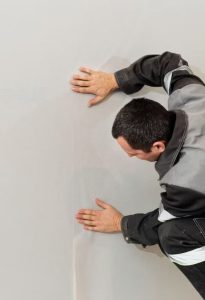
Another way to fix wall cracks is to use drywall tape. This method involves cutting a V-notch through the length of the crack, removing any loose material, and embedding paper tape in joint compound using a taping blade. This method is effective for repairing larger cracks and preventing them from reappearing. It is important to note that if the crack is caused by a more serious issue such as foundation problems, it is best to consult a professional.
Page Contents
Recognizing Different Types of Wall Cracks

Wall cracks can be caused by a variety of factors, including settling, moisture, and temperature changes. Understanding the different types of wall cracks can help homeowners determine whether they need to call in a professional or if they can tackle the repair themselves.
Hairline Cracks
Hairline cracks are the most common type of wall crack and are usually not a cause for concern. They are thin, shallow cracks that are less than 1/16 inch wide. Hairline cracks are often caused by settling and can be easily repaired with a simple patching compound.
Stress Cracks
Stress cracks are slightly wider than hairline cracks and are often caused by structural issues or temperature changes. These cracks are usually vertical and can be found around doors and windows. If stress cracks are left untreated, they can grow and become a more significant structural problem.
Cracks in Concrete Walls
Cracks in concrete walls can be caused by a variety of factors, including settling, moisture, and temperature changes. These cracks can be either horizontal or vertical and can be a sign of a more significant structural issue.
Growing Cracks
Growing cracks are cracks that become wider or longer over time. These cracks are often caused by moisture or structural issues and should be addressed immediately to prevent further damage.
Cracks in the Wall
Cracks in the wall can be caused by a variety of factors, including settling, moisture, and temperature changes. These cracks can be either vertical or horizontal and can be a sign of a more significant structural issue.
Overall, it is essential to understand the different types of wall cracks and recognize when they require professional attention. If a crack is wider than 1/4 inch or is growing, it is best to call in a professional to assess the situation and determine the best course of action.
Determining the Cause of the Cracks
When it comes to fixing cracks on the wall, it is important to first determine the root cause of the problem. This will help ensure that the repair is effective and long-lasting. Here are some common causes of wall cracks:
Settling
One of the most common causes of wall cracks is settling. When a building is constructed, the soil beneath it is often disturbed. As a result, the foundation may sink or shift over time, causing cracks to appear on the walls.
Moisture
Moisture is another common cause of wall cracks. When water seeps into the walls, it can cause the material to expand and contract, leading to cracks. This can be caused by a variety of factors, including water leaks, water damage, and water infiltration.
Doors and Windows
Doors and windows can also cause wall cracks. When these fixtures are installed improperly, they can put pressure on the walls, leading to cracks. This can be caused by a variety of factors, including faulty taping, nail pops, and other installation issues.
Termites
Termites can also cause wall cracks. These pests can eat away at the wood in the walls, weakening the structure and causing cracks to appear. If you suspect that termites may be the cause of your wall cracks, it is important to contact a pest control professional as soon as possible.
Overall, determining the cause of wall cracks is an important step in the repair process. By identifying the root cause of the problem, you can ensure that the repair is effective and long-lasting.
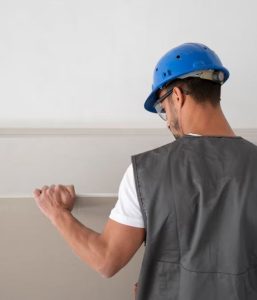
Preparation Before Fixing the Cracks
Before fixing the cracks on the wall, it is important to prepare the area properly. This will ensure that the repair is long-lasting and effective. The following steps outline the preparation process:
- Clear the area: Remove any furniture, decorations, or other objects from the area around the crack. This will give you enough space to work and prevent any damage to your belongings.
- Inspect the crack: Examine the crack and determine its size and depth. This will help you choose the appropriate repair method and materials.
- Clean the area: Use a wire brush or a utility knife to remove any loose debris or paint from the crack. Wipe the area with a damp cloth to remove any dust or dirt. Allow the area to dry completely before proceeding.
- Protect surrounding surfaces: Cover any nearby surfaces, such as woodwork or floors, with masking tape or drop cloths to protect them from damage or debris.
- Use appropriate tools: Depending on the type of crack and the repair method, you may need various tools such as a chisel, hammer, putty knife, taping knife, utility knife, screwdriver, pencil, wire brush, hacksaw, or adhesive.
- Choose the right material: Depending on the type of wall and the size and depth of the crack, you may need different materials such as sand, drywall, plaster, concrete, concrete wall, brick, poured concrete, wood studs, drywall panels, or household glue.
- Create a V-notch: For larger cracks, it is recommended to create a V-notch by cutting a small groove along the length of the crack. This will help the repair material adhere better and prevent the crack from reappearing.
By following these steps, you can prepare the area before fixing the cracks on the wall effectively. This will ensure that your repair is long-lasting and the wall looks as good as new.
Choosing the Right Materials for Repair
When it comes to repairing cracks on the wall, choosing the right materials is crucial for a successful outcome. The type of material used will depend on the size and location of the crack. Here are some of the most commonly used materials for wall crack repair:
Drywall Compound
Drywall compound, also known as drywall mud or joint compound, is a popular material for repairing small to medium-sized cracks. It is easy to apply and dries quickly. However, it is not recommended for larger cracks or for areas that are subject to moisture.
Cement
Cement is a durable material that is ideal for repairing larger cracks and holes. It is also resistant to moisture, making it a good choice for areas that are prone to water damage. However, it can be difficult to apply and requires a longer drying time.
Epoxy
Epoxy is a strong adhesive that is ideal for repairing cracks in concrete walls. It is also resistant to moisture and can be used on both interior and exterior walls. However, it can be difficult to apply and requires a longer drying time.
Mesh Tape
Mesh tape is a self-adhesive tape that is used to reinforce drywall joints and repair small cracks. It is easy to apply and provides a strong, long-lasting bond. However, it is not recommended for larger cracks or for areas that are subject to moisture.
Drywall Tape
Drywall tape, also known as paper tape, is a popular material for reinforcing drywall joints and repairing small to medium-sized cracks. It is easy to apply and provides a strong, long-lasting bond. However, it is not recommended for larger cracks or for areas that are subject to moisture.
Fiberglass Tape
Fiberglass tape is a strong, durable material that is ideal for repairing larger cracks and holes. It is also resistant to moisture, making it a good choice for areas that are prone to water damage. However, it can be difficult to apply and requires a longer drying time.
Spackling
Spackling is a lightweight material that is ideal for repairing small cracks and holes. It is easy to apply and dries quickly. However, it is not recommended for larger cracks or for areas that are subject to moisture.
When choosing a material for wall crack repair, it is important to consider the size and location of the crack, as well as the type of material that the wall is made of. By choosing the right materials and following the proper repair techniques, homeowners can successfully repair cracks on their walls and improve the appearance and durability of their home.
Step-by-Step Process of Fixing the Cracks
Fixing cracks on the wall is a common home repair task that can be done with a few tools and materials. Here is a step-by-step process to fix the cracks on the wall:
- Assess the Damage: The first step is to assess the damage to the wall. Determine whether the crack is a result of structural damage or just a cosmetic issue. If the crack is more than a quarter-inch wide and continues to grow, it may be a sign of structural damage that requires professional attention. However, if it is a minor crack, it can be easily fixed with some basic tools and materials.
- Prepare the Surface: Before starting the repair, prepare the surface by removing any loose plaster, dust, or debris. Use a scraper or putty knife to remove the loose material.
- Re-Tape the Cracks: Once the surface is clean and dry, apply a self-adhesive fiberglass mesh tape over the crack. Make sure the tape extends a few inches beyond the crack on both sides.
- Apply Joint Compound: Using a putty knife, apply a thin layer of joint compound over the tape. Make sure the compound is spread evenly and covers the tape completely. Allow the compound to dry completely.
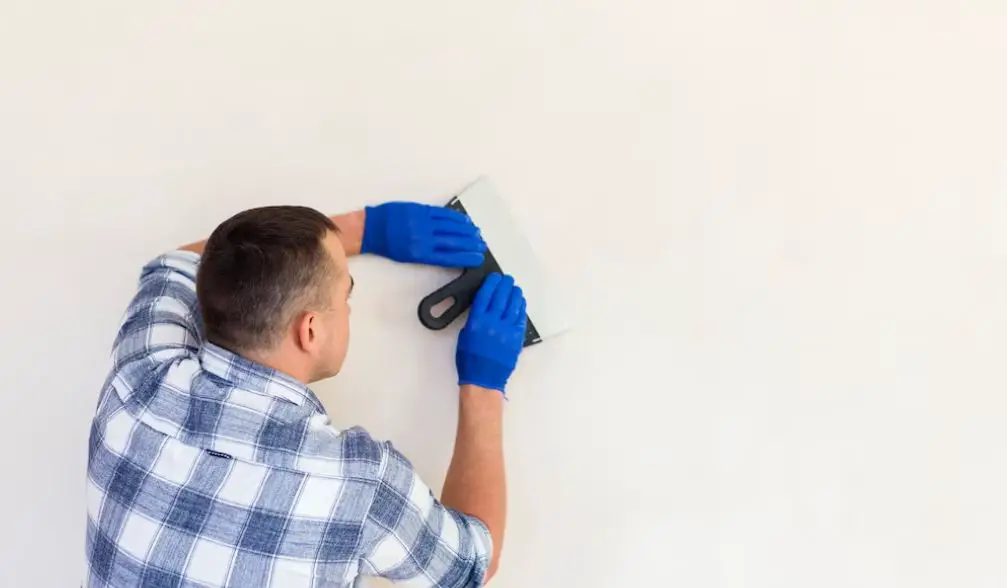
- Sand the Surface: Once the compound has dried, use a sanding block or sandpaper to smooth out the surface. Sand lightly and avoid sanding through the compound layer.
- Add More Layers: If necessary, apply additional layers of joint compound until the surface is smooth and level. Allow each layer to dry completely before adding the next layer.
- Secure Loose Plaster: If the crack is caused by loose plaster, use drywall screws to secure the plaster to the underlying wall. Drill the screws into the wall at least an inch from the crack and about 6 inches apart. Cover the screw heads with joint compound.
- Use Injection Ports for Foundation Repair: For foundation crack repair, use an epoxy injection system. Drill small holes into the wall along the crack and insert injection ports. Fill the crack with epoxy using a caulking gun and allow it to dry completely.
By following these simple steps, anyone can fix the cracks on the wall in a professional manner. It is important to let each layer of joint compound dry completely before adding another layer. Also, make sure the surface is sanded smooth to avoid any visible bumps or ridges.
Painting over the Repaired Cracks
Once the cracks have been properly repaired, it’s time to paint over them. Painting over repaired cracks can make them virtually disappear, but it’s important to do it properly to ensure the best results. Here are a few tips to keep in mind:
Choose the Right Paint
Choosing the right paint is essential when painting over repaired cracks. It’s important to use a high-quality paint that will adhere well to the repaired area and provide a smooth finish. It’s also important to choose a paint color that matches the surrounding area.
Prepare the Surface
Before painting, it’s important to prepare the surface properly. This involves sanding the repaired area to ensure it’s smooth and free of any bumps or imperfections. It’s also important to wipe the area clean to remove any dust or debris.
Apply the Paint
When applying the paint, it’s important to use a high-quality brush or roller to ensure a smooth finish. It’s also important to use a technique called “feathering” to blend the repaired area with the surrounding area. This involves gently brushing the paint out from the repaired area and into the surrounding area, gradually blending the two together.
Allow the Paint to Dry
After applying the paint, it’s important to allow it to dry completely before touching or applying a second coat. This can take anywhere from a few hours to a full day, depending on the type of paint and the humidity in the room.
Final Touches
Once the paint is dry, it’s important to inspect the area for any imperfections or areas that may need touch-ups. This is also a good time to remove any masking tape or protective coverings that were used during the painting process.
By following these tips, anyone can paint over repaired cracks with confidence and achieve professional-looking results.
When to Call a Professional
In some cases, fixing cracks on the wall requires professional help. Here are some situations when it’s best to call a professional:
Structural Damage
If the cracks are large, run diagonally, or are accompanied by other signs of structural damage, such as uneven floors or doors that won’t close properly, it’s important to call a contractor or engineer. These professionals have the expertise to assess the damage and determine the best course of action to repair it.
Foundation Issues
If the cracks are on basement walls or are accompanied by signs of foundation issues, such as bowing or leaning walls, it’s important to call a professional. Foundation issues can be serious and require specialized knowledge to repair. A professional can identify the root cause of the problem and provide a long-term solution.
Limited DIY Experience
If you’re not confident in your DIY skills or don’t have the necessary tools, it’s best to call a professional. Attempting to repair cracks on the wall without the proper knowledge or tools can lead to further damage and cost more in the long run.
Time Constraints
If you don’t have the time to dedicate to repairing the cracks on the wall, it’s best to call a professional. A professional can complete the job quickly and efficiently, allowing you to focus on other tasks.
Overall, while some cracks on the wall can be repaired with a DIY approach, it’s important to know when it’s time to call a professional. By doing so, you can ensure that the repairs are done correctly and that the problem won’t return.
Frequently Asked Questions
What are the different types of cracks that can occur in walls?
There are various types of cracks that can occur in walls, such as hairline cracks, vertical cracks, horizontal cracks, and diagonal cracks. Hairline cracks are usually cosmetic and can be easily fixed with a coat of paint. Vertical cracks are often caused by settling and can be more serious. Horizontal cracks can be a sign of structural damage, and diagonal cracks can indicate foundation issues. It’s important to identify the type of crack to determine the best course of action.
How do you prevent cracks from reappearing after fixing them in a wall?
Preventing cracks from reappearing after fixing them in a wall involves addressing the root cause of the issue. This may involve fixing any foundation issues, ensuring proper drainage, or using flexible materials to allow for movement. It’s also important to properly prepare the surface before repairing the crack and to use high-quality materials to ensure a lasting repair.
What are some effective methods for repairing cracks in drywall seams?
One effective method for repairing cracks in drywall seams is to use drywall tape and joint compound. This involves applying the tape over the crack, then applying multiple coats of joint compound, allowing each coat to dry before applying the next. Another method is to use a self-adhesive mesh patch, which is applied over the crack and covered with joint compound. Both methods can provide a strong and lasting repair.
What is the best filler to use for cracks in plaster walls?
The best filler to use for cracks in plaster walls is a plaster-based filler. This type of filler is designed specifically for use on plaster walls and can provide a strong and lasting repair. It’s important to properly prepare the surface before applying the filler and to use a high-quality product to ensure a successful repair.