There can be a few reasons why your solar address light is not working properly. The most common issues are that the solar panel is not getting enough sunlight to charge the battery, the battery is old and needs replacing, or there is an issue with the LED lights themselves.
Page Contents
- 1 Quick Overview of How Solar Address Lights Work
- 2 Step-by-Step Troubleshooting Guide
- 2.1 1. Check the solar panel placement and exposure to sunlight
- 2.2 2. Clean off any dirt or debris on the solar panel
- 2.3 3. Check the battery power level and connection
- 2.4 4. Replace old or burned out LED bulbs
- 2.5 5. Test in a dark location when fully charged
- 2.6 6. Inspect the housing for cracks or water damage
- 3 Solar Panel Positioning and Care Tips
- 4 When to Replace the Battery
- 5 Choosing the Right Solar Address Lights
- 6 Conclusion
Quick Overview of How Solar Address Lights Work
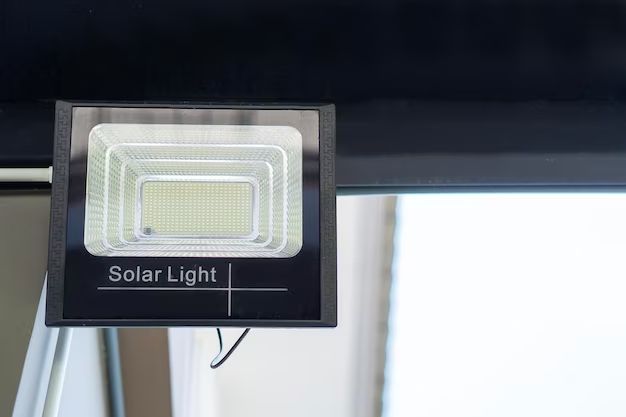
Solar address lights are designed to provide illumination for your house number or mailbox at night. They consist of a solar panel, battery, and LED lightbulbs. The solar panel converts sunlight during the day into electricity that charges the battery. At night, the charged battery powers the LED bulbs to provide light. This allows the solar lights to operate without being connected to electrical wiring.
Key Components of a Solar Address Light
- Solar panel – Absorbs sunlight and converts it to electricity to charge the battery
- Battery – Stores the electricity from the solar panel to power the LED bulbs at night
- LED bulbs – Long-lasting LEDs provide bright illumination at night
- Photosensor – Detects when it gets dark and automatically turns on the LEDs
- Housing – Protects the inner components from weather and mounts to your home
Step-by-Step Troubleshooting Guide
Follow these steps to troubleshoot why your solar address light is not working:
1. Check the solar panel placement and exposure to sunlight
The solar panel needs to be positioned where it will receive direct sunlight for at least 6-8 hours per day. Overhangs, trees, or other objects blocking the sunlight will prevent the battery from fully charging. Ensure the solar panel is angled correctly to maximize sunlight exposure.
2. Clean off any dirt or debris on the solar panel
Dirt, dust, snow, leaves, or bird droppings covering the solar panel can block sunlight from reaching the cells. Use a soft cloth or brush to gently clean off the panel. Avoid using harsh cleaners or abrasives.
3. Check the battery power level and connection
If the battery is old and will not hold a charge, it will need to be replaced. Make sure the battery is still connected properly to the solar panel and LED lights. Check that the wiring is not corroded or damaged.
4. Replace old or burned out LED bulbs
The LED lightbulbs can wear out over time. If the address light works but some bulbs are out, replace the non-working bulbs with new LEDs of the same rating.
5. Test in a dark location when fully charged
After allowing the solar panel to charge up the battery over a sunny day, do a test at night in a dark area. If the light still does not turn on, there could be an issue with the photosensor or circuit board.
6. Inspect the housing for cracks or water damage
Cracked housings can allow water to leak in and damage the internal circuitry. Look for visible cracks and use a sealant to patch them. If there are signs of moisture damage, the unit will need to be replaced.
Solar Panel Positioning and Care Tips
- Install the solar light in a spot that gets full, direct sunlight – at least 6-8 hours per day is ideal
- Angle the solar panel to face true south if you live in the northern hemisphere or true north if you live in the southern hemisphere
- Keep the solar panel clear of debris, dirt, and snow that could block sunlight
- Wipe the solar panel periodically with a damp cloth to keep it clean
- Check that trees and shrubs are not overgrowing to shade the panel
- Consider using a small brush to clear snow off the solar panel in winter
- Avoid installing near nighttime light sources like porch lights that could cause the solar light to turn off
When to Replace the Battery
Many solar lights use nickel-cadmium or lithium-ion batteries. The batteries will degrade over time and need replacement every 2-3 years. Signs that the battery needs replacing include:
- The light no longer stays on through the entire night
- The light appears dim even when freshly charged
- The light turns off after only a few hours of darkness
The solar lights should come with instructions on how to access and change the rechargeable battery. Match the specifications precisely when buying a replacement.
Choosing the Right Solar Address Lights
Here are some things to look for when shopping for solar powered address lights:
Solar Panel Size
Larger solar panels will collect more sunlight to charge the battery faster. Look for a panel size of at least 4 x 6 inches.
LED Brightness
Brighter LED bulbs will provide more illumination. Aim for at least 100 lumens for each bulb.
LED Quantity
Multiple LED bulbs distributed around the light will cast light in more directions. Look for at least 4 bulbs.
Light Sensor
A light sensor will turn the light on automatically at night and off during the day to conserve power.
Weather Resistance
Ensure the housing has an IP65 waterproof rating or higher to withstand outdoor exposure.
Battery Rating
A battery capacity of 1800-2500mAh will normally keep the lights running for 8+ hours per night.
Construction
Choose a durable aluminum or stainless steel construction that is rust and corrosion resistant.
Mounting Options
Convenient mounting solutions like a stake or pole mount simplify installation.
Lighting Duration
The product description should indicate the run time for a full charge, which is ideally 8 hours or more.
Conclusion
With solar powered address lights, most issues can be fixed by adjusting the panel position, cleaning debris, replacing bulbs and batteries, or installing a new unit if damaged. Locate the solar panel in an optimal spot, maintain it regularly, and replace components as needed so your address lights continue shining bright all night long.