With growing concerns over water quality, DIY water testing kits have become increasingly popular for homeowners who want to test their tap water. These easy-to-use kits claim to detect contaminants like lead, pesticides, bacteria and more. But how accurate are they really? Here’s what you need to know about DIY water testing.
Page Contents
How do DIY water test kits work?
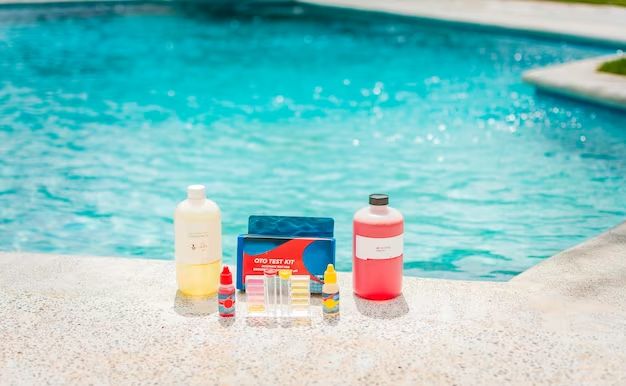
DIY water test kits come with test strips, liquid drops or capsules that you add to a water sample. The water sample then changes color or forms precipitates depending on the level of contaminants present. The color change is then compared to a color-coded chart that comes with the kit to determine if the contaminant level falls within acceptable limits.
Most DIY kits test for common water contaminants like:
- Lead
- Chlorine
- Nitrates/nitrites
- Pesticides
- pH
- Total dissolved solids (TDS)
- Bacteria like E.coli and total coliforms
- Hardness
The kits come with detailed instructions on how to collect the water sample, add the test reagents and interpret the results.
Are DIY water tests as accurate as lab tests?
DIY water testing kits are designed to be affordable, accessible ways for homeowners to screen their water for common contaminants. However, they do have some limitations when compared to professional lab testing:
- Most DIY kits only test for one contaminant at a time, whereas labs can test for multiple contaminants in one sample.
- DIY tests provide a pass/fail result, while lab tests give an exact concentration.
- The color-matching process can be subjective and depends on lighting conditions.
- There are tighter controls in lab settings over factors like sample volumes, storage, mixing reagents, and interpreting results.
Government organizations like the EPA and water quality associations consider professional lab tests to be the most reliable option for evaluating water contaminants. DIY kits are not considered confirmatory tests.
However, DIY kits can still be useful for initial screening. If a DIY test yields a negative result for a contaminant, you can be reasonably confident your water is safe in that regard. But if a test comes back positive, it is recommended to follow up with a professional lab test to determine the actual concentration.
Tips for accurate DIY water testing
Here are some tips to get the most accurate results from DIY water test kits:
- Read the instructions carefully and follow them step-by-step.
- Check the expiration date and make sure unopened reagents aren’t expired.
- Collect water samples properly by running the tap for 2-3 minutes before filling the collection bottle. Do not remove aerators beforehand.
- Perform tests immediately after collecting samples. Do not store samples for later.
- Compare color results in natural daylight for best accuracy.
- Look at the color change at the specified reaction time. Comparing too early or too late can skew results.
- Zero in on the exact match when comparing to color charts. Bracket between two shades if unsure.
- Test multiple samples to check for consistency.
Testing different taps and times of day can also give a fuller picture of your overall water quality.
DIY vs. professional lab testing
Here is a comparison of key factors between DIY kits and professional lab testing:
| DIY Water Test Kits | Professional Lab Testing | |
|---|---|---|
| Cost | $$ – Test kits usually $10-$100 | $$$ – Tests range from $20-$300+ |
| Convenience | Very convenient. Use at home. | Samples must be collected and shipped to a lab. |
| Method | Colorimetric test using drops/tablets added to water sample. | Sophisticated instrumentation like LC/MS, NMR, spectrophotometry. |
| Quantitation | Pass/fail or rough estimate. | Determines exact concentration. |
| Results | Immediate. 10 minutes to 1 hour. | Days or weeks to get results. |
| Accuracy | Moderate to high for screening. | High for definitive testing. |
Recommendations on DIY water testing
Based on their capabilities and limitations, here are some recommendations on how DIY water tests can be useful:
- Use DIY kits for initial screening of new water sources like private wells or when you move into a new home.
- Test periodically to monitor your water – annually or if noticed changes in taste, odor, color.
- Test after working on plumbing, like replacing pipes, aerators, or water heater.
- Test after replacing or installing water treatment systems to verify they are working.
- Use to monitor impact of seasonal variations, weather events or nearby construction on your water.
If a DIY kit yields a positive result, follow up with professional lab testing to determine the contaminant level. This is especially important before using water for drinking, cooking, bathing, etc.
For immunosuppressed individuals, infants, and other vulnerable populations, it is ideal to have an accredited lab perform periodic complete water analysis instead of relying solely on DIY kits.
Consult local health and environmental agencies to find out which contaminants are most relevant to test for in your area.
The bottom line on DIY water testing
DIY water test kits provide a fast, affordable way for consumers to screen their water for common contaminants. They can give homeowners peace of mind about their water quality, prompt further professional testing if issues are found, and encourage regular water testing.
However, DIY kits have limitations in terms of the range of contaminants detected, quantitative results, and subjectivity. Professional lab testing remains the gold standard for accuracy and regulatory compliance.
Used wisely in combination with periodic professional testing, DIY kits can be a valuable tool for homeowners to monitor their water quality and take steps to protect their health.