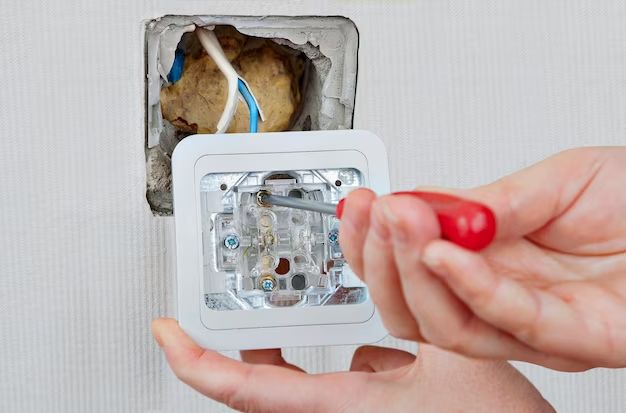
Replacing a switch on a lamp is usually a straightforward process that most homeowners can tackle themselves. The steps involve removing the lamp parts to access the switch, disconnecting and removing the old switch, installing a new switch, and reassembling the lamp. With some basic tools and safety precautions, you can swap out an old, worn or malfunctioning switch on a table or floor lamp for a new one.
Page Contents
When is it necessary to replace a lamp switch?
There are a few signs that indicate it’s time to replace the switch on your lamp:
- The switch doesn’t turn the lamp on and off anymore.
- The lamp flickers when you try to turn it on.
- The switch seems loose or faulty.
- You have to wiggle or tap the switch to get it to work.
- There are burn marks or visible damage on the switch.
If you notice any of these issues, replacing the switch can often fix the problem and restore proper functionality. Switches can wear out over time from use or develop internal connections issues. Replacing the switch is generally safer and easier than rewiring the entire lamp.
How to Replace a Lamp Switch
Here are the step-by-step instructions for replacing a basic toggle or rotary switch on a table or floor lamp:
- Unplug the lamp. Always unplug the lamp from the electrical outlet before doing any work.
- Remove the lampshade. Take off the lampshade or any other decorative covers on the lamp.
- Disassemble the base. There are usually screws or clasps holding the base together. Undo them so you can separate the base and access the internal wiring.
- Locate the switch wiring. Trace the switch wires back to where they connect inside the lamp. Make note of how the wires are connected.
- Disconnect the switch. Carefully disconnect the wires from the back of the old switch. Often this just involves loosening screw terminals.
- Remove old switch. Unscrew the nut or bracket holding the old switch in place and remove it from the lamp.
- Install new switch. Screw the new switch into place matching the positioning of the old one. Consult any instructions that came with the new switch.
- Connect wires. Attach the wires to the new switch in the same configuration as the old switch.
- Reassemble lamp. Carefully reassemble the base, shades, and other parts.
- Test lamp. Plug in the lamp and test that the new switch works correctly.
Take pictures or draw a diagram of the wiring connections before disconnecting anything to make reassembly easier. The above steps apply to basic switch replacement, but larger floor lamps may require extra disassembly. Refer to the lamp manufacturer’s guide for specifics on more complex lamps. Always make sure to get an identical replacement switch rated for the lamp’s wattage.
Safety Tips
Here are some important safety tips to follow when replacing a lamp switch:
- Turn off power and unplug the lamp before doing any work.
- Check that the replacement switch matches the wattage rating on the lamp.
- Use caution when working with exposed wires.
- Connect wires securely to prevent shock or fire hazards.
- Don’t do electrical work if you lack experience with household wiring.
- Hire an electrician if you encounter complex switch wiring.
Troubleshooting
If the new switch doesn’t resolve the issues with your lamp, here are some troubleshooting tips:
- Check that the wires are connected properly according to the switch wiring diagram.
- Test the outlet to make sure power is flowing to the lamp.
- Inspect the cord for damage that could cause electrical issues.
- Make sure bulbs are the correct type and wattage for the lamp.
- Try replacing bulbs that may have burned out.
- Look for shorts or faulty components in the lamp’s wiring.
- Check if the issue is actually with the lamp’s cord or plug.
Replacing a lamp switch is often an easy fix, but if the new switch doesn’t work, the problem may lie with another part of the lamp. Carefully inspect the lamp parts and electrical connections until you isolate the root cause. Contact a repair service if you’ve checked everything and can’t get the lamp operational.
When to Call an Electrician
While most basic lamp switch replacements are DIY-friendly, consider calling a professional electrician if:
- You don’t feel comfortable working with electrical wiring.
- The lamp has complex wiring you don’t understand.
- There are no clear wire connections or diagrams.
- You can’t get the lamp to work after multiple switch replacements.
- You encounter any shorts, sparks or shock risks.
Safety should always be the top priority when dealing with home electrical repairs. Hiring an electrician is the best option if the lamp switch replacement exceeds your skill level or comfort working with household wiring.
Conclusion
Replacing a worn out or broken lamp switch is a straightforward DIY project for most basic table and floor lamps. Follow the step-by-step process to remove the old switch, install an identical new one, reconnect the wires properly, and restore power to the lamp. Observe all safety precautions when working with exposed wires. If the new switch doesn’t fix the issues, methodically troubleshoot other potential causes or hire an electrician for complex wiring situations. With some diligence and care, you can save money and extend the life of your favorite lighting fixtures by replacing faulty lamp switches.