Page Contents
Quick Answer
Yes, it is possible to cut dadoes with a trim router, but it requires careful setup and technique. A dado is a groove cut into the surface of a piece of wood to accept another board in order to make a joint. While regular routers are more commonly used for dadoes, trim routers can also accomplish this task when properly equipped and used carefully by an experienced woodworker. The small size of a trim router requires taking light passes and using guide boards or jigs for alignment and to get dadoes that are straight, evenly deep, and consistent in width. With patience and practice, trim routers can cut high quality dadoes for shelving, joinery, and other applications.
Setting up a Trim Router for Dadoes
Cutting dadoes with a trim router requires choosing the right bit, setting the proper depth, and devising a jig or guide system. Here are some tips for setup:
- Use a straight bit – A straight or spiral straight cutting bit 1/4″ to 3/8″ in diameter works best.
- Adjust depth carefully – Set the bit depth so the groove will be slightly shallower than the material thickness to be inserted into the dado.
- Clamp stop blocks – Clamp stop blocks on your workpiece to limit the travel of the base.
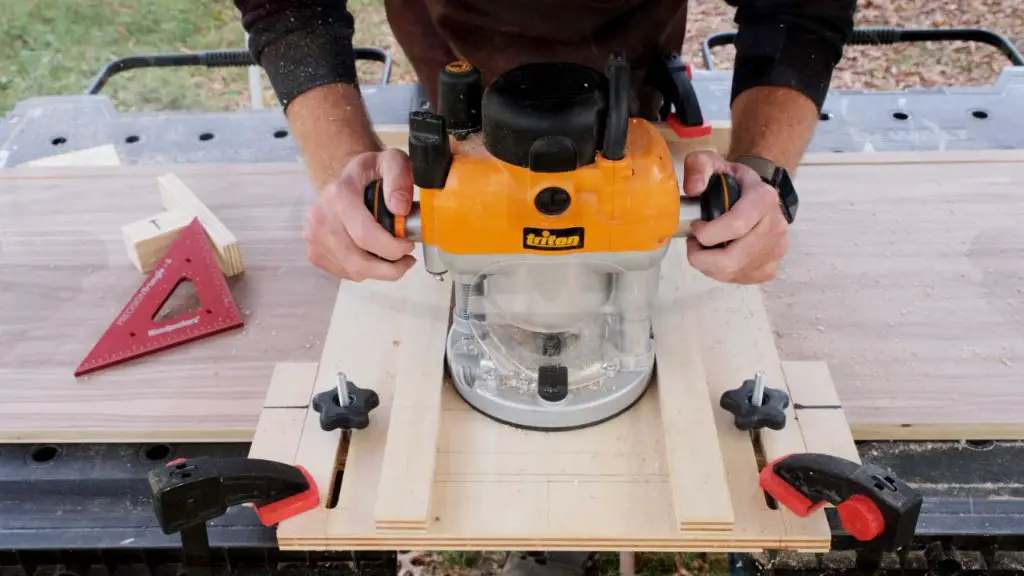
- Make a jig – This can guide the router in a straight line. Use boards wider than the base running along each side of the planned dado.
- Use edge guide – A commercial edge guide attached to the baseplate can also provide alignment.
- Go slow – Take light passes of no more than 1/8″ depth to prevent straining the small motor.
Technique for Cutting Dadoes with a Trim Router
The technique for actually cutting dadoes with a trim router requires care and patience for best results:
- Mark lines – Use a square, knife and straightedge to mark the borders of the dado on the workpiece.
- Make initial pass – Line up bit with marks and make an initial shallow pass at the proper depth setting.
- Repeat passes – Make additional gradual passes from both directions to reach final depth.
- Move slowly – Work at a controlled pace parallel to the edges of the dado area.
- Clear chips – Regularly stop to clear chips so they don’t interfere with jig function.
- Test fit – Test fit the joining piece in the dado during the process.
- Sand bottom – Sand the bottom of the dado so it’s smooth and fits properly.
- Check fit – Do a final test fit before gluing and assembling the joint.
Setting Proper Bit Depth
One tricky aspect of cutting dados with a trim router is setting the proper bit depth. Here are some best practices for getting it right:
- Set shallow – Initially set the bit shallower than the final depth needed.
- Sneak up on depth – Increase the depth incrementally with each pass.
- Use scrap pieces – Test the setup by cutting dadoes in scrap wood.
- Leave 1/32″ margin – Stop the final pass 1/32″ short of full depth.
- Confirm with test piece – Test fit the mating piece to confirm the dado depth.
- Use spacers – Place pennies, playing cards or coffee stir sticks under the workpiece as spacers to slightly decrease depth.
- Mark bit – Place tape on the bit as a depth indicator for reference.
Here is a table summarizing the recommended process for setting trim router bit depth for dados:
| Step | Description |
|---|---|
| 1 | Set shallow starting depth |
| 2 | Cut initial pass and test fit |
| 3 | Increase depth and repeat pass |
| 4 | Do final pass slightly shallow |
| 5 | Test fit and make minor depth adjustments |
Trim Router Jigs for Cutting Dadoes
Using a jig provides important guidance and alignment when routing dadoes with a trim router:
- Shop-made jig – This is made by clamping boards to the workpiece parallel to the planned dado.
- Edge guide – A commercial edge guide attached to the baseplate can serve as a jig.
- Straight bit guide – Some trim routers accept bushings that allow using a straight bit with a guide bearing.
- Dado jig – There are commercial dado jigs designed to work with trim routers.
- Plunge bar – Specialty plunge bars with an edge guide can help cut straight dadoes.
No matter what jig you use, be sure to secure it in position on the workpiece before starting to cut the dado. The jig should maintain consistent contact with the workpiece through the entire pass of the router from start to finish.
Benefits of Using a Jig
Here are some of the benefits of using a trim router jig for cutting dadoes:
- Provides straight reference – Ensures dado sides are parallel and straight.
- Controls routing position – Allows consistent positioning of the router base.
- Prevents tipping – Helps stop router base from tipping if pressure uneven.
- Makes repeat cuts easy – Enables making consistent, reproducible dadoes.
Investing the extra time to make or obtain a suitable jig is well worth it for the advantages it offers when doing trim router dado work.
Tips for Accurate Dadoes
Cutting accurate, clean dadoes with a trim router requires care and the right techniques. Here are some helpful tips:
- Make several light passes – Don’t try to remove too much material in one pass.
- Work from both directions – Cut each pass from left to right and then right to left.
- Clear chips frequently – Built up chips can deflect the router base.
- Sand the bottom – Use a sanding block to flatten and smooth the bottom.
- Use backing board – Place a sacrificial board under the workpiece to prevent tear out.
- Clamp workpiece and jig – This prevents any shifting during routing.
- Go slow – Moving the router too fast can reduce control.
- Use stop blocks – This prevents routing past the layout lines.
Following these tips will help avoid common mistakes and problems that can easily ruin a dado cut with a trim router if you aren’t careful. Patience and care goes a long way for the best results.
Common Problems and Solutions
Here are some typical problems that can occur when cutting trim router dadoes and how to prevent them:
| Problem | Cause | Solution |
|---|---|---|
| Uneven depth | Rocking router base | Use jig and move router slowly |
| Chipped edges | Routing against grain | Cut in direction of grain |
| Burned wood | Dull bit or too slowly | Use sharp bit and appropriate pace |
| Crooked | No jig used | Use guide boards or shop made jig |
| Loose fit | Depth off or uneven | Adjust depth and use even passes |
Careful setup, direction of cut, use of jigs, sharp bits, and controlled router movement will prevent most issues when routing dadoes with a trim router.
Conclusion
While using a trim router to cut dadoes requires more setup and care compared to a regular router, the task is certainly achievable. The key steps include using the proper bit, setting the ideal depth, creating a jig for guidance, taking light passes, clearing chips regularly, sanding the bottom smooth, and testing the fit repeatedly through the process. Following best practices for technique will allow a trim router to make clean, accurate dadoes for good joinery. With some practice and patience, trim routers can be an effective tool for cutting dadoes.