Page Contents
Quick Answer
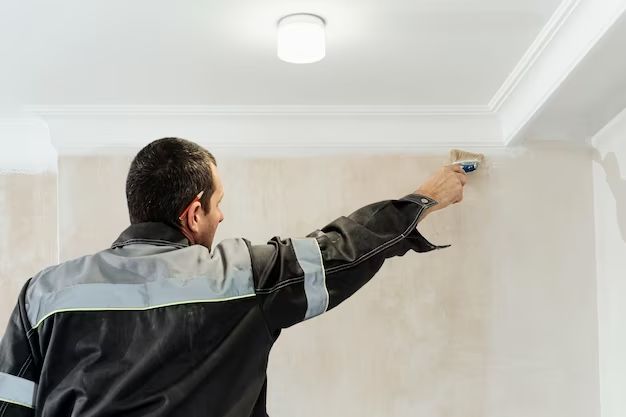
Yes, you can glue moulding directly to the wall in most cases. The key is using the right type of adhesive. Construction adhesives or panel adhesives work well for adhering moulding to walls. Make sure to prepare the surface properly and apply the adhesive correctly for the strongest bond.
Choosing the Right Adhesive
When gluing moulding to walls, it’s important to use an adhesive designed for the job. Here are some good options:
Construction Adhesive
Construction adhesive, also known as panel adhesive, is designed for bonding materials like wood, metal, drywall, and moulding to various surfaces. Look for a construction adhesive that is designed for interior use and bonds well to both porous and non-porous materials. Some good brands are Liquid Nails, Gorilla Glue, and Loctite Power Grab.
Liquid Nails for Moulding and Trim
Liquid Nails makes an adhesive specifically formulated for adhering mouldings and trims. It creates a flexible, long-lasting bond. It works on wood, MDF, particleboard, plaster, and drywall.
Moulding and Trim Adhesive
Major brands like Gorilla Glue and Loctite also make adhesives marketed specifically for gluing moulding and trim. These are ideal when gluing moulding to walls.
Surface Preparation
Proper surface preparation is key to achieving the strongest bond when gluing moulding to walls. Here are some tips:
– Clean the wall thoroughly to remove any dirt, grease, or debris. Wipe with denatured alcohol.
– Lightly sand the area where the moulding will be applied to help the adhesive grip.
– Make sure the wall and moulding are both dry before applying adhesive.
Applying the Adhesive
Follow the manufacturer’s instructions for application. Here are some general tips:
– Apply adhesive to the back of the moulding with a caulking gun in a zigzag pattern.
– Alternatively, apply adhesive directly to the wall in a zigzag pattern and press moulding into place.
– Use enough adhesive to completely coat the area, but not too much that it oozes out.
– Press moulding firmly into place immediately after applying adhesive. Use nails or braces until adhesive cures for extra support.
– Be sure moulding is level and orientated correctly before the adhesive sets. Adjust as needed.
– Allow adhesive to cure fully (usually 24-48 hours) before finishing or painting the moulding.
Tips for the Strongest Bond
Follow these tips for the most secure, long-lasting bond:
– Only apply adhesive to surfaces that are clean, dry, and free of debris.
– Use a wood mallet to gently tap moulding into place and ensure a tight fit after applying adhesive.
– Be sure adhesive makes full contact with both the wall and moulding surfaces.
– Use mechanical fasteners like finishing nails or braces in addition to adhesive for extra support until the adhesive cures.
– Avoid moving or jostling the moulding while the adhesive is curing.
– Allow the adhesive to fully cure before subjecting moulding to any force or load.
What About Removing Existing Moulding?
If you need to remove existing moulding that is already glued to the wall:
– Try slicing through the adhesive bead with a utility knife.
– You may be able to gently pry the moulding off using a pry bar once the adhesive is cut.
– Heat from a hair dryer or heat gun can soften some adhesives for easier removal.
– Be prepared to repair drywall damage that may occur when prying off glued moulding.
– Harsh chemical strippers may also help dissolve the adhesive bond.
– Be very careful not to damage the wall surface if attempting to remove glued moulding.
Conclusion
Gluing moulding directly to walls can provide a tight seamless look when done properly. Use high-quality construction adhesives, prepare surfaces thoroughly, and apply adhesive correctly for the strongest bond. Be extra careful if removing existing moulding that was installed with adhesive. With the right technique, gluing is a great option for securely attaching moulding to walls.