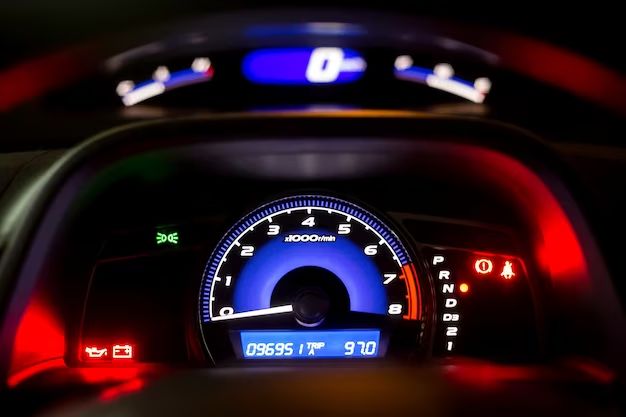
Yes, it is possible for most car owners to replace their dashboard indicator lights themselves. While it may seem daunting, replacing dashboard lights is usually a straightforward DIY project that can save time and money compared to visiting a mechanic. In this article, we’ll walk through everything you need to know about replacing dashboard lights in your vehicle.
Page Contents
- 1 What tools do you need to replace dashboard lights?
- 2 How do you remove the dashboard to access the lights?
- 3 How do you remove and replace old dashboard bulbs?
- 4 How do you reinstall the dashboard components?
- 5 Testing and troubleshooting new dashboard lights
- 6 Can you replace dashboard lights yourself?
- 7 Conclusion
What tools do you need to replace dashboard lights?
Replacing dashboard lights doesn’t require many tools. Here is a list of the basic items you’ll need:
- Replacement bulbs for your specific make/model
- Small Philips head screwdriver
- Needle nose pliers (helpful but not always necessary)
- Flashlight
- Small flat head screwdriver (optional)
The most important thing is sourcing the correct replacement bulbs. You’ll want to look up what type of bulbs your vehicle uses for the specific lights you want to change. This can easily be found in your owner’s manual or through an online search of your vehicle make and model. Some common types of bulbs used are 194, 168, 212, and wedge bulbs.
How do you remove the dashboard to access the lights?
Dashboard components are designed to come apart for maintenance and light replacement. Here are the general steps to take:
- Locate any screws or fasteners securing the dashboard trim and lighting components in place. You may need to remove an access panel first.
- Use a Philips screwdriver to carefully remove the screws. Be careful not to strip the heads.
- Gently pry and pop out any plastic trim pieces to expose the bulb sockets.
- Trace the bulb wires to identify which socket goes with each dashboard light.
- Unplug the electrical connectors to release the bulbs from the sockets.
On some vehicles, you may need to maneuver the steering wheel tilt and telescoping settings to create more room to access trim pieces behind the wheel. Go slowly and take care not to forcefully tug on any wiring while disassembling the dash.
How do you remove and replace old dashboard bulbs?
Once you have access to the bulb sockets, carefully follow these steps:
- Inspect the old bulb for broken filaments or an unusual color suggesting a bad electrical connection.
- Use needle nose pliers to grasp and pull the old bulb straight out from its socket.
- Align the electrical pins on the new replacement bulb to the notches in the socket.
- Push the new bulb straight into the socket until it clicks and locks into place.
- Give the bulb a gentle twist to confirm it is firmly seated in the socket.
Avoid touching the new bulb with your fingers when installing it, as the oils from your skin can cause hot spots and shorten the lifespan. If you do touch the bulb, wipe it carefully with a clean cloth before inserting into the socket.
How do you reinstall the dashboard components?
Reinstalling the dashboard components is the reverse order of taking them apart:
- Plug in the electrical connector into each bulb socket.
- Carefully reseat each of the dashboard trim pieces and light housings.
- Reinstall any retaining screws or fasteners and tighten just until snug.
- Replace any access panels previously removed.
Take care not to overtighten any screws or force trim pieces back into place. Forcing components can lead to cracked plastic and broken tabs. If a piece is not fitting back properly, recheck for any remaining fasteners or snagged wiring.
Testing and troubleshooting new dashboard lights
Before reassembling the final components, turn on your headlights and ignition to test the new bulbs. All dashboard lights should illuminate brightly without any flickering or dimness. If any do not turn on, recheck the bulb seating, electrical connectors, and try swapping in a spare known good bulb.
Here are some common issues and solutions if your new dashboard lights have problems:
- No light – Check electrical connections and fuse. Replace bulb.
- Dim light – Bulb not fully seated. Clean electrical contacts. Replace old bulb.
- Flickering light – Faulty bulb. Replace bulb.
- Burned out again quickly – Possible short or electrical issue. Check connectors and wiring.
Using a test light tool can help diagnose any wiring faults causing continued problems with new bulbs burning out prematurely.
Can you replace dashboard lights yourself?
In summary, most vehicle owners can complete dashboard light replacement on their own with basic hand tools. Just be sure to:
- Research correct bulb types for your vehicle.
- Take your time disassembling trim and hardware.
- Handle bulbs carefully to avoid touching the glass.
- Confirm proper installation by testing lights before reassembly.
- Troubleshoot any issues that arise with new bulbs.
Consulting your vehicle repair manual can provide model-specific details if you run into difficulty. Dashboard light replacement is a relatively straightforward DIY project that can save time and money for most car owners if properly researched and completed.
Conclusion
Replacing your own dashboard indicator lights is usually a manageable task for most DIYers. The keys are having the proper replacement bulbs, taking your time during disassembly, carefully handling the new bulbs to avoid premature failure, and testing the lights before completing reassembly. Patience and following bulb replacement best practices will allow you to renew your dashboard lighting and avoid the cost of professional installation.