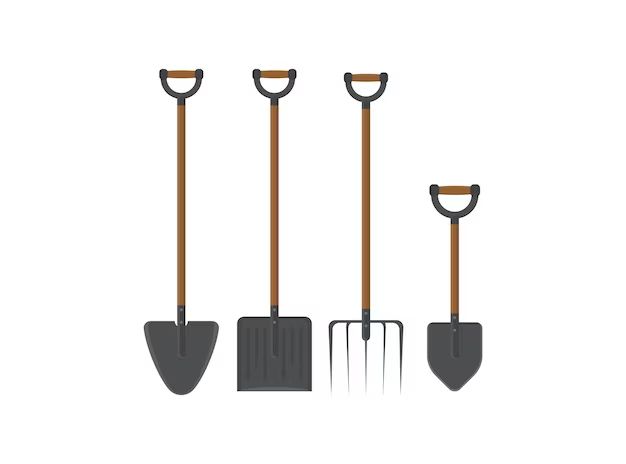
Yes, it is possible to replace the handle on a fiberglass shovel. Fiberglass shovel handles can become loose or break over time with prolonged use. Replacing the handle is often a more cost-effective solution than purchasing a brand new shovel. With some basic tools and supplies, the handle can be removed and a new one installed relatively easily.
Page Contents
When to Replace Fiberglass Shovel Handle
There are a few signs that indicate it is time to replace the fiberglass handle on your shovel:
- The handle is loose – If the handle wobbles or shifts when you push the shovel into the ground, this is a sign it needs to be replaced.
- Splintering or cracking – Look for any splinters, cracks, or other damage on the handle. This indicates it is weakened and prone to breaking.
- Previous repairs – If the handle has been previously repaired with tape, glue, or clamps, it means it has broken before and is likely to break again soon.
- Difficult to use – If the shovel feels awkward, unstable, or difficult to use, the handle may be warped or damaged.
Replacing the handle as soon as you notice these signs can prevent the shovel from failing during use. Waiting too long increases the risk of the handle breaking mid-project, making the shovel unusable.
Supplies Needed
Replacing a fiberglass shovel handle requires just a few supplies:
- Replacement fiberglass handle – Look for one of the same length and diameter to match the original.
- Epoxy or strong adhesive
- Sandpaper
- Rubbing alcohol
- Rags
- Clamps or vise grips
- Safety gloves and eye protection
The epoxy or adhesive is key to creating a strong bond between the new handle and the shovel head. Sandpaper helps rough up the surfaces to improve adhesion, while alcohol cleans off dirt and debris. Clamps hold the parts in place while the epoxy sets. Safety equipment protects your hands and eyes during the process.
Steps to Replace Fiberglass Shovel Handle
Replacing the handle is a quick process that can be completed in around 30 minutes:
- Remove old handle – Use a hammer or mallet to tap the handle out of the shovel head. Tap gently to avoid damaging the head.
- Clean surfaces – Use sandpaper to rough up the inside of the shovel head socket and the end of the new handle. Wipe both surfaces with alcohol.
- Apply adhesive – Cover the end of the handle and inside the socket with a generous layer of epoxy. Use one designed for metal and fiberglass.
- Connect parts – Insert the handle into the socket, twisting to spread the epoxy. Align it to the desired angle.
- Clamp – Use clamps or vise grips to hold the handle in place while the adhesive sets. This prevents movement.
- Allow to cure – Let the epoxy fully cure as directed, usually 24-48 hours. Avoid using the shovel during this time.
The shovel is now ready to use again! Be sure to periodically check that the handle remains secure with no shifting or loosening over time.
Tips for a Secure Handle
Follow these tips to get the most secure, long-lasting bond between the handle and shovel head:
- Make sure both surfaces are clean before applying adhesive. Any debris or grease will weaken the bond.
- Rough up the surfaces with 60-80 grit sandpaper for better grip.
- Use an epoxy made specifically for bonding fiberglass and metal. Other adhesives may not last.
- Apply a thick, even layer of epoxy to both parts. Too little glue will cause it to fail.
- Clamp tightly for the full curing time recommended on the epoxy product. Don’t skip this step!
- Check that the handle is straight and aligned before the epoxy sets. Adjust as needed.
- Give the epoxy a full 24 hours to cure before using the shovel. More time is better.
Taking these precautions will help the handle last for many years before needing to be replaced again.
Conclusion
Replacing a broken or damaged fiberglass shovel handle is a simple and inexpensive fix you can do yourself at home. With some basic epoxy and a few tools, the handle can be swapped out in less than an hour. Be sure to properly rough and clean the surfaces, apply adequate adhesive, clamp it tightly, and allow full curing time. Following these steps will restore your shovel to like-new condition. A little periodic maintenance and replacing worn handles helps standard fiberglass shovels provide many years of reliable service.
| Supply | Purpose |
|---|---|
| Replacement fiberglass handle | New handle to install in shovel head |
| Epoxy/adhesive | Bonds handle to shovel head |
| Sandpaper | Roughens surfaces for better adhesion |
| Rubbing alcohol | Cleans dirt and debris from surfaces |
| Rags | Apply alcohol to clean surfaces |
| Clamps | Holds handle steady while epoxy sets |
| Safety gloves & eye protection | Protects hands and eyes from debris |
Additional Information
Types of Fiberglass Shovel Handles
There are a few varieties of replacement fiberglass handles to choose from:
- Solid fiberglass – The most durable but also most expensive option. Made from a single solid piece of fiberglass.
- Hollow fiberglass – Less expensive but still fairly sturdy. Has a hollow core inside the fiberglass sheath.
- Wood core – A wood core wrapped in fiberglass sheets. Also less costly but not as strong.
Solid fiberglass handles offer the best performance, but any of these options will work to replace a broken handle. Match the shape and diameter of the original.
Length of Fiberglass Handles
Fiberglass shovel handles range from 48″ to 60″ in length typically. Measure the length of your current handle to get the same size replacement. Shorter handles reduce leverage but are better for smaller spaces. Longer handles provide more leverage in soft ground.
Common Shovel Head Materials
- Fiberglass – Lightweight but strong. Won’t rust or corrode.
- Aluminum – Very lightweight. Can bend under pressure.
- Steel – Heavy but durable. Prone to rusting.
- Stainless steel – Heavier than aluminum and fiberglass but anti-corrosive.
Fiberglass and aluminum heads are best for replacing handles. Avoid steel shovel heads as they are very difficult to drill out the old handle.
Disposing Old Shovel Handles
Fiberglass handles can go in your regular household trash once removed from the shovel head. Alternatively, bring them to a recycling center if one in your area accepts fiberglass. Avoid putting them down your garbage disposal, as the fibers can get stuck and cause damage.
Shovel Handle Safety Tips
When using a replacement shovel handle, keep these safety guidelines in mind:
- Inspect periodically for any cracks or loosening of the handle.
- Never hammer on or strike the fiberglass handle as this can damage it.
- Wear gloves and goggles when removing old handle to avoid debris.
- Ensure epoxy or adhesive is fully cured before using the shovel.
- Never use a cracked or damaged handle which could break mid-use.
Following these precautions will help prevent injury when maintaining and using your fiberglass handle shovel.