Having a beautifully striped lawn is the mark of a well-maintained yard. The crisp, clean lines create visual interest and make the grass look lush and healthy. While specialized lawn striping kits can help create defined stripes, it is possible to get the striped look without buying any additional equipment. Here’s what you need to know about how to stripe a lawn without a striping kit.
Page Contents
What is lawn striping?
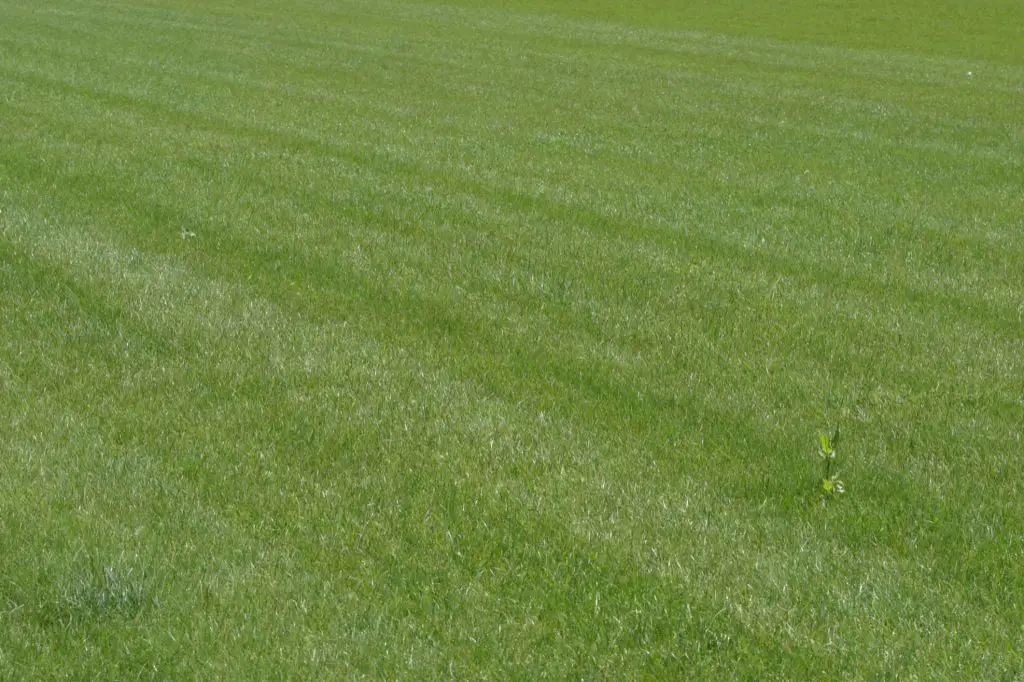
Lawn striping refers to the attractive, straight lines that you see on professional ballfields, golf courses, and some home lawns. The stripes are created by bending the grass blades in different directions. When the sun hits the lawn, the blades facing one way appear lighter, while blades going the other direction look darker. This contrast is what produces the striping effect.
There are a few different ways the grass can be made to lie in uniform directions to create the stripes:
- Using a dedicated striping kit
- Mowing in a set pattern
- Raking the lawn
Commercial striping kits utilize rollers to gently bend the grass one way or another as they pass over the lawn. But it’s also possible to produce stripes without any additional equipment by carefully mowing or raking the lawn.
Can you stripe without a kit?
Yes, it is absolutely possible to stripe your lawn without a striping kit! You just need to take some care with how you mow and rake the grass.
Here are some tips for striping a lawn without specialty tools:
Mow in straight, overlapping lines
The simplest way to get striping from mowing is to cut the grass in long straight lines and overlap each pass slightly. Go back and forth in one direction for the first few passes, then turn and make passes at a perpendicular angle.
Be sure the lines are straight and parallel. Curving lines will break up the striping effect. Also try to keep the mower’s speed consistent for uniform results.
Adjust mower height for better contrast
Lowering the blades on your mower will produce a more vivid striping effect. Shorter grass does a better job of lying in the direction it’s bent without springing back up. Aim to cut the lawn about 1/2 to 1 inch shorter than usual.
Mow in opposite directions
Alternate the direction you mow in with each cutting. Mow north to south one time, then east to west the next time. Switching directions will bend the blades against the grain and enhance the striping contrast.
Use a heavy walk-behind mower
The weight of a push mower can help flatten grass blades, improving the striping effect. Pick a heavy model with substantial rear wheels and/or a roller on the back to really press the grass down.
A gas-powered self-propelled mower has more overall mass than a battery-powered or electric model, making it a good choice for DIY striping.
Rake in alternating directions
Using a stiff broom or metal lawn rake, you can sweep the grass to neatly comb it in opposite directions. Rake in lines across the lawn, one direction for the “light” stripes, then perpendicular for the “dark” stripes.
Be sure to use a heavy rake with stiff tines that will actually bend the blades. Go slowly and apply plenty of downward pressure as you rake.
Tips for better striping without a kit
It takes some precision and practice to get perfect stripes from mowing and raking alone. Here are some top tips for making the most of DIY lawn striping:
Wait at least 2 days between mowing
Let the grass grow a bit between cuts. Longer blades will bend over more easily and hold the striping pattern better.
Start on a freshly cut lawn
It’s easier to establish a striping pattern when starting on a nice even surface. The clean look lasts longer too.
Maintain sharp mower blades
Sharp blades cut grass cleanly and smoothly, which improves the striping effect. Replace mower blades at least once per year.
Give it some time
The striping results will look best a day or two after mowing or raking. The grass blades need a little time to fully bend into position.
Fertilize for thick growth
A vigorous, dense lawn shows off stripes better than patchy or thin grass. Fertilizing enhances growth and helps fill in bare spots.
Should you buy a lawn striping kit?
A proper striping kit specially designed for lawn use will produce more defined, longer-lasting stripes than DIY methods. Kits take the guesswork out of striping and require less effort to use. Here are the main pros of purchasing a striping kit:
- Creates bold, professional striping results
- Rollers apply even pressure to neatly bend grass
- Models for ride-on and push mowers are available
- Durable results last about a week
- No need to manually rake or mow in a pattern
On the downside, striping kits can be quite expensive, ranging from $100 up to $300 or more. The initial investment may not make sense for homeowners who just want the occasional striped look. But avid lawn stripers will appreciate the quality results and time savings a kit provides.
Push mower striping kits
| Brand | Price | Type |
|---|---|---|
| Yard Tuff | $119.99 | Wheel cover |
| Agri-Fab | $199.99 | Attachment roller |
| Toro | $119.99 | Wheel cover |
Push mower striping kits typically consist of a set of wheel covers or rollers that attach to the rear wheels/axle. They range from $100-$200 in cost.
Riding mower striping kits
| Brand | Price | Type |
|---|---|---|
| Check Mate | $189.99 | Attachment plates |
| Toro | $199.99 | Attachment roller |
| John Deere | $349.99 | Complete kit |
Kits for riding mowers run $200-$350 and feature rollers, plates, or full assemblies that mount to the rear of the tractor.
Conclusion
With some careful mowing and raking techniques, it is possible to create vivid striping patterns on your lawn without purchasing any specialty equipment. But a purpose-built striping kit will produce more bold, defined stripes with less effort. Push mower kits cost around $100-$200, while riding mower models jump up to $200-$350.
For most homeowners wanting occasional striping, using DIY techniques is sufficient. But lawn care enthusiasts or perfectionists will want to invest in a quality striping kit for professional-grade stripes.
With either method, smart mowing and lawn care practices are key to bringing out the best striping results. Maintain proper mowing height, alternate directions, keep blades sharp, and fertilize appropriately. And remember to have some patience – the striping pattern will slowly develop over a day or two after mowing or raking.
While a striping kit isn’t strictly necessary, the equipment can save considerable time and effort. The specially designed rollers and other components are engineered to bend and stay bent. If you love a clean-lined striped lawn, a good kit is likely worth the investment.
But you can absolutely create distinctive stripes by carefully using your existing equipment. Pay attention to mowing and raking patterns, grass length, blade sharpness, and mower weight. With a few smart techniques, you can build an eye-catching striped lawn without buying any extra tools.
Striping a lawn has a somewhat mysterious quality – the light and dark stripes seem to magically appear over time. But it’s simply a matter of bending the grass blades in different directions. With the right mowing and care, your lawn can have picture-perfect stripes that make the neighbors jealous.
Further Reading
If you want to learn more about options for striping a lawn, check out these helpful guides:
- Lawn Striping Kits: An Easy Way to Step Up Your Mowing Game
- The Secret to Picture-Perfect Lawn Striping
- How to Stripe Your Lawn | Lawn Care Tips (YouTube)
With the right tools and techniques, you can achieve beautiful striping results and be the envy of the neighborhood. A specialty kit isn’t required, but does make striping easier and more defined. With just a bit of care and effort, your lawn can look like it was groomed by a pro.