Yes, you can definitely use a test light to check for spark in an engine. A test light is a simple and handy tool for diagnosing ignition issues. When properly used, it allows you to quickly determine if the ignition system is producing spark or not.
Page Contents
What is a Test Light?
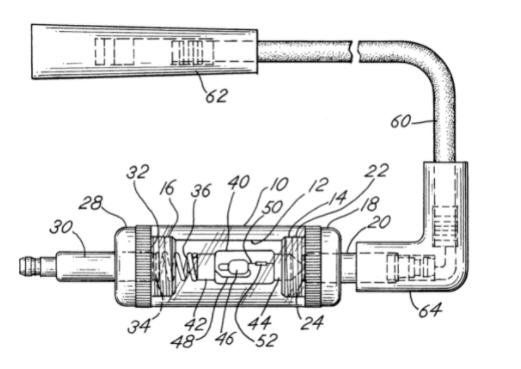
A test light, sometimes also called a spark tester, is a basic diagnostic tool consisting of a light bulb affixed to the end of an insulated handle with a wire and ground clip. Some models may also include an inline resistor to protect delicate electronics.
To use a test light to check for spark, you connect the ground clip to a good ground source on the engine. Then you touch the probe end to the output side of the ignition circuit you want to test. If the test light illuminates, it indicates current is flowing and there is spark present.
Advantages of Using a Test Light
There are several key advantages to using a simple test light for basic spark testing:
Portable and Easy to Use
Test lights are very portable, inexpensive and easy to operate. No batteries or power source is required. You can quickly probe around the ignition system to isolate faults.
Works Without Engine Running
The test light can detect spark even with the engine off, which makes diagnostics much safer and easier versus checking for spark visually with the engine running.
Provides Definitive Yes/No Answer
A test light gives you a clear pass/fail test on whether current is reaching the plugs. You don’t have to interpret erratic engine behavior or subtle spark differences.
Works on All Ignition Types
Test lights work equally well for detecting spark in traditional coil ignition engines as well as modern coil-on-plug (COP) systems. The basic principles are the same.
Using a Test Light to Check for Spark Step-by-Step:
Here is a step-by-step guide on how to use a test light to check for spark:
Step 1 – Disconnect Spark Plug Wire
Start by disconnecting a spark plug wire from one of the cylinders. It’s best to begin with the easiest plug to access. Label or note which cylinder it belongs to.
Step 2 – Connect Test Light Clip to Ground
Connect the clip lead of your test light securely to a clean, unpainted ground source on the engine block. This provides a completed circuit path.
Step 3 – Touch Probe to Output Terminal
Now take the sharp probe end of the test light and touch it directly to the high voltage terminal or output stud where the spark plug wire originally connected. Do not hold the probe there continuously. Just make brief contact.
Step 4 – Crank Engine and Check for Light
With the test light grounded and probe touching the terminal, have an assistant crank the engine briefly while you watch the test light bulb. If it flashes or illuminates, even faintly, that indicates spark is present.
Step 5 – Retest Other Cylinders
Repeat the process on the other cylinders, one by one. If you find one not lighting the test bulb, that cylinder is missing spark and more diagnosis is needed.
Spark Testing Tips and Precautions
Here are some important tips when using a spark tester:
- Use care not to touch the probe end while engine is cranking – it can deliver a dangerous shock.
- If equipped, disconnect coils from spark plugs when testing COP systems.
- Compare results across all cylinders – an intermittent miss may be present.
- A weak or flickering light still counts as spark present.
- Always start by testing the easiest accessible plug wires first.
- Make sure to ground the test light clip securely to bare metal.
- Probe should only make brief, light contact with output terminal.
What if the Test Light Doesn’t Illuminate?
If the test light fails to illuminate when connected, it indicates a lack of spark. Typical causes can include:
- Faulty crankshaft position sensor
- Bad ignition coil(s)
- Open coil wiring
- Failed ignition control module
- Cracked distributor cap
- Rotor failure
- Broken spark plug wires
Further electrical diagnosis is needed to pinpoint the exact cause. Consult a vehicle repair manual for detailed spark circuit diagrams.
Other Methods of Spark Testing
While very useful, a test light is not the only way to check for spark. Here are two other common methods:
Spark Plug Diagnosis
Removing the spark plugs and checking their condition can reveal some clues about spark presence. Wet plugs indicate fuel but no spark. Carbon buildup points to weak spark. Eroded electrodes can mean overvoltage from excessive spark.
Spark Gap Testing
Using a spare spark plug, you can create an adjustable “spark gap” tool. Widen the gap to around 1/4 inch, connect it in place of a plug wire, then observe if a strong spark jumps the gap when cranking the engine. This gives you a visual of actual spark performance.
Conclusion
Checking for spark with a simple test light is one of the most basic but effective ways to diagnose ignition problems. Especially for DIYers without expensive tools, using this method to verify spark presence can save lots of guesswork and frustration. Following the proper procedures for safe spark testing with a light will quickly narrow down if the underlying issue is no spark, allowing you to zero in on the failed component.
