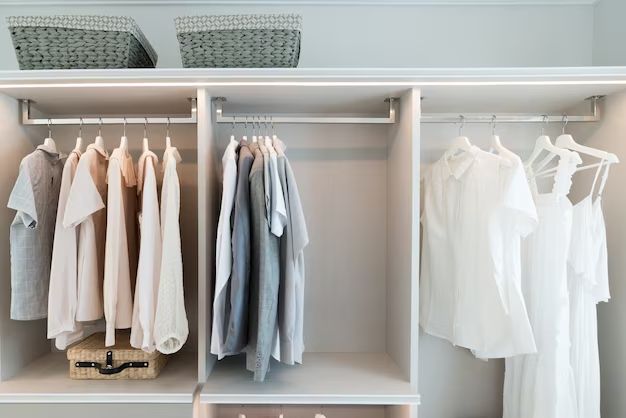
Having a sturdy closet rod is important for storing clothes and other items securely. A wobbly rod can fall down or sag over time, making it difficult to hang items properly. Luckily, there are several easy ways to reinforce your closet rod and make it more sturdy.
Page Contents
Why Does a Closet Rod Become Unsteady?
There are a few common reasons why a closet rod may become loose or unstable:
- Using a rod that is too thin or too lightweight for the span
- Not installing the rod brackets securely into wall studs
- Age and wear over many years of use
- Weight of clothes exceeding the rod’s capacity
- Improper installation where the rod is not level
Addressing these issues is key to making your closet rod sturdy again. Selecting the right hardware, reinforcing the brackets, and leveling the rod will help.
How to Make a Closet Rod Sturdy
Here are some of the best ways to reinforce a wobbly closet rod and make it sturdy once more:
1. Replace with a Thicker Rod
One of the easiest solutions is to replace the existing rod with a thicker, heavier duty option. Opt for a 1 1⁄4 inch diameter steel rod rather than a 1 inch diameter rod for optimal sturdiness. The heavier weight rod will be able to support clothes without sagging as much in the middle.
2. Install New Brackets and Anchor Properly
If the rod brackets are loose, old, or pulling away from the wall, replace them with new hardware. Look for heavy duty metal brackets at the hardware store. Ensure you are installing the new brackets directly into the wall studs if possible, not just drywall. Use a stud finder to locate the wood studs, and drill pilot holes before inserting screws through the brackets into the studs. This anchors the brackets very securely.
3. Add Additional Brackets
For longer closet rods spanning a wide area, consider installing additional support brackets evenly spaced between the existing ones. Most closet rod kits come with 2 brackets, but adding 2-3 more across a large rod can help strengthen it. Position the extra brackets at equal intervals to provide consistent support across the length of the rod.
4. Reinforce With Wood Blocking
If the wall does not have suitable wood studs for anchoring in the ideal spots, you can add extra support by installing new wood blocks between the existing studs. Cut short sections of 2×4 lumber to span horizontally between the vertical studs above and below the desired bracket location. Screw through the wood into the studs, then attach the rod brackets directly into the wood blocking.
5. Level the Rod
An unlevel rod tends to sag and become weaker over time. Use a bubble level tool to check if your rod is perfectly horizontal. If not, you can adjust the brackets to elevate one side until the rod is balanced and even again. Proper leveling helps maintain an even distribution of weight across the brackets.
6. Reposition the Rod Lower
For very tall closets, lowering the rod a few inches can improve stability. Having the rod positioned closer to the bracket attachment points on the wall reduces torque and leverage on the brackets. This makes the overall installation less likely to sway or skew in any direction. Lowering a high rod by 6-12 inches is ideal.
Quick Tips
Keep these handy tips in mind as well when working on closet rod reinforcement projects:
- Measure your rod span properly so you get an adequately long rod -too short adds stress.
- Clean walls thoroughly before installing brackets – remove old adhesive, spackle, dust.
- Tighten the set screws on the rod brackets before installing rods – prevents slippage.
- Use metal sleeves in the rod ends – reduces friction and binding on brackets.
Rod Material and Type Comparison
When selecting a new closet rod, you have choices of materials and rod configurations. Here is an overview of the most common options:
| Rod Material | Pros | Cons |
|---|---|---|
| Steel | Very strong and durable | Heavier weight than other materials |
| Aluminum | Lightweight while still sturdy | Can bend easier than steel under heavy loads |
| Solid Wood | Attractive finish options | Prone to sagging unless thick dimension lumber is used |
| Plastic/PVC | Low cost material | Not as durable for heavy use |
| Rod Type | Pros | Cons |
|---|---|---|
| Single Rod | Simple installation | Not as sturdy for wide spans |
| Double Hanging Rods | Extra storage space | Harder to install evenly |
| Tension Rod | No drilling into walls required | Not as secure, can fall |
Conclusion
Reinforcing a closet rod is an easy DIY home project. With some basic tools and hardware, you can get your rod fixed up securely. Just be sure to properly anchor into studs, use metal sleeves, and opt for thick, sturdy steel rods. With the right techniques, you’ll have a closet rod that can handle even the heaviest wardrobe items.
