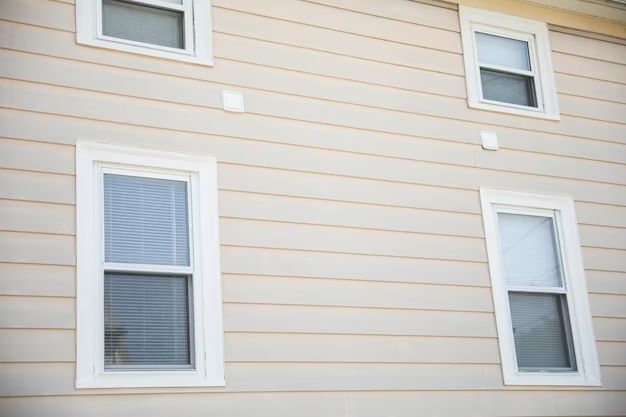
Choosing new siding for your home can be an exciting project, but also a daunting one if you’re not sure how the material and color will look against your existing trim and roof. Fortunately, there are a few easy ways to visualize siding options on your home before committing to a final decision.
Page Contents
Use Online Visualizer Tools
Many siding manufacturers and retailers offer free online visualizer tools that allow you to upload a photo of your home and “try on” different siding and color options. These tools use your existing siding lines and roof angles to overlay the new siding realistically. Here’s how to use them:
- Find a high quality, straight-on photo of your home’s exterior that clearly shows existing siding, trim, and roof.
- Go to the siding manufacturer’s website and find their visualizer tool.
- Upload your photo and outline the major siding areas of your home.
- Choose from their available siding styles and color options to visualize on your home.
- Adjust and compare different looks by using their editing tools.
Most of these visualizer tools allow you to save your images to share and compare. They give you a realistic preview without having to edit photos yourself.
Use Augmented Reality Apps
Similar to online visualizers, there are also augmented reality (AR) apps that let you visualize siding on your actual home through your smartphone camera. Apps like Home Depot’s Project Color help blend virtual siding onto your home:
- Download the Project Color app to your iOS or Android device.
- Open the app and point your camera directly at your home’s exterior.
- Use the app’s tools to outline your home and mark doorways and windows.
- Choose from their available siding and color options to visualize on your home through the app.
- Walk around your house and view the AR siding from different angles.
The advantage of AR apps is seeing virtual siding realistically overlaid right on your home through your camera. The downside is needing good lighting and the correct angles to work properly.
Order Siding Samples
While virtual visualizers are helpful, nothing beats seeing real siding samples on your home. Most manufacturers will send or let you order for free small sections of siding in different profiles and colors. You can hold these samples right against your existing exterior to preview how they look. Here’s how to use them effectively:
- Order a range of siding samples in colors you are considering.
- Hold or tape the samples directly on your exterior walls and view at eye level.
- Look at the samples from a distance to preview the full look.
- Move the samples around to different locations to compare.
- View the samples at different times/lighting for color accuracy.
The disadvantage is only seeing a small siding section rather than the whole house. But the advantage is seeing real siding color and texture on your home.
Create a Mockup Image
If you’re handy with image editing programs, you can create your own mockup visualization. This takes more effort but allows full customization. Here’s how to DIY it:
- Take high quality, straight-on photos of your entire house exterior.
- Use Photoshop, GIMP, or another editing program to layer siding image samples over your photos.
- Resize and align the siding samples to match your existing siding lines.
- Use layer blending, transparency, and textures to integrated the mock siding.
- Show different section and lighting scenarios with different mockup photos.
The advantage here is fully customizing the visualization however you want. The downside is the editing time and skill required compared to other options.
Get a Professional Rendering
For the most accurate visualization, hire a professional designer to create a full 3D rendering of new siding on your home. They will create a digital model of your house and virtually apply new materials with precision. Here is the process:
- Provide detailed photos and measurements of your home exterior.
- Designer creates a 3D model of your existing home structure.
- Apply desired siding selections and colors to the digital model.
- Make realistic adjustments for lighting, shadows, and surrounding environment.
- Render high resolution 2D images from multiple angles.
Professional renderings provide the most realistic outcome visualization. It does come at a higher cost, but may be worth it for expensive siding jobs.
Mock It Up with Temporary Siding
For a hands-on approach, mock up your desired siding look using temporary DIY materials. Some ideas include:
- Foam board painted or textured to resemble siding profiles.
- Contact paper with brick, stone, or wood grain patterns.
- Removable vinyl wraps with metal, shake, or other textures.
- Temporary wallpaper or projector images for color visualization.
Use double stick tape or removable adhesive to apply the mockup materials directly on your existing siding. This can provide a cheap but realistic preview of how new siding could look on your home.
Conclusion
The best way to visualize new siding depends on your needs and budget. Online visualizers and AR apps provide a quick digital preview, while real samples and professional renderings look more realistic. For a hands-on approach, create photo mockups or temporary mockups on your actual house. Using a combination of these visualization methods allows you to get the best impression of new siding before installing.