If you notice your clothes aren’t drying properly or coming out still damp, your dryer’s moisture sensor may be malfunctioning. A faulty moisture sensor can prevent your dryer from adequately drying loads and lead to frustration when you open the dryer only to find wet clothes. Here’s what you need to know about identifying issues with your dryer’s moisture sensor and getting it fixed.
Page Contents
What is a dryer moisture sensor?
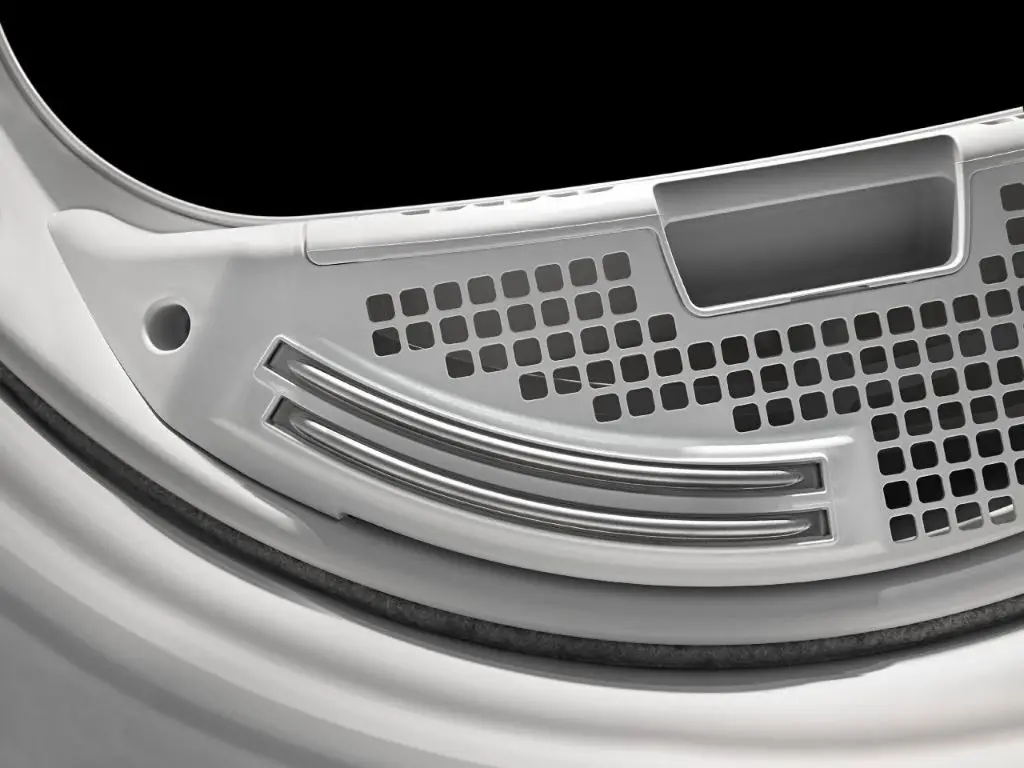
A moisture sensor is a key component in electric and gas dryers that uses temperature and conductivity to detect when laundry is dry. The moisture sensor bar is located across the exhaust duct inside the dryer drum. It has two conductive metal strips that are very close together but not touching.
When wet laundry touches the sensor strips, the water helps conduct electricity between the strips, completing the circuit. This signals to the dryer that the load is still damp. As clothes get drier, they conduct less electricity between the strips. When the conductivity drops below a certain threshold, the moisture sensor tells the dryer the clothes are dry and it’s time to stop the cycle. This is why dryers shut off automatically when clothes are dry.
Signs your dryer moisture sensor is failing
A faulty moisture sensor can cause a variety of drying problems. Here are some signs your dryer’s moisture sensor may need to be replaced:
- Clothes take longer than normal to dry and come out damp
- The load seems dry but the dryer keeps running and never shuts off
- Dryer shuts off before clothes are fully dry
- You need to run loads on high heat repeatedly to dry them
- Dryer stops early in the cycle for no apparent reason
- Dryer starts but won’t heat up at all
If your dryer exhibits any of these symptoms, the moisture sensor likely isn’t working properly. Other possible causes could be a clogged lint screen, restricted ventilation, or failing heating element. But if there are no other obvious issues, the moisture sensor is probably defective.
How to test a dryer moisture sensor
You can test the dryer sensor yourself to determine if it’s malfunctioning before paying for a repair call. Here are a couple methods to troubleshoot a moisture sensor:
Visual inspection
Unplug the dryer and remove the front panel so you can inspect the moisture sensor bar. Look for:
- Obvious damage like cracks or broken wires
- Burn marks or discoloration on the sensor strips
- Buildup of lint, dirt, or detergent residue around sensor
Any visible damage indicates the sensor needs replacement. If it looks ok, proceed with further testing.
Continuity test
Use a multimeter to test for continuity between the two sensor probes. You’re checking for conductivity which signals “wet” clothes. Follow these steps:
- Unplug dryer and remove the front panel.
- Set multimeter to test continuity.
- Touch the meter probes to each sensor strip. The meter should show continuity.
- Now mimic dry clothes by separating the probes. This breaks the circuit and the meter should read no continuity.
- Repeat test with probes touching and separated a few times.
If the meter fails to register continuity when probes are touching or still shows continuity when separated, the moisture sensor likely needs replacement.
Adding water
Run a wet test cycle:
- Wet a washcloth under the faucet until saturated.
- Toss the wet cloth in the empty dryer and start a timed dry cycle (30-60 mins).
- If the cycle ends before the cloth is completely dry, the moisture sensor is probably defective.
A working sensor will detect the wet item and keep the cycle going until dry. If the dryer shuts off with the cloth still damp, the sensor isn’t working right.
How to replace a dryer moisture sensor
Once you’ve determined the moisture sensor is malfunctioning, you’ll need to replace it. This typically requires disassembling the dryer to access sensor. Here are the basic steps:
- Unplug the dryer – Always unplug first for safety.
- Remove front panel – Take off the front panel to access the control console area.
- Open control console cover – The moisture sensor is located behind the control console.
- Disconnect wires – Unplug the two wires from the old moisture sensor terminals.
- Remove sensor bar – Unscrew or unclip the sensor bar and slide it out.
- Install new sensor – Place new moisture sensor in same position and secure it.
- Reconnect wires – Attach the two wires to the same terminals on new sensor.
- Reassemble dryer – Double check everything is hooked up then replace console cover and front panel.
- Test operation – Run a test cycle to ensure new sensor works before using dryer for laundry.
Refer to the service manual for full step-by-step instructions for your specific dryer model. The entire moisture sensor replacement process takes 30-60 minutes with some mechanical aptitude.
Cost to replace a dryer moisture sensor
If you hire an appliance repair technician to replace the moisture sensor, expect to pay $125-$250 for parts and labor. The sensor itself costs $40-$90 while the service call adds $80-$150 or more.
Doing it yourself cuts the cost significantly, with just the price of the new sensor which can be ordered online for your model. However, tackle DIY dryer repairs carefully as incorrect reassembly can create electrical and fire hazards.
| Dryer Moisture Sensor Replacement Cost | Average Cost |
|---|---|
| Hire appliance technician | $125-$250 |
| DIY parts cost only | $40-$90 |
Prices can vary based on dryer type, technician fees, and part source. Gas dryers may cost slightly more than electric. Always look for discounts on appliance parts when possible.
When to repair vs replace your dryer
If the moisture sensor is the only problem with an older dryer, repair may be the best option. However if the appliance is over 10 years old and experiencing other issues, replacement may be a better investment.
Consider the age and history of repair problems for your dryer. Also factor in cost of the moisture sensor repair versus:
- The cost of a new energy efficient dryer
- Age and condition of the dryer
- Cost of future repairs
- Availability of replacement parts
If your dryer is only 6-8 years old and otherwise operating fine, repairing the moisture sensor makes sense. But shelling out money to fix an 11 year old dryer that needs other work may not be worthwhile. Weigh the costs carefully when deciding between dryer repair or replacement.
Preventing dryer moisture sensor failure
To maximize the life of your dryer moisture sensor and minimize needed repairs:
- Clean the lint screen before every cycle to prevent buildup on sensor bars.
- Check the vent duct yearly and clean any significant lint out of the duct, hood, and back of dryer.
- Avoid overloading the dryer which leads to longer cycles and more wear on parts.
- Use dryer balls to separate laundry rather than fabric softener sheets which leave residue.
- Follow care instructions and don’t overdry clothes, especially delicate fabrics.
- Use lower heat settings when possible to reduce strain on heating elements.
- Level the dryer to prevent unnecessary vibration and wear.
- Upgrade to a moisture sensor dryer if yours lacks this feature to enable auto-shutoff when clothes are dry.
With proper dryer operation and venting maintenance, you can maximize the lifespan of the moisture sensor. But it will eventually fail and need replacement, at which point this guide will help you identify and fix the issue.
Conclusion
When your dryer isn’t drying laundry completely, the culprit is often a faulty moisture sensor. This inexpensive part can be replaced DIY-style with some mechanical skill. Or hire an appliance repair tech if you’re unsure about taking on the repair. Consider both moisture sensor replacement cost and the age of your dryer before deciding whether fixing it is worthwhile versus buying a new dryer. With this guide, you’ll be able to diagnose and handle dryer moisture sensor problems.
