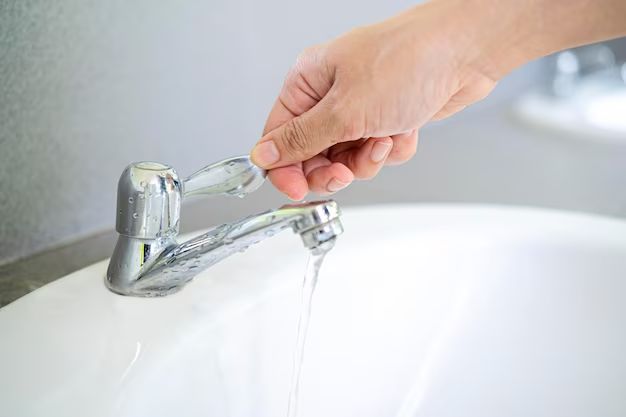
A dripping bathroom faucet can be annoying and waste water. Fortunately, fixing a dripping faucet is usually a quick and easy DIY project that doesn’t require any special tools. In most cases, all you need to do is replace a couple of worn washers. Here’s a step-by-step guide on how to stop a bathroom faucet from dripping.
Page Contents
What Causes a Dripping Faucet?
Before learning how to fix a dripping faucet, it helps to understand what causes the drip in the first place. There are a few common reasons why a bathroom faucet may drip:
- Worn valve seats and/or washers – The washers and valve seats within the faucet get worn down over time from regular use and need to be replaced.
- Mineral build-up – Hard water can leave behind mineral deposits that prevent the faucet from sealing properly.
- Corroded valves – Corrosion from chemicals in the water or old metal pipes can damage the faucet valves.
- Dripping spout – A leak from the spout is usually due to an issue with the O-ring.
- Leaky cartridge – Cartridge-style faucets can leak due to damaged internal cartridges.
The most common cause of a dripping faucet is worn rubber washers. Thankfully, this is one of the easiest parts to replace.
How to Stop a Dripping Faucet
Follow these steps to fix a leaky bathroom faucet:
- Turn off the water supply lines – Locate the water supply valves below or behind the sink and turn them clockwise to shut off the water.
- Protect the sink – Place a towel in the bottom of the sink to prevent any small parts from falling down the drain.
- Pry off the faucet handle – Insert a small screwdriver under the handle and pry it up and off the faucet. The handle may be threaded or connected with a set screw that needs loosening first.
- Remove the faucet bonnet – Use an adjustable wrench or pliers to loosen and unscrew the bonnet nut located just under the faucet handle. Set the bonnet nut aside.
- Extract the valve stem – Grab the valve stem with pliers and pull it straight up and out of the faucet assembly. The rubber seat and washer will come out with it.
- Examine and replace washers – The source of the leak will likely be obvious once you have the valve stem out. Replace any washers or O-rings that are cracked, torn, or otherwise damaged.
- Reinstall valve stem – Drop the new washers and O-rings over the valve stem. Apply a small amount of faucet grease if desired. Reinsert the valve stem into the faucet housing.
- Secure the bonnet nut – Hand tighten the bonnet nut back onto the faucet. Use the wrench to give it an extra quarter turn, but take care not to overtighten.
- Reattach handle – Line up the handle correctly and set it back onto the valve stem. Secure with the set screw if needed.
- Turn water back on – Turn the supply valves to restore water flow and check for any remaining leaks.
Be patient after turning the water back on – it may take a few minutes for all the air to purge out of the faucet and water lines. Don’t panic if the faucet sputters at first. Keep the faucet on and let the water run for a bit to make sure there are no drips.
Tips for Fixing a Dripping Faucet
Follow these tips for an easier time diagnosing and repairing a leaky bathroom faucet:
- Keep extra washers and O-rings on hand so you can replace them whenever needed. They are inexpensive and available at any hardware store.
- Soak the faucet overnight in vinegar or lime remover if you suspect mineral buildup is the culprit. The acid helps dissolve scale.
- Use silicone grease on the washers and O-ring during reassembly to help prevent future leaks.
- Go slow when removing stuck faucet parts to avoid damaging them. Penetrating oil can help loosen corroded parts.
- Replace the valve cartridge if you have a cartridge-style faucet and replacing the washers doesn’t work.
When to Call a Plumber
While minor faucet leaks are easy DIY repairs, there are times when it’s best to call a professional plumber:
- You can’t isolate the leak or determine the cause of dripping.
- The drip is very severe or seems to be from inside the wall.
- You need to replace valves, cartridges, or the entire faucet.
- Shutting off the water supply doesn’t stop the leak.
- There are no shutoff valves under the sink.
A licensed plumber has the expertise to accurately diagnose the problem and make any necessary repairs. They will also have all the right tools and parts on hand to fix the leak quickly.
Preventing Future Leaks
Here are some tips to help prevent your bathroom faucet from dripping in the future:
- Regularly inspect washers and O-rings for cracks and damage. Replace as needed.
- Use a plastic aerator screen or filter on the faucet spout to collect grit and mineral deposits.
- Clean hard water buildup with vinegar or a commercial lime-scale remover.
- Avoid letting the faucet freeze in winter. Shut off and drain water lines if needed.
- Update old fixtures. Newer faucets have durable designs less prone to dripping.
- Immediately repair any new drips to prevent worse damage over time.
Conclusion
A leaky bathroom faucet may seem like a minor nuisance, but fixing it quickly saves wasted water and prevents the annoyance of those drips. In most cases, the repair is as simple as replacing a couple of worn rubber washers. With the proper tools and patience, it’s an easy fix you can DIY in about 10 minutes. If the drip persists after replacing washers or you’re uncomfortable making the repair yourself, contact a professional plumber to diagnose and fix the leak.
