Touching up a scuffed or faded wall with paint can be tricky if you want to seamlessly blend the new paint into the old. When done right, your touch-ups will be practically invisible, maintaining the uniform look of your wall color. Here are some tips on how to properly blend paint when doing touch-ups on a wall:
Page Contents
Assess the Area Needing Paint
First, take a close look at the spot on the wall that needs a touch-up. Determine the size of the area you’ll need to repaint. For small nicks or scuffs, you may be able to get away with just painting over that immediate damaged area. For larger areas or those where the paint has faded evenly over time, you’ll need to paint a larger section so the new paint can blend into the old seamlessly.
You’ll also need to consider the texture of the wall you’re painting. If the existing paint has a flat finish, blending will be easier than on a wall with lots of texture. On textured walls, you may need to extend the paint beyond the damaged area to blend it in.
Prepare the Wall Surface
Proper surface preparation is key for successful paint touch-ups. Start by cleaning the area with a clean, lint-free cloth to remove any dirt, grease, or grime so the new paint will adhere well. For smoother walls, lightly sand the damaged area and a few inches beyond it to roughen up the surface. This helps the new paint bind to the old.
On heavily textured walls, you may need to use spackle or drywall joint compound to rebuild any damaged texture so it matches the surrounding area. Let any patching orrepair products fully dry before painting.
Gather Your Paint Supplies
For a seamless paint blend, you’ll need to match the existing paint on your wall as closely as possible. Start by checking the color name or code on the old paint can or note the brand and color name. For the best match, take a paint sample from the wall into your local paint store and have them color match it.
When purchasing paint, only buy as much as you’ll need for your touch-ups. For small jobs, sample sizes or quarts are ideal. You’ll also need some high quality mini paint roller covers, an angled paint brush, painters tape, and a paint tray with liner.
Prepare the Paint
Before starting to paint, thoroughly mix the new paint in the can to reincorporate any settled pigment. Then pour some into your paint tray. You’ll want to work in small sections when blending, so only pour out what you anticipate needing for each section.
If your existing wall has a matte or flat finish, add a small amount of paint conditioner to the touch-up paint. This will help dull the sheen of the new paint so it matches the old. Stir the conditioner in well.
Paint the Touched Up Area
It’s time to start painting the wall. Use painters tape to mask off any adjacent surfaces you don’t want to get paint on. Next, use the angled brush to paint the damaged area, feathering the edges so they fade into the old paint. Work from the outer edges in toward the middle.
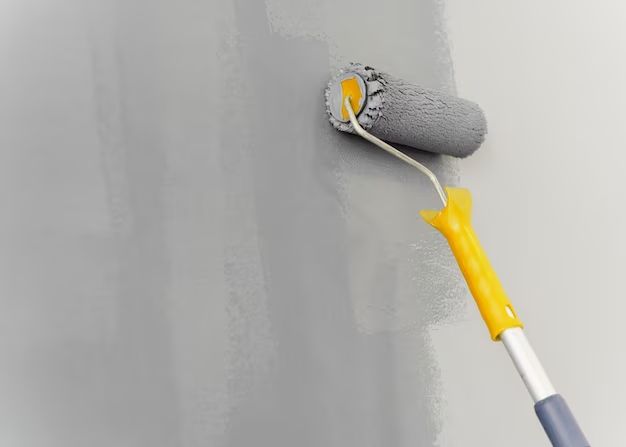
Then, using a dry mini paint roller, roll over the newly painted section going in different directions. The roller helps blend the edges further and makes the texture match the rest of the wall. Extend the rolling a few inches beyond the painted section to soften any hard edges.
Blend the Paint Edge
Once the damaged area is painted and rolled, you’ll need to gently blend the edge where the new paint meets the old. While the paint is still wet, lightly feather out the paint using the dry mini roller. Work in vertical and horizontal strokes from the fresh paint into the old paint to create a soft, gradual transition between them.
You may need to go over the blends a few times, allowing the paint to partially dry between applications. The key is to work slowly and gently so you don’t pull up the existing paint. Let the final application dry completely before removing painter’s tape.
Make Additional Touches if Needed
After the initial blended section has dried, inspect it closely. Make sure the color, sheen, and texture matches the rest of the wall. If you notice any mismatches, you can do minor touch-ups to improve the blend:
- If the paint colors don’t match perfectly, lightly roll over the periphery of the touched up area to help blend the hues.
- If the new paint is shinier, apply another thin coat of paint conditioner to dull it down.
- For texture mismatches, you can use a dry brush to add or remove a bit of paint to match the wall finish.
Make any final adjustments needed for the paint to blend seamlessly. The end result should be a patched area that is indistinguishable from the rest of the wall!
Clean Up Your Supplies
Once your paint touch-ups are complete, be sure to properly clean your painting tools. Follow these steps:
- Wipe excess paint from brushes and rollers with a rag or paper towels.
- Rinse brushes in clean water until the water runs clear.
- For rollers, run them under warm water while gently spinning to loosen remaining paint.
- Wrap brushes and rollers in paper or rag and store flat until fully dry.
- Seal and store any leftover paint so it’s ready for future touch-ups.
- Properly dispose of used rags, roller covers, paint tray liners, and other one-use supplies.
Taking good care of your tools allows you to reuse them and makes your next paint job fast and easy.
Conclusion
Blending new paint into an existing wall takes patience, the right tools, and techniques. But with some careful prep work, feathering the paint edges, and making minor adjustments, you can make those touch-ups practically disappear. Keeping your paint blending skills sharp will give you the ability to easily freshen up scuffs, cover flaws, or change up wall colors when needed.
| Prep Steps | Paint Application | Blend Techniques |
|---|---|---|
|
|
|
The key steps for blending paint touch-ups are preparing the surface, applying the new paint carefully, and then gently feathering the edges using a dry roller or brush. With the right supplies and techniques, you can easily make repairs blend right into the wall for an imperceptible paint job. Give your walls a refresh and hide any imperfections with seamless paint touch-ups.