Coaxial cable is commonly used for cable TV, satellite TV, cable modems, and many other applications where shielded and bandwidth-efficient transmission lines are required. Cutting and joining coaxial cable properly is important for maintaining signal quality and avoiding interference or loss. Here is a step-by-step guide to cutting and connecting coaxial cable correctly.
Page Contents
- 1 Things You’ll Need
- 2 Step 1: Cut the Cable
- 3 Step 2: Strip and Clean the Cable End
- 4 Step 3: Fold Back the Braid
- 5 Step 4: Cut and Strip the Dielectric
- 6 Step 5: Slide on the Connector
- 7 Step 6: Crimp the Connector
- 8 Step 7: Check Connection Tightness
- 9 Tips for Cutting and Joining Coax Cable
- 10 Types of Coaxial Cable Connectors
- 11 Conclusion
Things You’ll Need
- Coaxial cable stripper or razor blade
- Coaxial cable crimp connectors
- Coaxial cable crimping tool
- Cable prep brush
Step 1: Cut the Cable
Use a coaxial cable stripper or a sharp razor blade to make a clean, straight cut through the cable where you want to join or terminate it. The cut should be made perpendicular to the length of the cable for proper contact inside connectors.
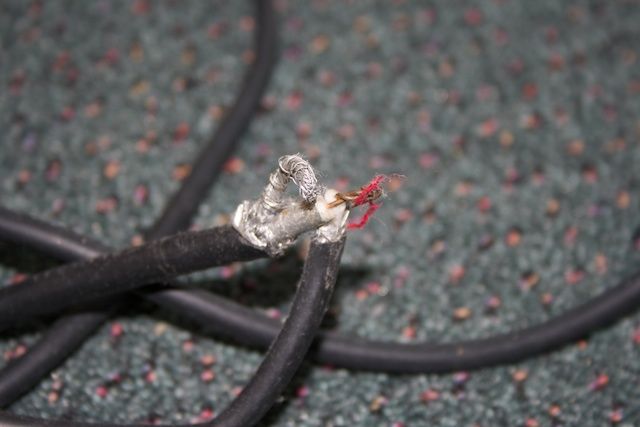
Step 2: Strip and Clean the Cable End
Most coaxial connectors require 1/2″ of the outer insulation to be stripped off to expose the braided shield underneath. Use the coaxial stripper or carefully cut through just the outer jacket with a razor blade, being careful not to nick the braid. Use the cable prep brush to clean any dirt, debris or oxidation off the now exposed braided shield.
Step 3: Fold Back the Braid
Gently fold back the exposed braided shield over the outer jacket insulation. This exposes the dielectric insulating layer underneath. Be careful not to cut through or nick the dielectric layer as this can impact signal quality.
Step 4: Cut and Strip the Dielectric
Measure and mark 1/4″ length on the exposed dielectric layer. Carefully cut through and strip away this section to expose the center conductor. The exact length may vary based on the type of connector being used. Clean any residue off the conductor using the prep brush.
Step 5: Slide on the Connector
Slide the coaxial connector over the prepared end of the cable, aligning the center conductor in the connector. The dielectric insulating layer should be visible inside the connector end. Push the connector on fully.
Step 6: Crimp the Connector
Place the coaxial connector into the crimping tool properly aligned in the jaws. Squeeze the handles together firmly to crimp the connector fully onto the cable. Follow the crimping tool directions for proper technique.
Step 7: Check Connection Tightness
After crimping, try gently rocking and twisting the connector to check that it is firmly attached to the cable. Re-crimp if any shifting or looseness is detected. The connector should be securely fastened.
Tips for Cutting and Joining Coax Cable
- Always use proper coaxial tools to avoid damaging connections.
- Keep cable ends sealed when not connected to prevent moisture ingress.
- Ensure connectors match the cable size and type.
- Leave some slack when cutting to allow for re-joining if needed.
- Minimize bending cables sharply which can impact signal quality.
Types of Coaxial Cable Connectors
| Connector Type | Description | Common Applications |
|---|---|---|
| F-type | Threaded connector commonly used for CCTV and RG-59 cable. | Cable TV, satellite TV |
| BNC | Bayonet-style connector often used for RG-58 and mini-coax. | CCTV, data networks |
| SMA | Snap-on connector suitable for smaller RG-316 and RG-174 cable. | WiFi antennas, ham radio |
| N-type | Larger threaded connector good for large, heavy-duty coaxial cable. | Microwave systems, VSAT |
Conclusion
Cutting and joining coaxial cable properly using the right tools and techniques helps maintain signal integrity through connections. Follow the steps closely when preparing cable ends, using quality connectors, and making firm crimps. Understanding the different types of coax connectors used in various applications also helps ensure you use the right parts to make solid, lasting coaxial cable joints.