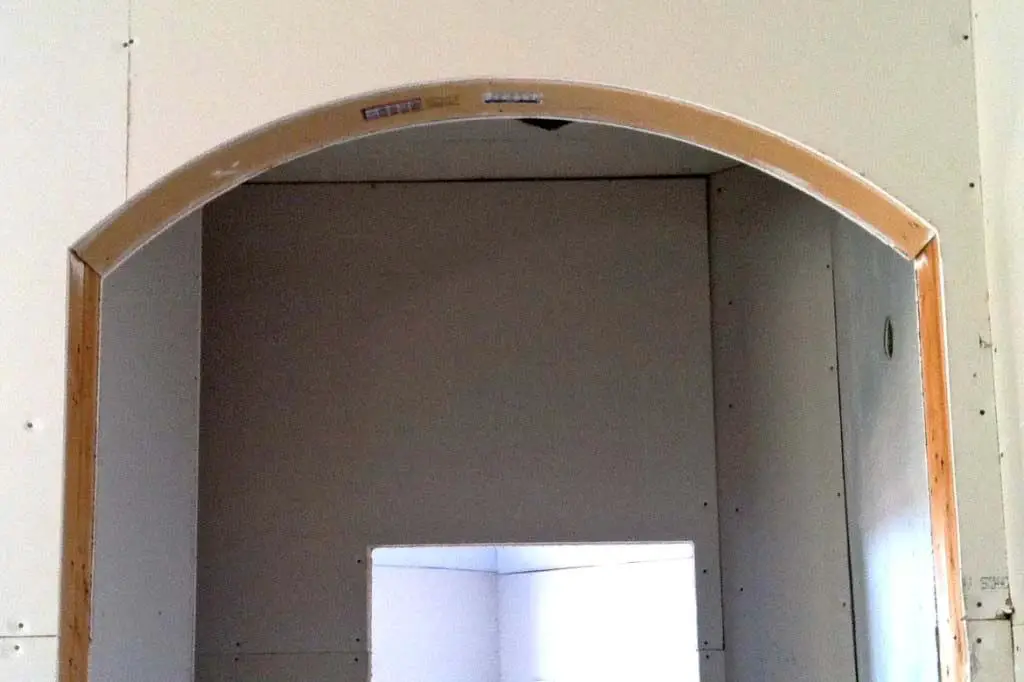
Drywalling an arched doorway requires some special techniques and materials to account for the curve of the arch. Proper planning and preparation are key to achieving a smooth, seamless drywall finish on the arched surface. In this comprehensive guide, we will walk through the entire process step-by-step.
Page Contents
- 1 What is an arched doorway?
- 2 Benefits of an arched doorway
- 3 Drywall challenges with arched doorways
- 4 Materials needed for drywalling an arched doorway
- 5 Preparing the arched doorway
- 6 Cutting flexboard for the arch
- 7 Installing and securing flexboard on the arch
- 8 Finishing the arch drywall
- 9 Tips for achieving a seamless arch drywall finish
- 10 Common problems drywalling arched doorways
- 11 Cost to drywall an arched doorway
- 12 Conclusion
What is an arched doorway?
An arched doorway is an opening in a wall that has a curved top rather than a flat, horizontal top. Arched doorways are a hallmark of many architectural styles, including Craftsman, Mediterranean, and Colonial. The curve of the arch provides visual interest and can make a doorway feel more open and inviting.
There are several common types of arched doorways:
- Round arch – Semicircular
- Segmental arch – Less than semicircular
- Lancet arch – Pointed arch
- Trefoil arch – Archbishop with lobed shapes
- Horseshoe arch – Upside down U-shape
The most common type for residential doorways is the round or Roman arch. This guide focuses on drywall techniques for the round arched doorway.
Benefits of an arched doorway
There are several reasons an arched doorway is desirable over a flat rectangular opening:
- Aesthetic appeal – Arches add architectural interest and style
- Openness – Arches make a space feel more open and inviting
- Strength – An arched structure is stronger than a horizontal lintel
- Allow taller openings – An arch can allow for a taller opening without need for a structural header
While arches have clear advantages, they do present some challenges when it comes to drywall installation. The curve requires special shaping and supports.
Drywall challenges with arched doorways
When drywalling an arched opening, you can’t simply cut flat sheets of drywall to fit. The challenges include:
- Bending the drywall to the curved shape
- Cutting precise arch shapes in the drywall
- Supporting the weight of the drywall on the curved section
- Achieving clean seams and transitions on the curve
- Matching up tapered drywall edges on the arched section
These challenges mean you can’t rely on the same drywall techniques used on flat walls. Special materials and installation methods are required.
Materials needed for drywalling an arched doorway
To drywall an arched doorway, you will need the following materials:
- Flexboard – Flexible drywall designed to bend to curved shapes. 1/4″ thickness is best for tight arch radii.
- Fiberglass drywall tape – Used for arch seams instead of paper tape.
- Drywall screws – 1 5/8″ long screws are ideal.
- Drywall compound – For covering seams and screw heads.
- Sanding blocks – Needed to sand seams on the arched curve.
- Paintable latex caulk – For sealing any gaps before painting.
- Primer and paint – Match to existing wall color.
The flexboard is the key material that makes the arched drywall possible. Regular drywall is too rigid to bend smoothly to the curved shape.
Preparing the arched doorway
Before beginning drywall installation, the arched opening should be prepared:
- Ensure the framing around the arch is complete and secured.
- Install corner bead on outside corners to protect edges.
- Seal gaps around the door frame with acrylic caulk.
- Measure the exact dimensions of the arch opening.
Having clean, finished framing is critical for a smooth drywall finish.
Cutting flexboard for the arch
The biggest challenge is cutting the flexboard neatly to the arched shape. There are a few options for achieving smooth, accurate arch cuts:
- Use an oscillating multi-tool with a fine-toothed drywall blade. Go slowly and make relief cuts on the backside to allow tighter bending.
- Use a drywall rasp to carefully shape and refine the cuts after rough-cutting.
- For the tightest radii, consider ordering a pre-cut arch flexboard section. Specify the exact arch dimensions.
Cut multiple arch shapes from flexboard sections, allowing for seams between each. Number the pieces to keep track.
Installing and securing flexboard on the arch
With the arch pieces cut, you can begin installation:
- Apply construction adhesive to framing and back of flexboard.
- Place first section tight to lower corner bead and secure with drywall screws at 12″ intervals (on the framing, not through the facing).
- Install remaining sections in order, overlapping seams by 1″. Stagger seams from layer below.
- Screw each section in place, driving screws slightly inset from paper surface.
- On the arch apex, use fiberglass mesh tape at seams.
- Fill screw holes and seams with drywall compound. Feather out.
Take care not to drive screws too close to the edge or through the paper facing. The seam at the apex will need 3 coats of compound for best results.
Finishing the arch drywall
Once installed and secured, finish the arch drywall:
- Apply corner bead to outside corners for clean, finished edges.
- Fill all screw depressions with drywall compound, allowing to dry between coats.
- Sand seams and screws using fine sanding pads. Be extra thorough sanding the apex.
- Vacuum away dust and wipe with damp cloth.
- Apply latex-based spackling to patch any small defects. Let dry completely.
- Caulk along framing with paintable caulk. Smooth with wet finger.
- Prime and paint arch to match wall color. Allow proper drying time between coats.
Proper sanding and feathering ensures the arched drywall has a smooth face for priming/painting.
Tips for achieving a seamless arch drywall finish
Here are some best practices to achieve a flawless finish on arched drywall:
- Measure twice, cut once – Accurate flexboard sizing is crucial.
- Line up the factory tapered edges at seams for smoother finishing.
- Stagger seams between layers for added strength.
- Drive screws carefully to dimple surface without tearing face paper.
- Use fiberglass mesh tape at the apex for maximum strength.
- Thoroughly sand arch seams and use light coats of compound.
- Fill any gaps or cracks with paintable caulk before painting.
Patience and attention to detail will pay off in a perfect looking arched opening.
Common problems drywalling arched doorways
Despite best efforts, some common problems can occur:
- Visible seams – Caused by insufficient compound or sanding.
- Drywall cracks – Can happen if framing shifts or flexboard not installed tightly.
- Bumpy texture – Usually from rushed compound application. Keep coats smooth.
- Drywall sagging – Ensure proper screw placement to support weight on arch.
- Face paper tearing – Drive screws carefully and do not overdrive.
Watch for these issues as you work. Fix immediately to prevent needing major repairs later.
Cost to drywall an arched doorway
In terms of labor and materials, expect to pay:
- Flexboard sections – $75 to $150
- Joint compound, tape, screws, etc – $50 to $75
- Professional installation – $500 to $1,500
The installation cost can vary based on the arch size, complexity, and how readily available flexboard is in your area.
Conclusion
Drywalling an arched doorway takes special techniques but creates a beautiful architectural detail. With the right materials and proper planning, these methods can result in a seamless drywall finish that flows smoothly across the curved opening. Patience and attention to detail will pay off when you stand back and admire the completed archway.
Here is a recap of the key steps:
- Prepare framing and measure arch precisely
- Order and cut flexboard sections to fit the arch
- Install flexboard with adhesive and screws
- Tape seams with fiberglass mesh
- Fill seams and screws with compound, sand smooth
- Caulk gaps and prime before painting
Follow these best practices for arched doorway drywall, and you can achieve beautiful results. Just take your time and don’t cut corners!