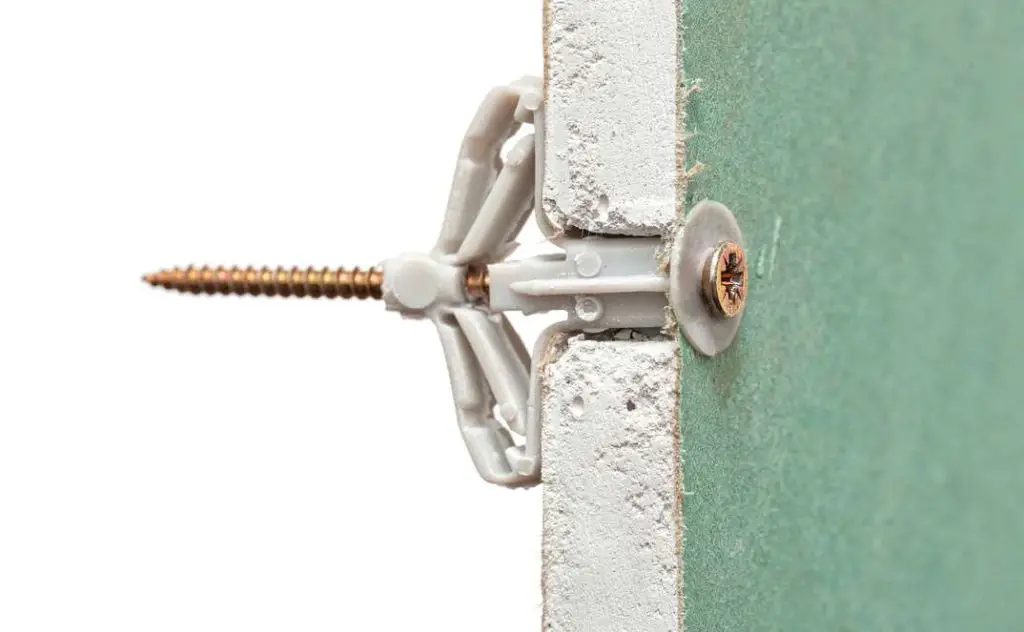
Drywall anchors allow you to hang heavy items on walls without needing to locate wall studs. While extremely useful, they do leave behind unsightly holes when removed. Filling these holes is relatively simple, but does require some time and effort to make them disappear.
In this article, we will walk through the complete process of filling drywall anchor holes in a few easy steps. We will cover what materials are needed, how to prepare the hole, the best filling techniques, and how to finish for an invisible repair. With some basic DIY skills and materials, those annoying leftover holes can be made to vanish.
Page Contents
What Tools and Materials are Needed?
Filling drywall holes is often done with joint compound or spackle. Joint compound is the powder material used for taping and finishing drywall seams. Pre-mixed lightweight spackle is also readily available and easy to use for small holes. Here is a list of the basic tools and materials you will need:
Tools
- Putty knife or drywall knife
- Sandpaper and sanding block
- Paintbrush and paint roller
Materials
- Joint compound or pre-mixed lightweight spackle
- Joint tape
- Paint to match existing wall color
For very small holes less than 1/4 inch, you may be able to skip the spackle and use just paint. For anything larger, filling material will be needed to avoid the hole being visible.
Step 1: Prepare the Hole
Before filling a drywall anchor hole, the hole needs to be cleaned out and prepared. Here are the steps for proper hole prep:
Remove the anchor
First, remove the anchor hardware fully from the drywall. Use pliers if needed to remove any retaining clips or screws left behind. Removing debris fully will allow the filler to adhere properly.
Clear away loose drywall and dust
Use a utility knife to cut away any loose edges or paper around the hole. Remove any chipped drywall pieces or dust with a vacuum cleaner so the area is clean.
Widen hole if needed
For larger holes or those left irregularly from the anchor, you may need to widen the hole slightly. Use a drywall saw to cut a clean, straight edge so the repair will be neat.
Step 2: Apply Joint Compound for Larger Holes
For drywall anchor holes larger than 1/4 inch, joint compound and tape is the best filler material. Here is how to apply it for an even, durable finish:
Add joint tape for holes over 1/4 inch
For these larger holes, cut a length of joint tape just longer than the hole. Apply a layer of compound over the entire hole and place the tape centered over it, pressing it into the compound.
Fill hole flush with compound
Use a putty or drywall knife to apply a thin layer of joint compound over the tape, feathering the edges. Build up layers gradually, allowing it to dry in between, until the anchor hole is filled flush with the wall.
Sand between coats
Gently sand each coat as it dries to smooth the surface before adding more compound. The final coat should be smooth and even with the wall when dried.
Step 3: Use Spackle for Small Holes
For holes less than 1/4 inch, spackle is the easiest filler to use. Follow these steps for applying it smoothly:
Apply spackle over the hole
Dip a putty knife into the spackle and wipe off any excess. Spread the spackle lightly over the hole using the putty knife.
Smooth the surface
Once filled, gently scrape the surface smooth using the putty knife. Remove any excess, leaving the spackle just slightly proud of the wall surface.
Let spackle dry completely
Allow the spackle to dry thoroughly overnight before sanding or painting. Drying times can vary based on temperature and humidity.
Step 4: Sand and Finish the Repair
Once the filler has dried fully, the final step is sanding for a smooth finish and painting to match the existing wall.
Sand the area smooth
Use fine-grit sandpaper wrapped around a sanding block. Gently sand in a circular motion until the patched area is completely smooth and blended with the wall.
Clean dust from hole
Wipe away any dust from sanding using a dry cloth. Make sure the repair area is clean before painting.
Apply primer and paint
It’s best to spot prime before painting so the paint coats evenly. Use a small artist’s brush to prime just the filled hole. Once dry, use a paintbrush or mini roller to paint over the repair, blending it to match the surrounding wall.
Add a second coat of paint if needed
Sometimes a second finish coat of paint is needed to completely blend the patched area with the original wall paint. Let the paint dry fully before deciding if an additional coat is needed.
Tips for a Seamless Drywall Anchor Hole Repair
Follow these tips as well for a hole repair that completely disappears into the wall:
- Make sure to match the wall texture. Use a drywall texturing spray if needed.
- Blend out the paint well from the center of the repair to avoid seeing edges.
- Consider repainting the entire wall for a uniform appearance if needed.
- Use painter’s caulk to fill any cracks before painting for a smooth finish.
- Be sure to use adequate ventilation when sanding and painting.
- Allow all materials to dry thoroughly before sanding or applying the next coat.
Conclusion
Now you know just how easy it is to make drywall anchor holes vanish! With the right filler material, application technique, and finish sanding and painting, the repair can be made seamless. Just follow the steps for proper hole preparation, filling according to size, smoothing, and blending the paint. In no time, you can eliminate the unsightly leftover holes for a pristine wall appearance.