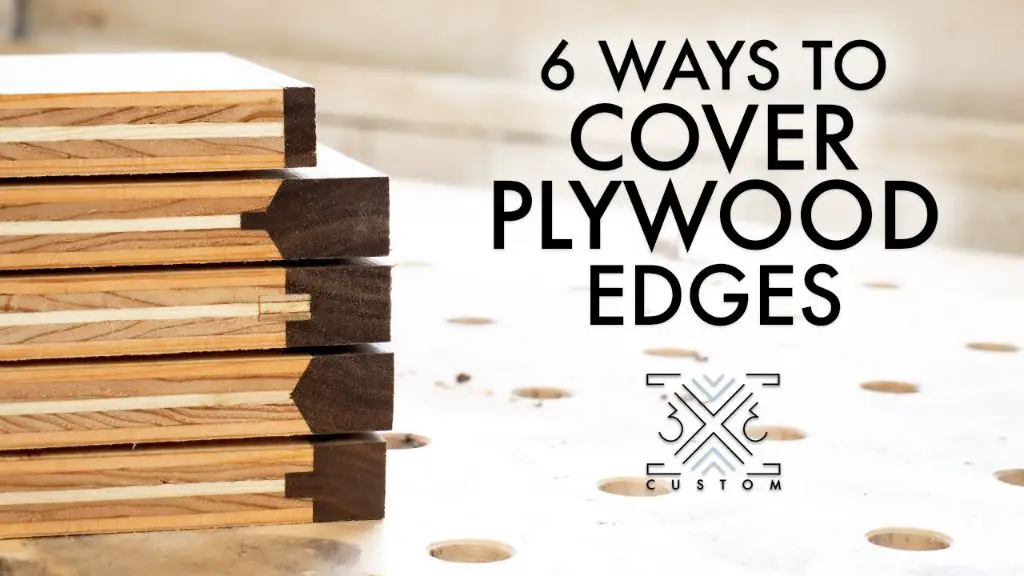
Plywood edges, especially on thicker plywood like 3/4″, often look rough and unfinished. However, there are several techniques you can use to give your plywood edges a smooth, finished look. The method you choose will depend on factors like the tools you have available, the look you want, and how much time and effort you want to put in.
Page Contents
Sanding
One of the most basic ways to finish a plywood edge is by sanding it. This removes rough edges and splinters to create a smooth surface. Here are some tips for effective sanding of plywood edges:
- Start with a coarse grit sandpaper like 80-100 to remove larger irregularities. Then progress through finer grits like 120, 150, and 220 for a polished finish.
- Use a random orbital sander, belt sander, or sand by hand. Be cautious of rounding over the corners if using an orbital or belt sander.
- Sand with the grain to minimize scratch marks. Lightly sand perpendicular to the grain after to blend scratch patterns.
- Ease the edges slightly with sandpaper to round over the sharp 90-degree corner.
- Sand both the face and edge of the plywood to blend them together.
- Thoroughly clean off dust between grits for an even smoother finish.
The advantage of sanding is it’s a relatively quick and easy process. However, it leaves the raw plywood edge exposed. Sealing and painting the edges is recommended for protection and an enhanced look.
Edge Banding
Iron-on plywood edge banding provides thin veneer strips to cover plywood edges. It offers a fast way to get clean, finished results. Here’s an overview of using edge banding on plywood:
- Choose edge banding that matches or complements the face veneer of the plywood.
- Trim the banding to fit the length of the edge, allowing for slight overhang.
- Use an iron or edge banding machine to adhere and activate the glue. Apply even pressure.
- Trim excess banding using a flush trim bit in a router or laminate trimmer.
- Lightly sand to remove any unevenness at the seam. Be careful not to damage the veneer.
Edge banding gives a smooth, seamless look to plywood edges. It’s available in many wood species, colors, and patterns. The downside is that it can peel or bubble over time with changes in humidity or temperature.
Veneer Tape
Applying iron-on veneer tape is another option for covering plywood edges. It works similarly to edge banding but comes in widths like 1″, 2″, and 3″ for covering just the edge itself. Here are tips for using veneer tape:
- Choose a tape thickness that matches the plywood thickness. 1/42″ tape works for 3/4″ plywood.
- Cut the tape to the exact length needed. Miter joints for corners.
- Slightly round over sharp edges for better adhesion.
- Use an iron to activate the glue. Apply even pressure along the entire edge.
- Trim excess tape with a utility knife. Sand lightly.
Veneer tape allows matching or contrasting the edge to the plywood face. It gives a seamless look, often at a lower cost than edge banding. However, it can also peel up over time and care must be taken during application for best results.
Solid Wood Edging
Applying strips of solid wood edging is a very durable way to finish plywood edges. This is done by:
- Choosing a wood species and cut (like quarter sawn) that matches the plywood face veneer.
- Cutting edging strips slightly thicker than the plywood.
- Gluing and clamping the strips to the edges using waterproof glue.
- Trimming the excess once dry using a block plane or flush trim bit.
- Sanding and finishing the edges to match the face veneer.
Solid wood edging provides a seamless, integrated look with the plywood panel. It also offers very high bond strength and durability. However, material costs are higher and installation takes more time and skill.
Veneered Panels
For the highest quality finish, plywood panels can be made with a veneer layer on all faces including the edges. This requires professional veneering skills but produces beautiful results. Some key steps include:
- Applying backing veneer to plywood core.
- Adding edge banding veneer cut slightly oversized using waterproof glue.
- Installing face veneer after trimming banded edges.
- Sanding, sealing, and finishing all surfaces.
Veneered panels provide a seamless, professional edge finish that matches the face. The process is labor-intensive but yields heirloom-quality results. Limitations are high cost and access to quality veneering services.
Edge Treatments with Paint and Moldings
Instead of covering plywood edges, another approach is to highlight them as a design detail. Options include:
- Painting edges – Contrasting colors like black on natural plywood can accent the edge.
- Faux finishes – Techniques like ragging or sponging addinterest to painted edges.
- Stained edges – Apply stains to match or complement plywood faces.
- Edge moldings – Attach trim pieces like quarter round for a finished look.
Decorative treatments add visual interest to plywood edges while leaving the material exposed. This saves time and cost compared to veneer coverings. However, exposed edges are more prone to damage from moisture and impact.
| Method | Cost | Skill Needed | Durability | Appearance |
|---|---|---|---|---|
| Sanding | Low | Beginner | Low | Natural |
| Edge Banding | Low-Moderate | Beginner | Moderate | Natural or colored |
| Veneer Tape | Low-Moderate | Intermediate | Moderate | Natural or colored |
| Solid Wood Edge | High | Advanced | High | Natural |
| Veneered Panel | High | Expert | High | Natural |
| Painted Edges | Low | Beginner | Low | Colored |
Best Methods by Project
Certain plywood edge finishing methods tend to work better for specific project types:
Furniture
For desks, cabinets, shelves, and other furniture, solid wood edging provides the most seamless and durable edge. Edge banding and veneer tape also give nice results for painted furniture or a more budget-friendly option.
Kitchen Countertops
Countertop edges are prone to moisture damage making edge banding or veneer tape good choices. High pressure laminate can also be wrapped over edges for water-resistance and impact protection.
Subfloors
On plywood subfloors, edges are rarely seen so sanding for quick smoothing is ideal. Paint, edge banding, or moldings can be used if edges are exposed.
Wall Panels
For feature walls or decorative paneling, considered painted, stained, or faux finished edges for visual appeal. Edge banding and trim moldings also work well.
Crafts
On plywood used for hobby, craft, and DIY projects, exposed edges are often acceptable. Light sanding to remove splinters is all that’s needed. Painted or stained edges can add creative flair.
Conclusion
Finishing plywood edges well brings a professional, complete look to woodworking projects. Methods range from quick sanding for smoothing to intricate veneering for seamless integration. Consider factors like available tools, cost, project use, and skill level when deciding on the best edge finishing approach. With some practice and patience, even beginners can achieve great looking results.
