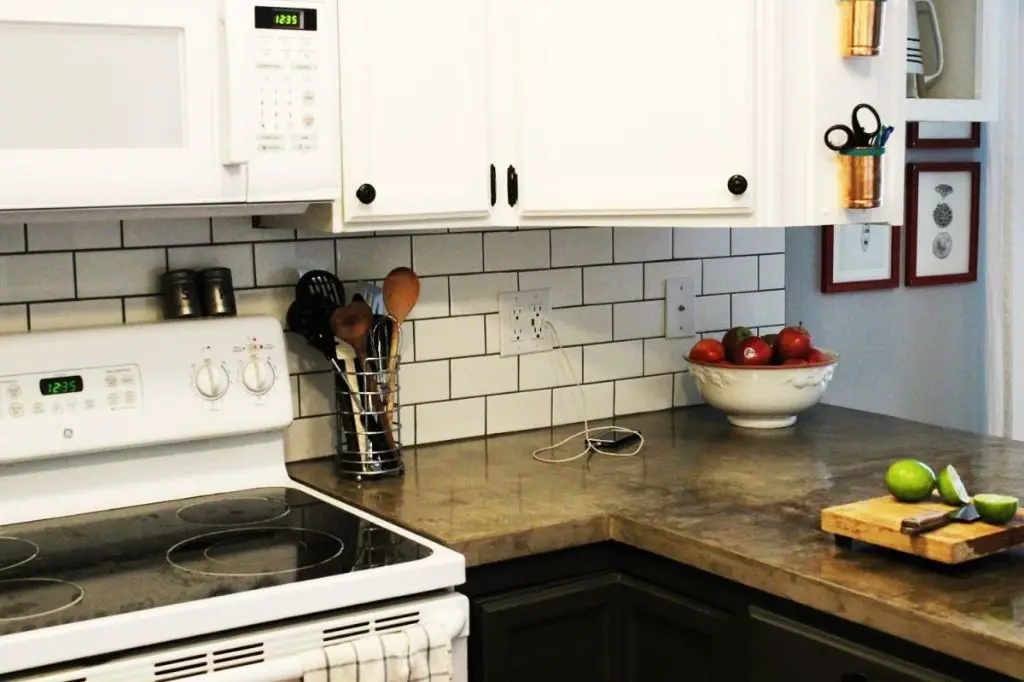
Installing subway tile as a backsplash can add a classic, timeless look to any kitchen. Subway tiles are rectangular tiles that are typically 3 by 6 inches, installed in an offset bricklaying pattern. They create a clean, streamlined look on the wall behind a countertop or sink. While the field tiles are simple to install in the main backsplash area, finishing the edges of the backsplash presents some challenges. The exposed tile edges need to look neat and finished, without rough edges or uneven grout lines. There are several techniques that can provide a professional edge finish.
Page Contents
Should you use edge tiles or bullnose tiles?
The most common options for finishing subway tile backsplash edges are:
– Edge tiles – These are tiles specifically designed for edges. They have one finished “bullnose” edge.
– Bullnose tiles – These have a rounded finished edge on one or more sides.
Edge tiles
Edge tiles are a good choice for subway tile backsplashes. Since they are designed to match the field tiles, the thin finished edge continues the pattern in a straight line. Edge tiles have a bullnose edge on one side only. The tile is finished smoothly with no sharp corners.
Bullnose tiles
Bullnose tiles create a visible rounded edge that stands out from the flat field tiles. They can be used on the vertical edges as well as the top horizontal edge. Bullnose tiles are available with a rounded edge on one side (single bullnose), two adjacent sides (double bullnose), or three sides (triple bullnose).
Comparison
| Edge Tiles | Bullnose Tiles |
|---|---|
| Provide straight, crisp finish | Create visibly rounded edge |
| Bullnose on one side only | Bullnose on one, two or three sides |
| Maintain brick pattern | Interrupt pattern with rounded edges |
| Less noticeable | More noticeable |
| Simple, clean look | Decorative, highlights edges |
For most standard subway tile backsplashes, edge tiles tend to provide the best finish. They continue the horizontal lines in a subtle way. However, bullnose tiles can be used effectively as accents, such as capping the top edge or framing the sides of a niche.
How to install edge tiles
Installing edge tiles takes careful planning and precision but is not difficult. Follow these steps:
Plan tile layout
Determine the number of tiles needed for each row and make sure to purchase enough edge tiles for each exposed edge. It is best to work in whole tiles and avoid having to cut edge tiles.
Install field tiles first
Start by installing the full field tiles using spacers to ensure even grout lines. Do not install tiles all the way to the edges yet. Leave a gap the width of one tile adjacent to the edges.
Dry fit edge tiles
Before applying adhesive, dry fit the edge tiles, aligning them with the edges of the field tiles. Use spacers to maintain an even reveal. Make sure the tile edges are perfectly flush.
Apply adhesive and install edge tiles
Apply thinset adhesive using a notched trowel on the area where the edge tiles will be installed. Carefully press the edge tiles into the adhesive and use spacers to align them with the field tiles.
Finish grouting
Allow the thinset to fully cure before grouting. Grout all tiles, including the edge tiles, in one step using a grout float. Apply grout carefully along edge tile joints. Remove excess grout with a damp sponge.
Caulk perimeter joints
After grouting is complete, use a flexible silicone caulk to fill the slight gap between the finished tile edges and the walls, countertops, or cabinets they abut. Tool the caulk into a smooth bead. Allow it to fully cure before using the backsplash.
Cutting edge tiles
While it is ideal to work in full tiles, you may need to cut edge tiles to fit for certain areas:
Measure carefully
Use a tile measure or fractional ruler to determine the exact size needed before cutting. Remember to account for the spacer gap. It is best to cut tiles slightly larger and fine tune for a perfect fit.
Use a wet saw
For straight cuts, a wet saw fitted with a diamond tile blade is the best tool. Mark the cut line with a pencil or scoring tool. Cut slowly and steadily holding tile edge against the saw guide.
Cut tile edges
A fixed carbide scorer is useful for nippers off sharp corners or slivers near edges. Run the scorer firmly along the edge to create a groove, then nip off excess tile using tile nippers.
Smooth cut edges
Rub the sharp, cut edge of the tile under a piece of tile or against a rubbing stone. Apply firm pressure and smooth the edge so it does not have jagged areas.
Finishing the top edge
The top edge of the backsplash can be finished with edge tiles, bullnose tiles, or special capping tiles.
Edge tiles
Run edge tiles horizontally along the top row just like the vertical edges. This maintains brick pattern and provides a subtle finished edge.
Bullnose tiles
For a decorative touch, use single bullnose tiles horizontally along the top. The rounded edge will stand out from field tile and provide visual interest.
Capping tiles
These specialty tiles have an overhanging finished lip or edge on one side that overhangs the field tiles slightly. The lip fits against the wall edge.
Grout considerations
Grout is important for finishing subway tile edges smoothly.
Use sanded grout
For most installations, sanded grout is best. It resists cracking and provides a smoother finish with fewer gaps for backsplashes. Match grout color to your tile.
Apply carefully on edges
When grouting near edges, apply grout carefully using a grout float. Hold it at a 45 degree angle and smoothen grout so it fully fills edge joints.
Avoid excess grout
Wipe off excess grout thoroughly so it doesn’t extend beyond tile edges. Any remaining film or haze can be buffed off once dry.
Caulk perimeter joints
Despite best efforts, it is common for slight gaps to remain between tile edges and walls, counters, etc. Fill any hairline joints with flexible caulk after grouting.
Metal edge trim options
Edge trim provides another option for finishing exposed subway tile edges with a clean, finished look:
Aluminum edge trim
Self-adhesive aluminum strips are installed after tiling. They wrap over the tile edge. Available in various finishes like brushed aluminum, chrome, etc.
Stainless steel edge trim
Thin strips of stainless steel for capping tile edges. Provide industrial, modern look. Attaches with adhesive.
Metal “L” edge trim
“L” shaped strips that fit over tile edges. One leg sticks onto tile face while the other leg sits against the edge. Made of brushed brass, nickel, etc.
Strip Installation
Measure and cut metal strips to fit each edge. Remove adhesive backing and press firmly onto edge of tiles. Use a roller tool to adhere fully, ensuring strip sits flush with tile surface.
Conclusion
Finishing subway tile backsplash edges properly truly completes the installation and creates a polished, professional look. Edge tiles provide the simplest solution that complements the field tile layout. Bullnose and decorative trims can enhance edges with interest. Careful grouting and caulking also ensure the finished edges look neat and clean. With some planning and finesse, even first-time tilers can handle edge finishes successfully. The finished backsplash will have crisp, smooth edges that look stylish and elegant.