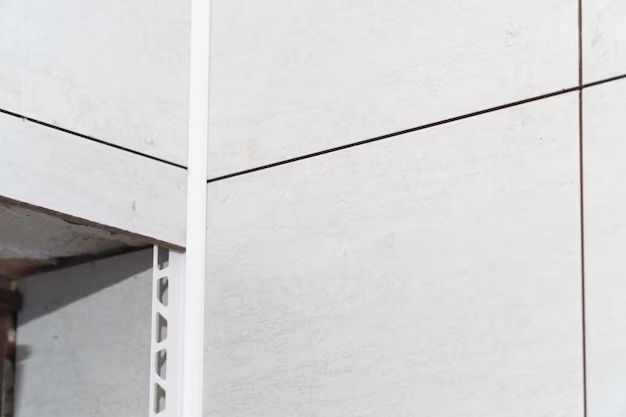
Installing tile can transform the look of a room, but finishing the inside corners neatly is one of the trickiest parts. When tiles meet at an inside corner, there are some special considerations to achieve a professional look. With the right tools and techniques, you can finish inside corners perfectly and avoid cracked grout or uneven alignments.
Page Contents
Preparing the Surface
Proper prep work is the key to success with any tiling project. For inside corners, take extra care to ensure the substrate is smooth, clean, and ready for tile. Consider these prep tips:
- Inspect corners for any cracks, holes, or uneven surfaces. Fill small gaps with thinset mortar a day ahead so it’s fully cured.
- Use an angle grinder to smooth corner edges or knock off any high points.
- Clean corners thoroughly to remove dust, oils, or soap residue. Rinse well.
- Apply a primer if working with an uneven or porous substrate, like plywood or concrete.
Once the corners are prepped, install the tile in the field area first according to package directions. Leave inside corners open until the end.
Installing Tile in Corners
There are two techniques for tiling inside corners, depending on your tile choice and skill level:
Thinset Mortar Method
This traditional method works for any tile material. Follow these steps:
- Mix a batch of thinset mortar. Look for a thinset designed for your specific tile and substrate.
- Use a notched trowel to spread thinset on the corner surface where the first tile will go. Hold the trowel at a 45-degree angle for optimal coverage.
- Press the back side of the first tile into the thinset, twisting slightly. Use spacers to leave a small gap between tile edges.
- Use the notched side of the trowel to scrape any excess thinset from the joint. Thinset should be flush with the tile edge.
- Repeat to install the abutting tile on the perpendicular wall. Remove spacers once both tiles are in place.
- Carefully press the corner joint so tiles are even. Place painter’s tape outside the corner to keep tiles tight as the thinset cures.
Backerboard Method
For large format tiles or natural stone, install backerboard first to create a seamless corner:
- Cut cement backerboard into 4-inch strips.
- Apply thinset to corner and press backer strips into place, keeping the edges flush.
- Screw strips to framing studs. Tape seams with mesh tape.
- Skim all corners with another layer of thinset to smooth any gaps.
- Once thinset cures, tile directly over backerboard strips. No need to leave corner gaps.
The backerboard method provides more support and prevents tiles from shifting out of alignment.
Grouting Inside Corners
Grouting completes the installation and seals the tile joints. Take extra care when grouting inside corners:
- Use a latex-modified sanded grout for durability and adhesion.
- Apply grout by holding a rubber grout float at a 45-degree angle and force it deep into corners.
- Clean excess grout before it dries using a sponge and water. Rinse sponge frequently.
- Avoid wiping across corners. Instead, wipe each tile surface section to prevent pulling grout from joints.
- Use a dry cloth to polish and haze removal once grout has cured.
After grouting, step back and inspect the inner corner closely. The grout lines should look uniform and straight with no gaps or cracking. Fix any issues immediately before the grout fully dries.
Troubleshooting Tips
With extra care, inside corners can look perfect. But if flaws show up, try these fixes:
Cracked Grout
- Dig out cracked sections fully using a grout saw or Dremel tool.
- Refill deep joints by pressing new grout in with a finger.
- Apply fresh grout over repaired areas. Wipe and polish to blend with existing grout.
Gaps at Joints
- Mix epoxy grout specifically for gaps larger than 1/8 inch.
- Work epoxy into gaps with a plastic applicator. Do not wipe.
- Be sure to follow epoxy cure times before cleaning or sealing.
Uneven Grout Lines
- Mark uneven sections using a sharpie marker.
- Use a Dremel tool to gently grind protruding grout edges flush with tile.
- Vacuum up all dust before wiping area clean.
Misaligned Tiles
- Mark any problem tiles that need adjustment.
- Carefully cut grout around marked tiles with a utility knife.
- Gently pry up tiles and check thinset for full contact.
- Reinstall tile, adding spacers or clips to realign if needed.
With a few simple procedures, tiling inside corners can look flawless. Just take your time, use the right materials, and make minor corrections before the thinset and grout fully cure.
Conclusion
Finishing inside corners neatly is one of the most challenging parts of any tile installation. With the proper prep work, corner installation method, and grouting techniques, you can achieve a professional-looking result. Pay close attention to the corner joints while tiling and make any needed adjustments right away. Well-executed inside corners will give your tilework a seamless, built-in look and prevent cracked grout down the road.
