Running network cables through walls can seem daunting, but with the right tools and techniques, fishing cat6 through walls is very doable as a DIY project. Cat6 cable is commonly used for data networks and can provide faster speeds and better performance compared to older cat5e cables. Knowing how to properly run and terminate cat6 cabling will allow you to upgrade your network infrastructure. Here is a step-by-step guide on how to successfully fish cat6 cables through walls.
Page Contents
What You’ll Need
Before starting any in-wall cat6 cabling project, you’ll need to gather the right supplies. Here is what you’ll need:
- Cat6 cable – Make sure to get solid copper cable that is rated for in-wall use. Stranded “patch” cables are too thin and fragile.
- Fish tape – A long flexible steel rod used to route cables through cavities in walls.
- Glow rods – Fiberglass rods that glow to help trace a pathway for cables.
- Wall fish – Plastic rods with wire loops to grab and pull cables.
- Cable lubricant – Helps reduce friction when pulling cables.
- Wall plates – Plastic or metal plates that mount jacks to the wall.
- Cat6 jacks – Match the specs of your cable and wall plates.
- Low-voltage mounting brackets – To affix jacks and plates inside wall boxes.
- Wall screws – For securing brackets, plates, and any cable managers.
- Cable ties – Used to bundle and secure cables.
- Cable staples – To tack cables against studs and structure.
- Wire strippers – A must for properly removing the cable jacket.
- Crimping tool – Used to attach RJ45 plugs to the end of cables.
- Cable tester – Essential for testing continuity and identifying faults.
- Stud finder – Helps locate wooden studs behind drywall.
- Drywall saw – For cutting access holes between stud bays.
- Electrical tester – To safely check for live power inside of walls.
- Safety gear – Goggles, dust mask, gloves, etc.
This covers the basics you’ll need. You may also want conduit, wall boxes, termination panels, or other accessories depending on your specific cabling plan.
Planning Your Runs
Carefully planning out your cable runs is crucial before getting started. Here are some tips:
- Decide cable routes – Sketch plans showing how cables will be routed from endpoints to the network equipment.
- Measure lengths – Determine how much cable you’ll need for each run.
- Open walls cautiously – Use a drywall saw to open access holes between studs. Make small holes at first to peek inside.
- Mind obstacles – Look for fireblocks, wiring, pipes and ducts that could block your cable’s path.
- Follow building code – Adhere to code for maximum lengths, supports, firestopping, etc.
- Mount hardware – Decide where wall plates and jacks will go and install housings or low-voltage brackets.
- Have extra cable – It’s easier to remove excess than run short, so allow 15-30 extra feet per run.
Following a structured cabling standard like ANSI/TIA-568 will ensure optimal performance and the ability to support gigabit speeds.
Fishing the Cable
With your game plan in place, it’s time to start fishing the cables. Follow these best practices:
- Inspect entry points – Ensure access holes or conduit ends have sufficient clearance and minimal debris.
- Lubricate cables – Coat cables with specialized lubricant to minimize friction.
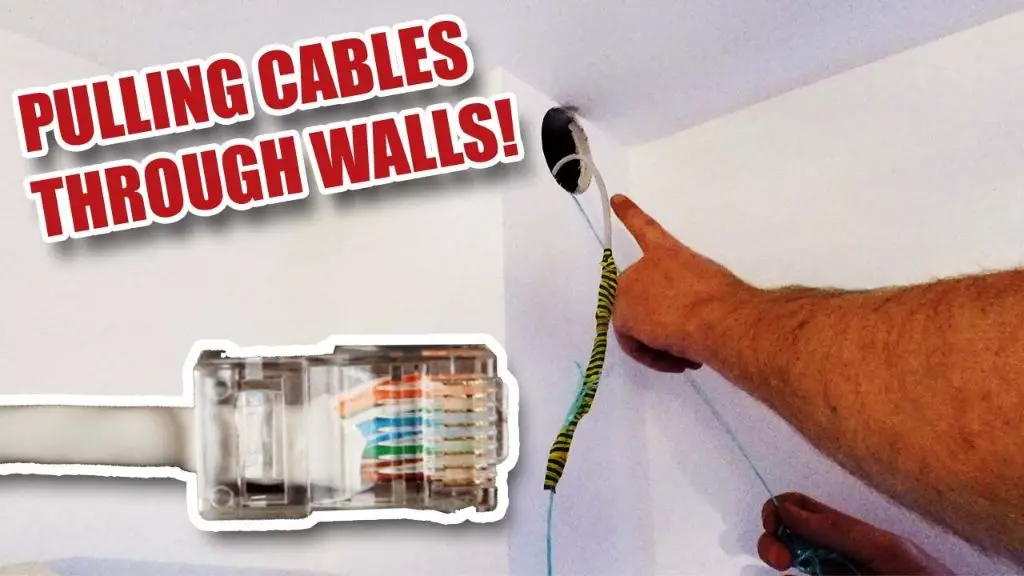
- Attach fish tape – Securely tape or tie pull cords to the end of the cat6 cable so they don’t come loose.
- Feed cable – Carefully push fish rods/tapes through the pathway, guiding the cable behind.
- Use glow rods – Insert glow rods to visually trace the route in ceiling or floor cavities.
- Pull gently – Apply steady, light tension when pulling to avoid damaging the cable.
- Watch bend radius – Keep bends in cable gradual and larger than 4X the wire diameter.
- Secure frequently – Use staples, ties, j-hooks or hangers every 4-5 feet for support.
- Avoid snags – Go around or untangle any caught cables to prevent ripping or kinking.
Take your time fishing cables and be patient. Forcing or rushing this stage can wreck cables and require starting over.
Terminating Cat6 Connections
After pulling Cat6 cables, they need to be properly terminated. This involves attaching RJ45 connectors to create network plugs:
- Prep cable – Strip off 1.5″ of the outer jacket and 0.5″ of inner wire insulation.
- Flatten and straighten – Make sure conductors are flat and untwisted.
- Follow standards – Adhere to T568A or T568B wiring standards for consistency.
- Keep twist tight – Retain as much twist in paired wires as possible right up to the plug.
- Make connections – Ensure each small copper wire is fully inserted to the front of the RJ45 plug.
- Avoid untwists – Prevent untwisting more than 0.5″ where pairs meet the plug.
- Cut excess – Trim off any excess copper wires after crimping the plug.
- Crimp evenly – Squeeze the RJ45 crimper evenly and firmly around the plug.
- Test cable – Verify connectivity and speed performance with a cable tester.
Taking extra care during termination is important since most network issues can be traced back to faulty plugs or jacks.
Mounting Hardware
The last step is installing wall plates, jacks, and cable managers to complete the structured cabling system:
- Attach wall plates – Securely screw wall plates or brackets into the drywall or mounting boxes.
- Mount jacks – Snap terminated RJ45 jacks into the rear of the wall plates.
- Label cables – Identify each cable’s location or number using labels on the wall plate.
- Bundle cables – Neatly group and tie together cables behind the wall plate if needed.
- Anchor cables – Use adjustable cable ties to anchor the bundle to a nearby stud. Connect patch panel – If using a network panel, punch down cables to the corresponding jacks.
- Install patch cables – Plug short patch cables between network devices and jacks.
- Test connections – Confirm proper connectivity across all cable runs and network devices.
- Close up walls – Replace any drywall and repaint to match the existing finishes.
A professional-looking installation starts with practices like neatly bundling cables, labeling everything, and securely fastening all connections.
Conclusion
Learning how to fish cat6 through walls takes planning, patience and care. But with the right techniques, anyone can install high-performance Ethernet cabling to upgrade their network. The key steps are: gathering the right tools and supplies, carefully planning runs, safely navigating obstacles inside walls, gently pulling cables to destination ports, properly terminating ends with RJ45 plugs, and installing well-supported and labeled wall plates for a clean, finished look. Follow best practices at each stage, take precautions working inside of walls, and don’t rush the process. The result will be a fast, reliable wired network that can support demanding smart home and office technology.