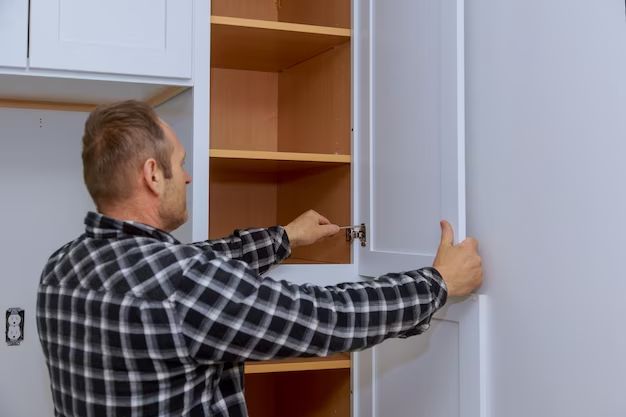
Having a broken cabinet door hinge can be very frustrating. It prevents you from properly opening and closing cabinet doors and reduces accessibility to items stored inside. However, a broken hinge is usually an easy fix. With a few tools and steps, you can have your cabinet door working properly again in no time.
Page Contents
What causes a cabinet door hinge to break?
There are a few common causes of a broken cabinet door hinge:
- Loose screws – Over time, the screws connecting the hinge to the cabinet frame and door can become loose. This allows too much movement and strain on the hinge, eventually causing it to break.
- Corrosion – If the hinges are exposed to moisture, the metal can corrode, weakening the integrity of the hinge and leading to cracking or breaking.
- Stress – Repeated opening and closing of cabinet doors places stress on the hinges over time. Too much strain can cause metal fatigue and hinge failure.
- Weight – Heavy doors, especially on taller cabinets, put extra stress on the hinges, increasing the chances of them breaking.
Catching a loose hinge screw or addressing corrosion early on can help avoid a full break. But once a cabinet door hinge is already broken, a repair is required.
What you’ll need
Replacing a broken cabinet door hinge is a pretty straightforward project. Here’s what you’ll need:
- Replacement hinges – Match the measurements, shape, and hole placements of the existing hinges as closely as possible.
- Phillips screwdriver
- Hammer
- Wood glue or super glue
- Small nails or brads (optional)
If the cabinet frame or door themselves are also damaged, you may need additional supplies like wood filler, sandpaper, or new cabinet parts.
Removing broken hinge
Start by removing the broken hinge:
- Open the cabinet door as wide as the broken hinge will allow. This gives you access to the hinge screws.
- Using a Phillips head screwdriver, remove the screws attaching the broken hinge to the cabinet frame. Set them aside in a safe place.
- Carefully lift the cabinet door enough to slide the hinge out from the slot in the frame.
- With the weight of the door supported, unscrew the hinge from the door itself.
- Remove any remaining screws, pins, or fragments of the broken hinge.
Preparing replacement hinge
With the broken hinge fully removed, take a look at the new replacement hinge. Some preparation may be needed:
- Clean the hinge with a soft cloth to remove any oil or debris.
- Test the fit by placing the hinge in the door and cabinet frame. File or sand any areas that don’t allow it to sit flush.
- Drill pilot holes as needed so screws can easily slide into place. Refer to holes from the old hinge.
- Bend adjustable hinges to match the angle of the original hinge if needed.
Doing this prep work ensures the new hinge mounts securely with no gaps or misalignments.
Installing replacement hinge
Once prepped, it’s time to install the new hinge:
- Apply wood glue or super glue to one side of the hinge. Spread it evenly across the entire surface.
- Place the glued side of the hinge against the cabinet door. Align it with the original hinge position.
- Insert small nails or brads around the edges of the hinge. This holds it in place while the glue sets.
- Position the door close to the cabinet frame, but don’t try to force the new hinge pin into the slot yet.
- Screw the new hinge securely into the cabinet door.
- Once the door feels stable, lift it enough to insert the new hinge pin into the frame slot.
- Add screws to anchor the hinge to the cabinet frame.
Check that the cabinet door opens, closes, and aligns properly once the new hinge is fully installed.
Tips for preventing future breaks
To help your new hinge last longer, keep these maintenance tips in mind:
- Periodically check and tighten any loose hinge screws.
- Lubricate hinges now and then with silicone spray or lightweight machine oil.
- Use jigs or a supporting block when working on heavier cabinet doors.
- Open cabinet doors gently and slowly to reduce strain.
- Consider adding soft-close hinges and mechanisms.
Proper alignment is also key. If doors are sagging or the hinges are strained due to misalignment:
- Add shims or spacers below hinges to adjust door position.
- Use longer screws in elongated hinge holes to adjust alignment.
- File, sand, or plane the cabinet frame or door as needed.
When to call a professional
While do-it-yourself hinge replacement is straightforward in most kitchens and bathrooms, there are some cases where a professional may be advised:
- If the cabinet frame itself is cracked or split, repairs beyond just the hinge are needed.
- Difficult to access hinges behind pipes or appliances.
- Severely misaligned doors that alter the cabinet opening.
- Odd or antiquated hinge styles difficult to find replacements for.
- Multi-door cabinets like corner cabinets or china hutches.
A skilled cabinetmaker or carpenter has specialized tools and expertise to handle complex hinge repairs or full cabinet refacing if needed.
Conclusion
While no one likes dealing with a broken cabinet door hinge, this repair can be done by most DIYers without too much hassle. Take time to get the right replacement hinge and make proper preparations. Follow installation steps carefully. And consider preventive maintenance going forward to avoid repeats of the same problem. With the right techniques and care, your cabinet doors will be opening and closing smoothly once again.
