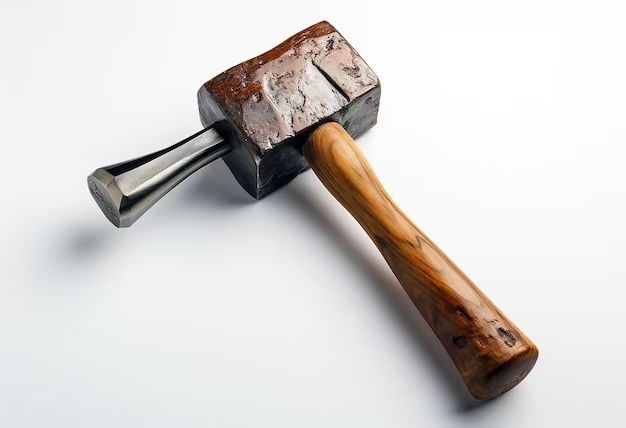
Fixing a broken wood hammer handle is a relatively straightforward process that most DIYers can tackle at home with some basic tools and materials. While you can certainly buy a replacement handle, repairing the existing handle is often the more economical and sustainable choice. In this article, we’ll walk through the full process step-by-step.
Page Contents
What causes a wood hammer handle to break?
There are a few common reasons why a wood hammer handle can break:
- Repeated stress and impact eventually weakens the wood fibers over time
- Exposure to moisture can cause the wood to swell, crack, or warp
- Striking the hammer on an uneven or angled surface puts excessive stress on a small area of the handle
- Using a claw hammer for leverage by pulling nails can twist and split the handle
- Manufacturing defects such as knots and grain irregularities create weak points
While a broken hammer handle is frustrating, it’s a fairly predictable wear item for a frequently used tool. With proper care and maintenance, you can extend the usable life of a wood handle. But no handle will last forever.
What you’ll need
Repairing a hammer handle requires just a few supplies:
- Sandpaper – Coarse grit like 60-80 and fine grit like 120-150
- Wood glue or epoxy
- Dowels or golf tees for pinning (optional)
- Wood clamp (optional)
- Wood finish such as linseed oil or polyurethane (optional)
You may also need additional tools depending on the specifics of your repair like a hammer or mallet.
Step 1: Remove the damaged section
First, inspect the broken handle to determine how much needs to be removed. The goal is to cut away any cracked, splintered or defective wood.
- Cut the handle using a saw, cutting just above and below the damaged section. Remove any loose wood fragments.
- Smooth the cut edges with coarse sandpaper. This prepares the surface for gluing.
Step 2: Join the handle ends
With the damaged portion removed, you can rejoin the cut handle ends:
- Apply wood glue liberally to both cut edges of the handle.
- Quickly reposition the ends into the original alignment.
- Allow the glue to cure for at least 1-2 hours before continuing. Using a clamp helps maintain tight alignment as the glue dries.
Step 3: Reinforce the joint
Once the glue has cured, add mechanical fasteners to reinforce the joint:
- Drill holes vertically through the handle, centered on the joint. Space several holes about 1/2″ apart.
- Cut dowels or golf tees to fit snugly into the holes. Wood glue or epoxy can help secure them.
- Trim the ends of the dowels flush with the surface of the handle using a saw or utility knife.
The dowels pin the two ends together, helping resist both tension and twisting forces.
Step 4: Shape and smooth
With the handle structurally reinforced, you can restore its original shape:
- Use coarse sandpaper to blend the transition around the joint, erasing any unevenness.
- Sand the entire handle smooth, using progressively finer grits like 120 and 150.
- Carefully round over any sharp edges to restore a comfortable grip shape.
Step 5: Apply protective finish
Finally, seal and protect the wood handle with a clear finish:
- Wipe away any dust with a clean cloth.
- Apply a thin coat of finish like linseed oil, Danish oil or polyurethane.
- Allow to fully dry. Apply additional coats for increased durability.
Tips for preventing future breaks
To help avoid breaking that same hammer handle again, keep these tips in mind:
- Inspect the handle periodically for cracks or damage.
- Store hammers handle-up to minimize stress on the handle.
- Avoid using the claw to pull nails – use a cat’s paw tool instead.
- Choke up on the grip to reduce leverage force when swinging.
- Consider replacing the handle preventively after years of heavy use.
When to replace the handle
While a broken wood handle can often be repaired, replacement is recommended if:
- The break is near the hammer head and can’t be adequately reinforced.
- The handle wood is badly dried, cracked or warped throughout.
- You need to modify handle length or balance.
- Performance and precision are critical, as in carpentry work.
It’s fairly straightforward to install a new replacement handle purchased from a hardware store or online retailer. Most wooden handles are designed for a friction fit and only require light wedging or gluing into the hammer head eye.
Conclusion
Restoring a broken hammer handle is usually a simple, inexpensive fix. With some basic DIY skills and materials, you can often repair a damaged handle and get more life out of your hammer. Just take care to reinforce the joint thoroughly and refinish the handle for protection. And be sure to mitigate habits that are hard on handles to prevent it happening again soon.
