Replacing a broken pull chain on a light fixture is a relatively straightforward home repair that most homeowners can tackle themselves. The pull chain switch is connected to the light socket and allows you to turn the light on and off by pulling the chain. Over time, the chain can become detached or break entirely, leaving you unable to control the light. Fortunately, installing a new pull chain is an easy fix that only takes a few minutes, and you probably already have the necessary supplies. Here is a step-by-step guide on how to fix a broken pull chain on a light bulb.
Page Contents
What You’ll Need
Before getting started, make sure you have the following supplies:
- Replacement pull chain
- Needle nose pliers
- Phillips head screwdriver
- Step stool or ladder
You can purchase a replacement pull chain at any hardware store or online retailer for just a couple of dollars. Make sure to get a chain that is compatible with your light fixture. Bring the old chain with you to the store to find an identical match.
Turn Off Power to Light
Before doing any work, make sure to turn off power to the light at the circuit breaker. This will prevent you from getting shocked while handling the electrical components. The switch that controls the light fixture should be turned to the “off” position as well.
Remove Light Bulb
Stand on a step stool or ladder to reach the light fixture. Gently unscrew the light bulb and set it aside so it doesn’t get damaged. Be careful not to touch the hot bulb directly after turning it off, as it may still be hot.
Remove Light Fixture Cover
There will be screws holding the decorative cover of the light fixture in place. Use a screwdriver to remove these screws so you can take off the cover. Place the cover and screws somewhere safe so you can reattach them later.
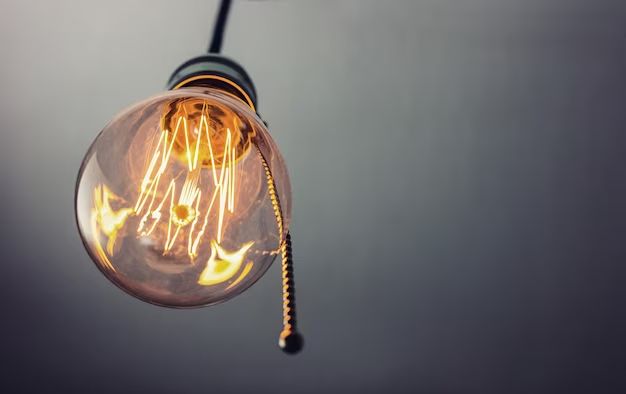
Detach Old Pull Chain
Examine where the pull chain is connected to the light socket. There should be a small plastic piece with a hole that attaches the chain. Use needle nose pliers to detach this piece from the socket. You may need to wiggle it free or unscrew it if it’s threaded on.
Thread New Pull Chain
Take your replacement pull chain and thread it through the hole in the plastic piece you detached from the socket. Make sure it can move freely. Then reattach this piece back onto the socket using the pliers to press it into place.
Test the Pull Chain
Carefully screw the light bulb back into the socket. Turn the power back on at the circuit breaker. Climb up and pull the chain to test that it works properly to turn the light on and off. If it’s functioning, you’ve successfully installed the new pull chain!
Reattach Light Fixture Cover
With the pull chain working, you can reattach the cover of the light fixture. Screw the cover back into place using the hardware you removed earlier. Be careful not to pinch the chain as you reattach the cover.
Tips for Fixing a Pull Chain
Here are some additional useful tips to keep in mind when repairing a pull chain light:
- Make sure to get an identical replacement chain. The length and style should match the old chain.
- Pull the chain gently to avoid breaking the plastic connecting piece.
- If the connecting piece is damaged, you may need to replace the socket.
- Don’t exceed the maximum wattage when replacing the light bulb.
- Make sure the chain hangs freely without getting stuck.
- You can spray the chain with lubricant if it’s sticking.
When to Call an Electrician
While fixing a pull chain is usually an easy DIY job, there are some cases when it’s safer to call a professional electrician:
- The connect piece inside the socket is damaged and needs to be replaced.
- You touch the wires and get shocked when taking the fixture apart.
- The pull chain switch is very old and needs to be rewired.
- The light socket gets very hot, indicating an electrical issue.
- You cannot get the pull chain to turn the light on and off properly.
An experienced electrician can diagnose and fix any underlying problems with the wiring or switch and ensure the repair is done safely. They can also properly dispose of any damaged electrical components.
Conclusion
Fixing a pull chain light is an easy, straightforward repair you can do yourself in just a few minutes. To recap, the steps include:
- Turning off power to the light.
- Removing the bulb and fixture cover.
- Detaching the old pull chain.
- Threading the new pull chain.
- Testing that the chain works.
- Reattaching the light cover.
As long as you take proper safety precautions, this repair does not require any electrical expertise. Just exercise caution when handling exposed wires. With a new pull chain installed, you’ll be able to easily control your lights again.