Page Contents
What Causes Dog Scratches on Wood Trim?
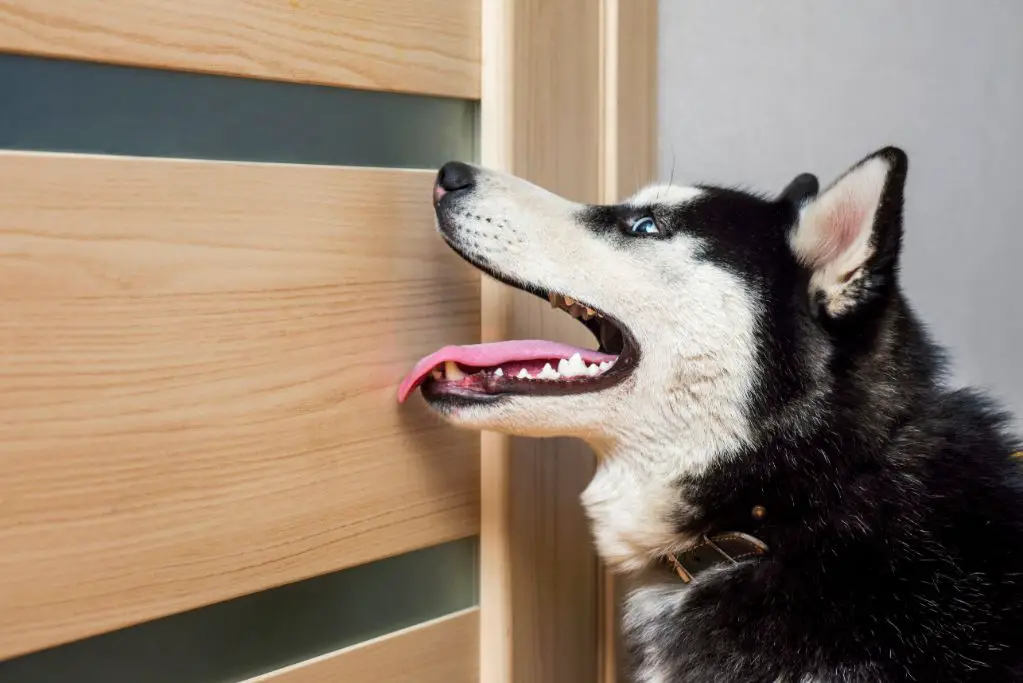
Dogs have a natural instinct to scratch and chew. This behavior serves several purposes for them. Scratching helps remove loose hair and debris from their paws. It also marks their territory by leaving behind scents from the pads of their paws. Chewing relieves boredom, anxiety and provides mental stimulation.
Unfortunately, this natural behavior can result in unsightly scratches and chew marks on wood trim, doors, furniture and more. The nails on your dog’s paws are likely the main cause of scratches on wood. As your dog jumps up, plays or runs through the house, their nails can leave scratches in the wood. Chewing causes deeper gouges that penetrate through the finish.
There are a few factors that can make dogs more prone to scratching behaviors:
- Untrimmed nails – Longer nails increase the risk of scratches.
- High energy – Young, energetic dogs are more likely to jump, play rough and chew.
- Boredom or separation anxiety – Dogs may scratch or chew when bored or anxious.
- Territory marking – Urine marking and scratching go hand-in-hand for some dogs.
Knowing what motivates your dog’s scratching behavior can help you address the underlying cause while also repairing the physical damage to your wood.
How to Choose the Right Wood Filler
When it comes to repairing scratches and gouges in wood, using the right filler is key to achieving great results. There are many types of wood filler on the market to choose from. Make sure to consider the following factors when selecting a filler for your project:
Type of Wood
Choose a filler designed for use with your specific wood type. Most fillers are formulated for different woods. Using a filler made for oak on cherry trim won’t provide the proper color match or performance. Read labels to find the right match.
Color
Select a filler that matches your trim color as closely as possible. Many are tinted to blend with common stain colors. Opt for a filler that matches your stained or painted trim for a seamless repair.
Grain Pattern
Grain pattern becomes important for deeper repairs on natural, unpainted wood. Look for a grain-filled wood filler that will mimic the look of the surrounding wood grain after sanding and restaining.
Indoor vs. Outdoor Use
For exterior door trim, choose an epoxy or urethane-fortified wood filler that withstands humidity, rain and sun exposure without cracking or crumbling.
Paste, Liquid or Putty
Consider the application. Paste fillers are best for filling holes and cracks. Liquid fillers work well to penetrate into scratches. Putty has a thicker consistency ideal for filling gaps around joints.
Choosing the right filler can make finishing your repair much smoother. Always read package directions and do a test application before beginning work.
How to Prep Wood Trim for Filler
Proper prep work is vital for getting great results from wood filler on scratch and chew repairs. Follow these steps to prep door trim before applying filler:
Remove Loose Debris
Use a utility knife or putty knife to carefully pick out any splinters, peeling finish or loose debris from the damaged area. Remove as much as possible to provide a clean space for the filler to adhere.
Sand the Surface
Lightly sand the area with 120-150 grit sandpaper to rough up the surface. This helps the filler grab onto the wood. Be careful not to over-sand stained wood or you’ll create an obvious light spot.
Wipe Clean
Use a dry cloth to wipe away all sanding dust. Any debris left behind will get mixed into the filler and affect the final repair. A tack cloth helps remove the finest dust.
Seal Exposed Wood
If the scratches penetrate through the paint or stain, seal the exposed raw wood with a thin coat of primer or sealer. This prevents moisture from raising the wood grain under the filler.
Following these steps prepares your damaged trim for accepting the new wood filler. It takes a little time up front, but creates better results. Always read the filler manufacturer’s prep instructions as well.
How to Apply Wood Filler
Filling scratches and dents in wood trim isn’t difficult, but following some basic technique will ensure your repairs are smooth and seamless. Here are some tips for applying wood filler:
Load Filler on a Putty Knife
Scoop up a small amount of filler with a flexible putty knife or paint stick. Press it firmly into the damaged area, overfilling slightly.
Push into Scratches
For shallow scratches, press the filler to force it deeply into the grooves. Move along the length of the scratches to fill completely.
Fill Chews and Gouges
Pack filler thoroughly into chew marks and gouges, overfilling the areas. Apply in layers for very deep damages. Allow each layer to partially dry before adding more.
Smooth the Surface
Once filled, glide your putty knife across the surface to smooth and level the filler. Remove excess and shape as needed.
Let Dry Completely
Leave the filler to dry per the manufacturer’s directions. Drying times vary based on filler type, temperature and humidity. Don’t sand or finish until fully cured.
Patience with both application and drying is important for great filler results. Avoid shortcuts that could undermine the durability of your repair.
How to Sand and Finish Wood Filler
Once your wood filler has dried completely, finish up the repair by sanding and applying a final finish:
Sand Filler Smooth
Use 120-150 grit sandpaper to smooth away any dried drips or uneven areas. Sand until the filler is flush with the surrounding wood.
Finish Sand Entire Area
Lightly sand the filled area and at least 1” surrounding it to blend the repair. Avoid creating sharp edges around your filler patch.
Remove Dust
Wipe all sanding residue away with a dry cloth. Give the area a final pass with a tack cloth for a dust-free surface.
Apply Finish
Stained wood can be spot stained to match the surrounding color. Painted trim can be spot primed and painted. Apply finish coats to the entire piece to blend repaired and existing areas.
Proper sanding and finishing helps hide wood filler repairs. The repaired area should be indistinguishable from the rest of your trim when done.
Tips for Preventing Future Scratches
Repairing scratches and chew marks takes time and effort. Preventing the damage in the first place is more efficient. Here are some tips for avoiding future dog scratches on your wood trim:
Keep Dog’s Nails Trimmed
Trim nails regularly to blunt the tips. Ask your vet for guidance about proper nail length if unsure.
Provide Chew Toys
Give your dog appropriate outlets for their chewing drive like durable chew toys and raw bones.
Exercise Your Dog
Make sure your dog gets adequate physical and mental exercise each day to prevent boredom and anxiety. Take them on walks or play fetch.
Use Bitter Sprays
Apply taste deterrent sprays made with bitter apple extract to desirable surfaces. Reapply regularly.
Limit Access
Close doors or use baby gates to restrict access to vulnerable rooms when you can’t supervise. Confine dogs when you’re away from home.
Train Your Dog
Use positive reinforcement to train your dog not to jump on, scratch or chew off-limit items. Redirect the behaviors onto acceptable alternatives instead.
With some effort, you can curb the behaviors causing damage and save your trim from becoming a frequent scratching post.
Conclusion
Repairing dog scratches on wood door trim takes a bit of effort, but yields great results. Start by identifying an appropriate filler designed for your specific wood. Prep the damaged area by cleaning debris, sanding and sealing raw wood. Fully pack filler into the scratches or chew marks, then smooth the surface. Allow ample dry time before sanding smooth and applying final finish coats. With some practice, you can make repairs that blend seamlessly into the surrounding trim. Don’t forget to also take steps to prevent future damage through training and setting up your home to curb undesirable scratching. Keep your dog’s nails trimmed and provide appropriate outlets for their energy and chewing instincts. With some diligence, you can have pristine woodwork that stands up to your furry friend.