Getting a pin out of a hinge can be tricky, but with the right tools and techniques, it can be done. In this article, we’ll walk through the steps for removing pins from several common hinge types. We’ll also provide tips for avoiding damage and getting the pin back in properly after repairs.
Page Contents
What You’ll Need
Before attempting to remove a pin, gather the proper tools. Here’s what you’ll need:
- Hammer
- Punch
- Pliers
- Lubricant like WD-40
The specific size and type of tools may vary depending on the hinge. We’ll go into more detail on that next.
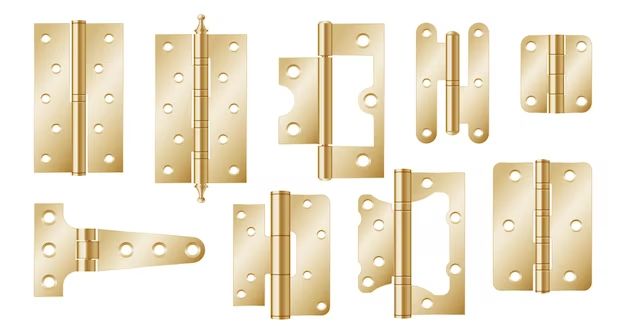
How to Remove Different Hinge Pin Types
Spring Pins
Spring pins are tension pins that can be pressed out with hand pressure or light taps from a hammer and punch. Here are the steps for removing this type of pin:
- Locate the end of the spring pin protruding from the barrel of the hinge.
- Wiggle the pin back and forth with pliers to free it up.
- Place a punch on the pin end and use a hammer to tap lightly until the pin slides out.
- On stubborn pins, spray lubricant like WD-40 to loosen rust and buildup.
Cotter Pins
Cotter pins have a bent wire that must be straightened to slide them out. Follow these steps:
- Locate the cotter pin ends protruding from the hinge barrel.
- Use pliers to grab each end and unbend the cotter pin straight.
- Once straight, slide cotter pin completely out of the hinge knuckle.
- If pin is stuck, apply lubricant around the knuckle to loosen it.
Riveted Solid Pins
Riveted pins are held permanently in place. To remove:
- Clamp hinge in a vise to keep it secure.
- Use a drill with a bit slightly smaller than the rivet.
- Drill into the center of the rivet to break it apart.
- Knock the rivet pin pieces out with a punch and hammer.
- Take care not to damage the knuckle hole when drilling.
Threaded Pins
Threaded pins have spiral grooves cut into them. Follow these directions for removal:
- Secure hinge in vise if possible.
- Use an adjustable wrench or locking pliers to grip and unscrew the threaded pin.
- Lefty loosey! Turn pin counterclockwise to back it out of the knuckle.
- Remove any washers or keepers from the pin ends once unscrewed.
Tips for Avoiding Damage
When removing any hinge pin, take steps to avoid damaging the knuckle hole or pin itself:
- Use proper punch size – Too small can slip, too large can enlarge hole.
- Go slowly – Don’t pound or force the pin.
- Use vise grips – This prevents rounding off pin heads.
- Lubricate – WD-40 or similar can loosen stuck pins.
Reinstalling the Pin Properly
Once repairs are complete, you’ll need to reinstall the hinge pin correctly. Follow these tips:
- Make sure knuckle holes align.
- Clean pins and holes prior to reinstallation.
- Replace any damaged washers or keepers.
- Use lubricant to ease pin insertion if needed.
- Tighten threaded pins snugly, but not overly tight.
- Bend cotter pins back in place properly to secure.
When to Call a Professional
Some hinge pin removals are quick and straightforward. But for inaccessible or stubborn pins, it may be wise to call in a handyman service. Signs you may need a professional include:
- Pins that are heavily rusted or refuse to budge
- Hinges where the knuckle hole is severely enlarged or damaged
- Pins that snap or break off in the hole while trying to remove
- A lack of proper tools or knowledge for the specific hinge type
Rather than risk damaging the hinge further, experts can use specialized tools like drill presses to extract the broken pin safely. They can also repair hinge holes and replace parts if needed.
Conclusion
Removing a hinge pin is doable with some mechanical know-how and the proper tools. Spring pins and cotter pins often slide out with minimal fuss. Riveted and threaded pins take a bit more work. Following the techniques for your hinge type while exercising patience and care will allow you to successfully remove pins and carry out any necessary repairs or maintenance.