Hanging lights on metal siding can seem daunting, but it’s very doable with the right tools and techniques. Metal siding is common on barns, sheds, and some homes, and adding lights is a great way to improve visibility and ambiance. Here’s a step-by-step guide to hanging lights safely and securely on metal siding.
Page Contents
Choosing the Right Lights
First, think about what purpose the lights will serve. Are they for security, accent lighting, or illuminating a larger area? This will help determine what type of lights to use. Here are some common options:
- Security/motion lights – Bright floodlights activated by motion sensors. Great for monitoring property.
- Path/step lights – Low-voltage lights to illuminate walkways and steps. Create ambiance.
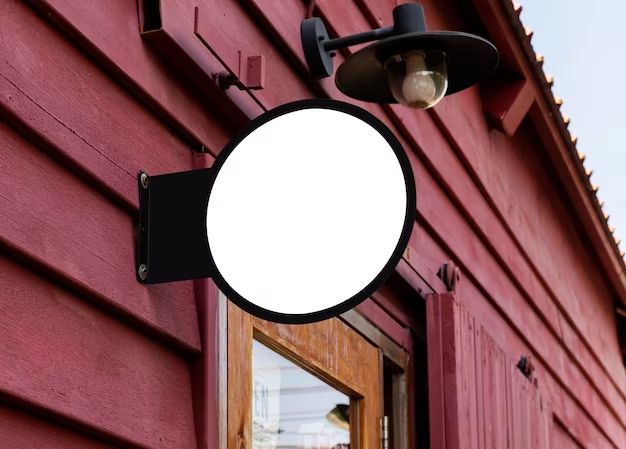
- Wall sconces – Decorative lights mounted to siding to highlight architecture. Provide accent lighting.
- Ceiling lights – Pendant lights or flush mounts that shine down over a space. Good general lighting.
Consider the size, style, and brightness of the lights based on your needs. Be sure to choose outdoor-rated lights since they’re waterproof and durable.
Choosing Mounting Hardware
You’ll need special hardware to mount lights to metal siding securely. Here are the best options:
- Siding hangers – Brackets that hook over the top of siding panels and have a plate to attach the light. Provide a stable mounting point.
- J-box adapters – Boxes that affix to siding and allow wiring to pass through while also holding lights. Require cutting siding.
- Magnetic mounts – Light fixtures with built-in magnets that adhere to metal siding. Convenient but less secure.
- Pole mounts – Poles for mounting floodlights away from the wall. Allows lighting large areas.
Siding hangers are usually the best option since they don’t damage the siding. Get stainless steel hangers to prevent rusting.
Picking a Location
Determine the optimal placement for the lights before installation:
- Security lights should illuminate entrances, driveways, and yards with no dark spots.
- Path lights look best lining walkways and steps. Space them evenly.
- Wall sconces highlight architecture and landscaping. Flank doors or line fences or plantings.
- Ceiling lights work best centered over spaces like patios, decks, or doors.
Consider existing electrical lines when choosing locations to avoid complicated wiring. Also, ensure lights will have power by being within reach of outlets.
Wiring and Power
Running electrical lines for exterior lights requires planning. Here are safe wiring techniques:
- Use exterior-grade wiring designed to handle weather and sun exposure. 12/2 cable is a common choice.
- Determine the voltage you need. For most home exterior lights, standard 120V lines will work. But for runs over 100 feet from a power source, you may need a higher 240V line.
- Run wiring through exterior walls into the attic. Drill holes through stud bays staying at least 1 1/2″ away from edges.
- Use junction boxes to split wiring runs as needed. Mount them high on walls or soffits.
- Make sure wiring is secured tightly with cable clips, staples, or hangers every 4-6 feet.
Hire an electrician if you’re uncomfortable dealing with electrical lines. Outdoor lights typically need their own circuits, switches, and GFCI outlets which electricians can install properly.
Installing Siding Hangers
Once wiring is handled, it’s time to mount the hardware. Follow these steps for siding hangers:
- Hold the hanger up to the selected spot and trace the outline with pencil. Remove any paint inside this area so the hanger adheres tightly.
- Remove the paper backing from the adhesive pad on the hanger to expose the sticky surface.
- Press the hanger firmly onto the siding area you traced for at least 30 seconds. Apply heavy pressure to ensure a solid bond.
- Pre-drill holes through the hanger plate to match up with the mounting holes on the light fixture.
- Screw the light fixture securely into the hanger plate using exterior-grade, corrosion-resistant screws.
- Seal around the edges with silicone caulk to prevent moisture getting behind the hanger.
Make sure the hanger is centered on a siding panel, not on a seam between panels. The adhesive must bond securely to a flat surface.
Connecting Electrical Lines
With the hardware mounted, it’s time to hook up the electrical:
- Turn off power at the main breaker panel.
- Run the electrical cable from the wires in the wall through the hanger arm into the back of the light.
- Connect the wires using wire nuts. Attach the black (hot) wire, white (neutral) wire, and bare copper (ground) wire to the matching wires in the light fixture.
- Tuck the connections neatly into the light housing.
- Caulk around the wire entrance point to seal it.
- Turn power back on and test the light.
Take precautions not to let live wires touch as you connect them. Have an electrician do this step if you’re uncomfortable working with wiring.
Installing J-Box Adapters
J-box adapters also provide secure mounting, but require cutting into the siding. Here are the installation steps:
- Mark the location for the adapter and cut out a hole slightly larger than the adapter.
- Insert the adapter into the hole and secure the back plate to the wall sheathing with screws.
- Install the front cover plate and gasket. Pass wiring through the adapter into the back box.
- Mount the light fixture securely to the adapter front plate.
- Connect wiring inside the adapter the same as with siding hangers.
- Seal all edges with silicone caulk.
When cutting the siding, be extremely careful not to damage house wrap or insulation underneath. Precisely measure and cut the opening for a snug fit.
Installing Magnetic Lights
For magnetic mount lights, installation is much easier:
- Clean the siding area thoroughly where the light will attach. Remove any dirt, debris, or peeling paint.
- Run wires through the back of the light fixture.
- Secure the connecting wires from the house to the light wires with wire nuts.
- Press the magnet side of the light firmly to the metal siding for 30 seconds to ensure adhesion.
- Check that the light is securely gripping the siding by gently pulling on it.
- Seal around the edges with caulk if desired, but avoid restricting access to wiring.
Take care choosing locations for magnetic lights since their grip is not as strong. Focus on areas low-traffic and sheltered from wind or rain exposure.
Mounting Pole Lights
For large security or area lights, pole mounting gets them away from the house:
- Install a concrete footing per manufacturer instructions. Run electrical lines under and up through footing.
- Attach pole mount securely to footing with non-rusting lag bolts.
- Run wires up through pole and attach light fixture to top.
- Connect wiring securely using waterproof splices.
- Seal all connections thoroughly with silicone.
- Attach light head to pole and aim floodlights as needed.
Bury electrical lines at least 18 inches deep and use schedule 80 PVC conduit for protection. Ensure pole is perpendicular for maximum stability.
Safety Tips
Take these additional precautions when working on exterior lights:
- Use a fiberglass ladder and work with a partner to prevent falls.
- Wear electrical gloves and eye protection when handling wires.
- Keep lights at least 3 feet from rain gutters and roof lines.
- Install a separate switch near each entry door for convenience.
- Use junction boxes to splice wires instead of loose connections.
- Double check that all wiring connections are secure.
Never do work on live wires in wet conditions. Turn off power at the breaker before starting and avoid working in the rain.
Maintenance
Exterior lights require occasional maintenance. Here are tips for keeping them looking their best:
- Clean fixtures regularly using mild detergent and water to keep bright.
- Check wiring connections yearly and re-secure any loose wires.
- Test lights periodically to replace bulbs as soon as they burn out.
- Repaint fixtures whenever paint begins cracking or peeling.
- Apply fresh caulk around fixtures every few years to maintain waterproofing.
Also inspect the mounting points on siding and repair as needed. Fixtures can loosen over time, especially if installed improperly. Watch for any flickering or dimming lights as a sign of loose wiring.
Conclusion
Installing lights on metal siding brings brightness and security to outdoor spaces. With the right hardware and safe installation process, it can be accomplished successfully. Siding hangers provide secure mounting without damaging siding. Follow safety procedures carefully when working with exterior electrical wiring. Maintain lights properly and they’ll shine for years to come.