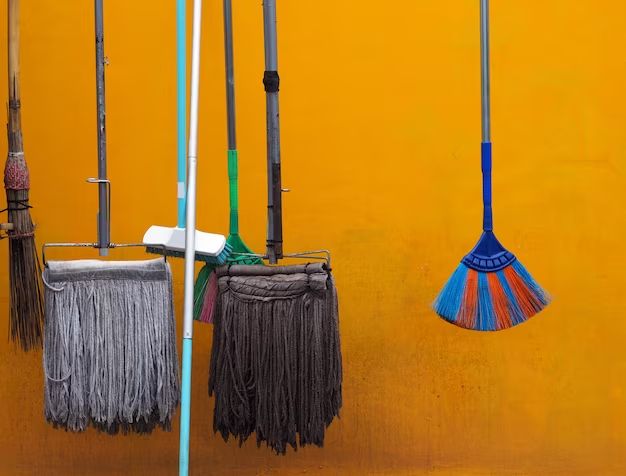
Hanging mops and brooms on the wall is a great way to keep them organized and out of the way when not in use. With some simple hardware, you can easily mount hooks or a shelf to keep your cleaning tools tidy and accessible.
Page Contents
Why Hang Mops and Brooms?
There are several benefits to hanging your mops and brooms up rather than leaving them leaning on the wall or tossed in a closet:
- Keeps them off the floor so they don’t get tangled or trip you up
- Allows air circulation to dry the mop heads to prevent mildew
- Makes the tools visible so you remember to use them
- Creates a uniform, organized look in your storage area
- Gets them up and out of the way for easier cleaning
Choosing a Location
When deciding where to hang your mops and brooms, consider the following:
- Near the area where they’ll be used – in a utility room, laundry area, or next to the kitchen
- In a closet or pantry with adequate ventilation
- On a wall without pipes, wires, or other obstructions
- Away from excessive moisture that could damage wood handles
- High enough to be out of the way but still in reach
Avoid hanging mops and brooms directly over the floor where drips could fall and create a mess. And make sure the location allows the mop or broom handle to hang straight down without hitting adjacent walls or surfaces.
Mounting Options
You have several options for mounting your mops and brooms to the wall:
Utility Hooks
Utility hooks that screw into the wall studs provide a simple way to hang mops, brooms, dusters, and other tools. Look for sturdy metal hooks that are rated to hold the weight of the items you’ll hang. Space the hooks at least 2-3 inches apart.
Shelf with Hooks
For a more finished look, install a mop and broom shelf with integrated hooks. These shelves are typically 6-12 inches deep and have 4-6 hooks for hanging items. Make sure to hit the wall studs when mounting the shelf.
Tool Rack
Free-standing tool racks on wheels offer another option for hanging and organizing cleaning tools. Look for a metal rack with plastic or rubber tool holders to cradle mop and broom handles. A rack with wheels allows you to easily move it for access to the wall behind it.
Pegboard
Turn an entire area of wall space into an organizational tool by installing perforated pegboard panels. You can hang mops and brooms on pegboard hooks, as well as smaller tools like dustpans and dusters. It’s an ideal solution for laundry rooms, garages, basements, and closets.
Hanging Mops
Follow these steps to hang mops securely on utility hooks or a wall-mounted system:
- Mark the positions for the hooks on the wall, spacing them about 3 inches apart and making sure they will sit level. Drill pilot holes.
- Screw the utility hooks into the wall studs using a drill/driver. For drywall, use wall anchors designed to support screws under load.
- Take the mop and turn it so the mop head hangs down. Slip the top of the mop handle over one of the hooks.
- For stability, hang the mop handle over two hooks spaced appropriately for the mop width.
Mops tend to be top-heavy, so secure hooks mounted into studs are a must. For extra stability, install cross brackets between the hooks.
Hanging Brooms
Here are some tips for hanging brooms:
- Choose spring-loaded utility hooks so you can easily lift the broom on and off.
- For a sturdy mount, screw hooks into wall studs and use cross brackets.
- Space hooks about 4 inches apart to provide good support for the broom.
- Hang the broom with the head down and bristles facing left or right so it stays put.
- Store brooms with the bristles up only if the handles can rest securely in retaining hooks.
Avoid hanging lightweight plastic brooms on standard hooks – the head is too light and may flip upside down. Opt for good quality spring-loaded hooks rated for the weight.
Hanging Dustpans
Standard utility hooks likely won’t hold dustpans securely since they lack a hanging hole. Here are some better options:
- Spring-loaded hooks with a small cradle to hold the dustpan’s upper edge
- Adhesive or screw-on metal racks that support the dustpan vertically
- Pegboard hooks that clip onto the dustpan’s edge
- Magnets or double-sided tape to secure the dustpan to a metal shelf
Group dustpans near the brooms for convenient access. Just make sure they sit vertically and won’t slide off the hooks or racks.
Hanging Other Cleaning Tools
To hang other cleaning tools like dusters and scrub brushes:
- Use small utility hooks, spring clips, or pegboard hooks to hang lightweight dusters.
- Secure scrub brushes in wire storage baskets or bins.
- Use strong suction cups or double-sided tape to adhere tool holders to smooth surfaces like tile or glass.
- Install a shallow, wide basket to hold spray bottles upright.
Group tools logically near where they’ll be used. Keeping all your cleaning gear visible and organized makes cleaning fast and efficient.
Purchasing Hardware
You can find mop and broom holders and hardware at home improvement stores, online retailers, or janitorial supply companies. Here’s what to look for:
- Utility hooks – Choose sturdy steel hooks at least 1 inch wide by 3 inches long.
- Pegboard – Look for 1/4 inch thick perforated hardboard in 2 x 4 foot panels.
- Tool racks – Opt for powder-coated steel racks with rubber tool grips.
- Shelf with hooks – Pick a shelf at least 6 inches deep with sturdy hooks.
For screws, use #8 or #10 size wood or sheet metal screws at least 1 1/4 inches long. Pre-drill holes for plastic anchors if not hitting a stud.
Conclusion
Hanging mops, brooms, and other cleaning tools helps keep them organized and accessible. Sturdy utility hooks, pegboard, shelves with hooks, and tool racks provide smart storage solutions. Mount them securely on the wall in a convenient, well-ventilated area. Take time to thoughtfully organize your cleaning gear so it’s tidy and ready to use when you need it.