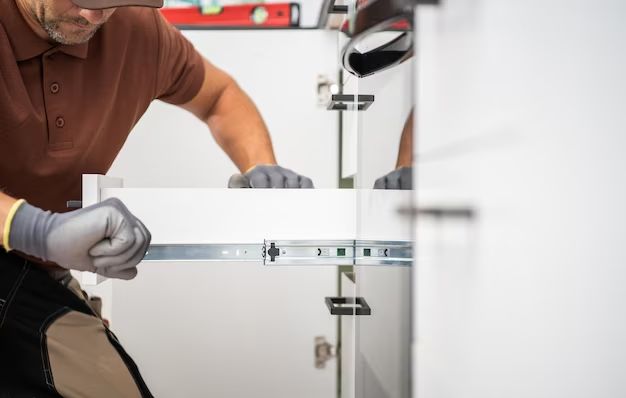
Installing a pull down shelf can add extra storage and work space to your kitchen, pantry, or any other room in your home. While it may seem daunting, with the right tools and materials, installing a pull down shelf is a straightforward DIY project. Here is a step-by-step guide to help you successfully install your pull down shelf.
Page Contents
- 1 Materials Needed
- 2 Step 1: Select Mounting Location
- 3 Step 2: Find the Wall Studs
- 4 Step 3: Mark the Mounting Bracket Locations
- 5 Step 4: Drill Pilot Holes
- 6 Step 5: Secure the Mounting Brackets
- 7 Step 6: Mount the Shelf
- 8 Step 7: Test and Adjust Shelf
- 9 Tips for Using Your New Pull Down Shelf
- 10 Conclusion
Materials Needed
Before starting the installation, you will need to gather the following materials:
- Pull down shelf
- Screws appropriate for mounting the shelf into studs or drywall anchors
- Electric drill and drill bits
- Level
- Stud finder
- Pencil
Step 1: Select Mounting Location
First, determine the ideal spot to mount your pull down shelf. Consider the following:
- Make sure there is enough clearance above and below where you plan to install the shelf so it can be pulled down fully without obstructions.
- Try to mount the shelf between two wall studs so it is securely anchored.
- Pick a location that is easily accessible.
- Hold the shelf up to the desired mounting area to double check that it fits and operates properly.
Step 2: Find the Wall Studs
Once you’ve chosen the mounting location, the next step is to find the wall studs. Studs provide the strongest mounting support for heavy shelves. Here’s how to locate them:
- Use a stud finder tool and run it vertically along the wall where you’ll install the shelf.
- When it detects a stud, it will indicate the edges of the stud so you can mark them with a pencil.
- Make sure you locate and mark at least two studs, 16 inches apart, to mount the shelf securely.
Step 3: Mark the Mounting Bracket Locations
With the wall studs marked, now you can determine where to place the shelf’s mounting brackets. Follow these tips:
- Hold the shelf up to the wall in the installation area.
- Line up the outermost brackets with the stud markings so they can be screwed firmly in place.
- Use a level to make sure the shelf will be mounted straight.
- Mark the spots where the remaining mounting brackets will go using pencil.
Step 4: Drill Pilot Holes
It’s best practice to pre-drill holes for the mounting screws to make installation easier and prevent splitting the studs. Here is how:
- Using a drill bit slightly smaller than your screws, drill a pilot hole at each stud marking.
- Drill the pilot holes around 2 inches deep into the studs.
- For brackets not hitting a stud, use drywall anchors and drill pilot holes for them as well.
Step 5: Secure the Mounting Brackets
With your holes pre-drilled, you’re ready to secure the mounting brackets to the wall:
- Hold up one of the outer brackets over its pilot hole and aligned with the stud.
- Drive a mounting screw through the bracket and into the wall stud using a power drill or screwdriver.
- Repeat this process to mount the second outer bracket into its respective stud.
- For any remaining brackets, screw them into the drywall anchor pilot holes.
Step 6: Mount the Shelf
Now you can mount the shelf onto the brackets you’ve secured to the wall:
- Hold the shelf up over the installed brackets.
- Slide the shelf down over the brackets so its built-in channels fit over them to interlock.
- Press down firmly so the shelf clicks into place and is held tightly by the brackets.
Step 7: Test and Adjust Shelf
The last step is to test out your newly mounted shelf:
- Gently pull the shelf down and allow it to retract several times to make sure it is operating smoothly.
- Check that the shelf sits level when extended. If not, you can adjust the brackets slightly to level it.
- Load the shelf with a few lightweight items and allow it to hold some weight as you pull it up and down to check sturdiness.
Tips for Using Your New Pull Down Shelf
- Wipe spills quickly to avoid stains on the hardware and shelf.
- Do not overload the shelf – abide by the weight limit recommended by the manufacturer.
- If the shelf becomes loose or squeaky, you may need to tighten the brackets over time.
- Keep items organized so the shelf retracts fully when not in use.
Conclusion
Installing a pull down shelf is a great DIY project to add extra storage space in your home. With some basic tools and materials, these shelves can be mounted securely in just an afternoon. Be sure to follow the step-by-step process to choose the right location, drill pilot holes, mount the brackets, and safely install the shelf. Refer to these instructions and tips to get years of useful service from your new pull down shelf.
