Installing an awning over a door is a great way to provide shade and shelter from the elements. Awnings are relatively easy DIY projects that can be completed in a weekend with the right materials and tools. In this article, we’ll walk through the complete process of installing an awning over a door, including how to measure, required tools and materials, installation steps, and tips for customization. Read on to learn everything you need to know!
Page Contents
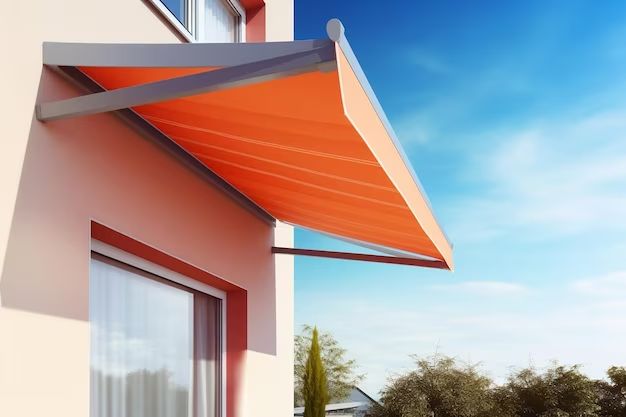
Why Install an Awning Over a Door?
There are several benefits to installing an awning over a door:
- Provides shade and cooling – Awnings prevent direct sunlight from hitting the door and adjacent windows. This can drastically reduce heat gain in the summer.
- Shelter from rain and snow – Awnings provide covered entryways, keeping you dry as you come and go.
- UV protection – Many awnings are made from UV-resistant materials that limit fading and damage to doors, frames, and interiors.
- Added curb appeal – Stylish awnings can enhance the look of a home’s exterior and add visual interest.
- Flexible usage – Awnings can be left up year-round or taken down seasonally as needed.
Adding an awning over an exterior door is a simple upgrade that can make a big difference in comfort, weather protection, and style.
How to Measure for an Awning
Once you’ve decided to install an awning, the first step is taking proper measurements. This ensures you get an awning tailored to fit your space correctly. Consider the following when measuring:
- Door height and width – Measure the exact height and width of the door frame. Add a few extra inches to account for valances or other decorative elements on the awning.
- Projection – This is how far out from the house you want the awning to extend. Usually 12-36 inches is ideal.
- Drop – The drop distance is how low the awning hangs down from the mounting point. For entry doors, 5-7 feet of drop is standard.
- Mounting height – Measure the height from the bottom of the door header to where you will install the mounting brackets. This is often 7-8 feet above the door.
Use a steel measuring tape for accuracy. Write down all measurements to reference later. This will allow you to choose the ideal awning size and order the correct materials.
Required Tools and Materials
Once you know the size needed, gather the necessary installation tools and materials:
Tools
- Power drill and drill bits
- Level
- Stud finder
- Screwdrivers
- Tape measure
- Ladder
- Pencil
Materials
- Awning frame and hardware
- Awning canopy material
- Mounting screws
- Washers
- Silicone caulking
Purchase an awning kit or source individual components like aluminum or galvanized pipes, elbows and connectors, and water-repellent canopy fabric sized to your measurements. Hardware stores and online awning retailers offer many options to choose from.
Installation Steps
Once you have all the necessary awning components and tools, it’s time for installation. Follow these key steps:
1. Mark the Mounting Location
Use a level and pencil to mark a perfectly horizontal line on the wall where you want the top awning brackets mounted. Refer to your measurements to position it at the right height above the door. Use a stud finder to mark where the wall studs are so you can secure the brackets properly.
2. Install the Brackets
Hold each bracket centered over the marks and use a drill to insert screws into the studs. Make sure all brackets are perfectly level. Add washers to the screws if needed to keep the brackets flat against the wall.
3. Assemble the Frame
Connect elbows and pipes following your awning kit instructions to assemble the frame pieces. Lock them together securely. Then insert the frame into the mounting brackets, positioning the elbow joints at each bracket.
4. Attach the Canopy
Unfold and spread out the awning canopy. Align the top edge with the frame, wrapping the fabric around the pipes. Use zip ties, tension clamps, or hooks sewn into the fabric to securely fasten the canopy to the frame all the way around.
5. Caulk the Frame
Run a bead of silicone caulking around the outer edge where the frame meets the wall. This seals any gaps and helps water run off the awning.
Customizations and Variations
Beyond just covering a door, you can customize an awning installation for extra flair. Some options include:
- Valances – Add decorative valances along the outer edges for a touch of style.
- Side panels – Use side panels to enclose the area under the awning.
- Lighting – From lanterns to LED rope lights, add lighting for increased visibility.
- Patterns and graphics – Choose canopy fabric with stripes, solids, geometric shapes or custom graphics.
- Retractable awnings – Mount automated awnings that can be extended and retracted as needed.
Get creative with accents like ornamental brackets, framework finials, or contrasting colors. The possibilities are endless!
Conclusion
Installing an awning over an exterior door provides shade, shelter, and style. By following the steps for proper measuring, choosing awning components, using the right tools, and carefully installing the mounting brackets and frame, you can successfully DIY this project in a weekend. Customize with lights, graphics, or other embellishments to make it your own. Enjoy your new entryway awning that adds function and aesthetic appeal to your home for years to come.