Laying decking on an uneven surface can be challenging, but with the right preparation and techniques, it can be done successfully. Here is a step-by-step guide on how to lay decking on uneven ground.
Page Contents
Assess the Site and Plan Ahead
The first step is to thoroughly assess the site where you want to install the decking. Look at the overall terrain and identify any significant bumps, slopes or depressions. Use a level to determine the full extent of the undulations and deviations. This will help you plan how to address them when laying the joists and boards.
It’s also important to consider drainage issues. Make sure water can run off the surface and not pool anywhere. Address any areas where water accumulates to prevent rotting or shifting of the decking in the future.
Plan out the complete deck structure, including the size, layout, and joist spacing. Having a solid plan ahead of time allows you to account for the uneven areas right from the start.
Prepare the Ground
Proper ground preparation is key for any deck build but especially important on uneven ground. Remove any grass, plants or topsoil from the area. Use a shovel, rake and gravel to level the surface as much as possible.
For areas that are significantly uneven, you may need to build up with crushed stone and gravel. Compact it down firmly and evenly. The goal is to get the area as flat and stable as realistically possible.
Install Blocking and Footings
Blocking refers to concrete pads or piers underneath the deck posts. They raise the posts up from the ground and provide a stable, lasting foundation.
Determine the required blocking size and depth based on the deck size, post locations and weight load. Dig holes and pour concrete footings according to local building codes.
In uneven areas, adjust the footing depth as needed so the tops of the footings are level with each other. This gives the deck posts a flat base to stand on.
Set Deck Posts
Place metal or wood posts in the blocking and fasten in place with concrete anchors. Use a spirit level on each post to make sure they are perfectly vertical.
On uneven ground, you may need to use extended footings and cut some of the posts to different heights so they are even across the top. The goal is for the post tops to be flat and consistent.
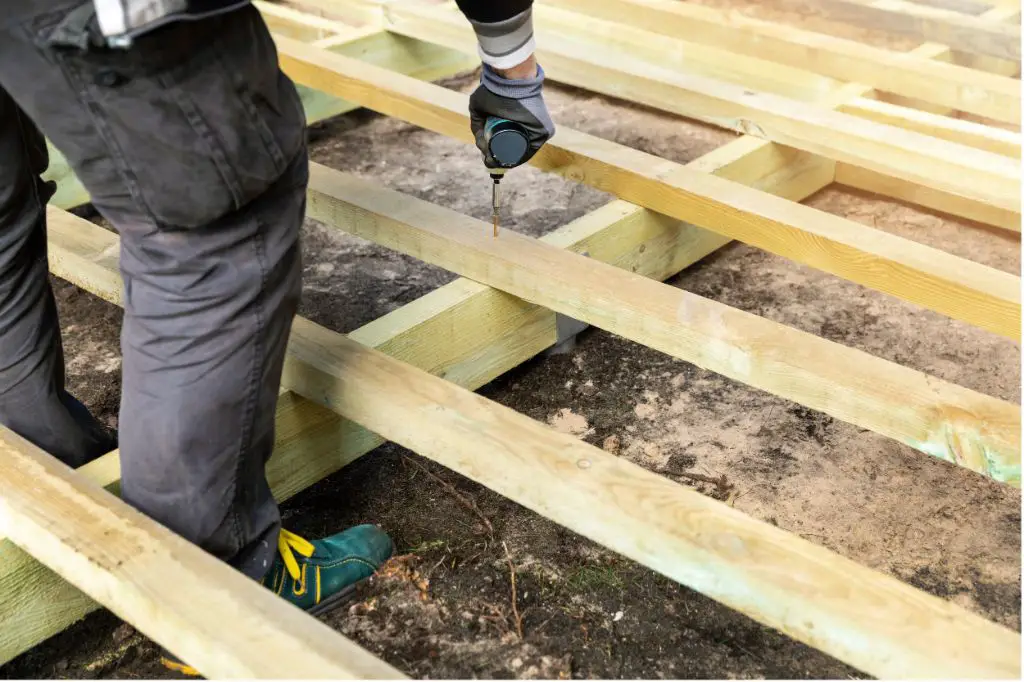
Install Joists
Lay out the joist frame according to your deck plans. Measure and cut the joists to size. Attach to the deck posts using joist hangers or ledger boards.
To accommodate uneven areas, you can either use joist hangers with built-in height adjustments, or cut certain joists slightly longer or shorter as needed.
On areas with significant slopes, you may need to install the joists on a diagonal, with the low side closer to the post. This helps compensate for the incline.
Add Blocking Between Joists
Once the joist frame is in place, add blocking strips in between each joist. This helps stabilize and level the joists.
Use full length blocking on flatter areas. On sloped sections, cut the blocking to stagger lengths that match the joist elevations. This custom blocking locks the joists together and reduces twisting.
Attach Decking Boards
You’re now ready to attach the surface decking boards. Many options are available, such as wood, composite or PVC deck boards.
For best results on uneven ground, opt for narrower grooved boards that allow rainwater to drain between the gaps.
When fastening the boards, start at the lowest side of the deck, with the first board oriented perpendicular to the joists. This prevents the decking from running uphill which can lead to pooling.
Where the joists change elevation, adjust the deck board length to match. Use a circular saw to trim boards as needed.
Stagger board ends between rows and allow a gap for drainage. Use deck screws to fasten into each joist.
Add Railings and Stairs
To finish the deck, install code-approved railings on open sides. Railing post heights may need some adjustment on sloped areas. Ensure railings are securely anchored.
If required, build stairs to access the deck. Adjust stair footing depths to match the slope. Use wedge-shaped treads or trim riser heights as needed on stepped terrain.
Tips for Laying Decking on Uneven Ground
Here are some helpful tips to keep in mind for decking an uneven surface:
- Allow extra time and material for planning and preparation
- Use gravel and compact it to form the flattest base possible
- Adjust footings, posts and joists to ensure tops are level
- Stagger and customize blocking lengths to support joists
- Consider diagonal joist installation on steep slopes
- Opt for narrower grooved deck boards that allow drainage
- Start decking installation at the lowest area
- Trim joists and deck boards as needed to match elevations
- Allow gaps between deck boards for drainage
Conclusion
Laying decking on uneven ground takes more effort but can transform challenging terrain into a gorgeous, usable outdoor space. With the right planning and preparation, uneven ground can be successfully decked over through careful elevation adjustment and adaptation of the framing and deck boards.
The key is assessing the site, allowing for drainage, adjusting the infrastructure to a flat and level plane, and taking the time to customize components to match the existing elevations and slopes. With patience and the proper techniques, you can create a solid, lasting deck over uneven ground that provides an enjoyable outdoor entertaining space.