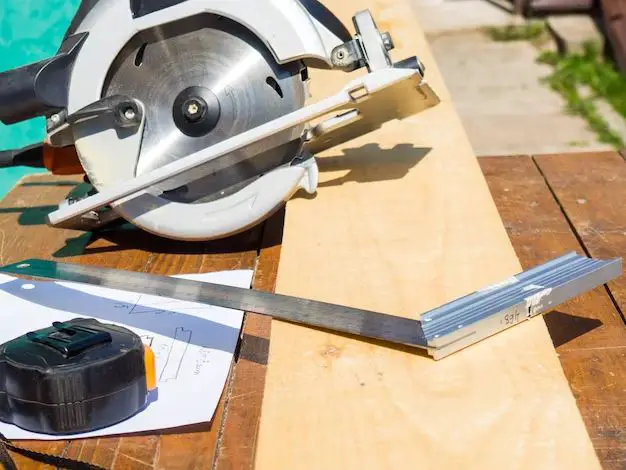
There are a few quick answers to this common question about adjusting the cutting depth on a circular saw:
– Locate the depth adjustment lever – This is typically found on the front or side of the circular saw.
– Loosen the lever – Loosening the lever will allow you to adjust the maximum cutting depth.
– Adjust the shoe – Lowering the shoe will decrease the maximum cutting depth and raising it will increase the maximum depth.
– Tighten the lever – Once you have the shoe positioned for the desired cutting depth, tighten the lever again to lock it in place.
– Test on scrap material – Always test your new depth setting on some scrap material first before cutting your good stock.
Page Contents
Why Adjust Circular Saw Cutting Depth?
There are a few key reasons you may want to adjust the maximum cutting depth on your circular saw:
Avoid Cutting Too Deep
Lowering the depth can prevent you from accidentally cutting through the material and into whatever is underneath. This helps prevent damage to surfaces underneath like tabletops or cutting through pipes or wires hidden behind walls.
Reduce Strain on the Saw
Cutting to full blade depth can put extra strain on the saw’s motor and gears, especially in thick material. Reducing blade depth lessens that strain when you don’t need the full cutting capability.
Prevent Kickback
Cutting too deep with a circular saw can increase the chances of dangerous kickback as the teeth at the very bottom of the blade start to lift out of the workpiece. Lowering the depth leaves extra margin below the cut to reduce this risk.
Make Repeated Cuts at Same Depth
Setting a specific maximum depth makes it easy to make a series of cuts all at the same depth across multiple workpieces. This is very handy for projects like making flooring or siding boards.
How to Adjust Cutting Depth on a Circular Saw
Here is a step-by-step guide to adjusting the maximum cutting depth on a standard circular saw:
Step 1 – Locate the Depth Adjustment Mechanism
– This is typically found on the front of the saw’s foot plate or sometimes on the side.
– It consists of a lever that loosens and tightens a bracket that sets the lowest point the foot can go.
Step 2 – Loosen the Depth Adjustment Lever
– Flip up the lever to loosen it and allow the foot plate to move up and down.
– The lever may be a twist knob, flip lever, thumb screw, or other fastening mechanism.
Step 3 – Raise or Lower the Foot Plate
– Once loosened, you can raise or lower the front foot plate to adjust cutting depth.
– Lowering it reduces cutting depth, raising it increases depth.
– There may be depth markings on the saw to guide you.
Step 4 – Lock in the Depth Setting
– With the foot plate positioned for your desired depth, flip the lever back over to lock it in place.
– Make sure the lever is tightened securely to prevent the foot plate from shifting during cuts.
Step 5 – Test the Depth Setting
– Always test your new depth setting on some scrap material first.
– Make a sample cut and measure the depth to confirm it is set properly before cutting your real workpiece.
– Adjust as needed until the desired maximum depth is achieved.
Tips for Adjusting Circular Saw Cutting Depth
Follow these handy tips when adjusting the cutting depth on your circular saw:
Consult your Saw’s Manual
– Refer to your specific model’s manual for instructions and guidance. Depth adjustment can vary.
Only Cut What’s Needed
– Avoid setting the depth deeper than required to cut through the material. This reduces strain and kickback risk.
Use Depth Markings If Available
– Many saws have depth markings printed right on the front foot plate to guide your adjustment.
Adjust in Small Increments
– Make depth adjustments in small increments, testing as you go until you achieve the perfect depth.
Remember Blade Thickness
– Account for blade thickness above the foot plate when calculating your needed depth setting.
Use a Specific Blade for Material
– A blade designed for cleanly cutting your specific material will produce better results.
Cutting Depth for Common Circular Saw Cut Types
Here are recommended cutting depth settings for some of the most common circular saw cutting applications:
Plywood Siding or Paneling
– Depth Setting: Cut 1/8″ deeper than panel thickness
Laminate Flooring
– Depth Setting: Cut through laminate layer but not into subfloor
Wood Framing Lumber
– Depth Setting: 1/8″ deeper than board thickness
Sheet Goods (Plywood, OSB, MDF)
– Depth Setting: 1/16″ deeper than material thickness
Door Jambs
– Depth Setting: Through jamb but not into wall framing
Wood Trim or Molding
– Depth Setting: Cut off 1/16″ deeper than thickness
| Material | Recommended Cutting Depth Setting |
|---|---|
| Plywood Siding/Paneling | 1/8″ deeper than thickness |
| Laminate Flooring | Through laminate but not subfloor |
| Wood Framing Lumber | 1/8″ deeper than thickness |
| Sheet Goods | 1/16″ deeper than thickness |
| Door Jambs | Through jamb but not framing |
| Wood Trim/Molding | 1/16″ deeper than thickness |
Conclusion
Adjusting the maximum cutting depth is an important circular saw skill. Lower depths prevent over-cutting, reduce strain, and minimize kickback risk. Locate the depth adjust lever, loosen it, position the foot plate higher or lower as needed, then lock it back in place. Test on scrap first before cutting your good stock. Follow the proper depth setting for the material you are cutting. Mastering depth adjustment will lead to better circular saw results and enhanced safety.
