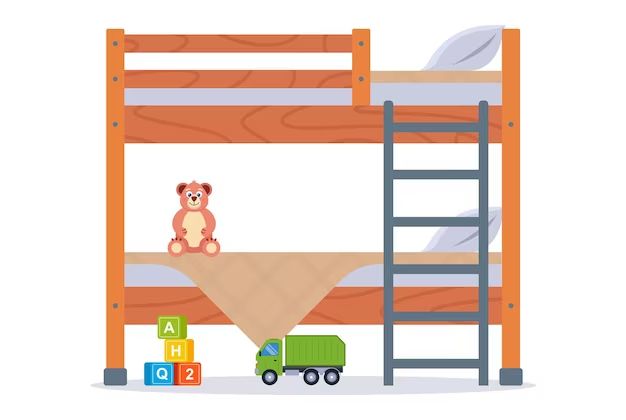
Making a ladder for a bunk bed can seem like a daunting task, but with the right tools and materials, it’s actually quite straightforward. A bunk bed ladder provides easy and safe access to the top bunk, making bunk beds practical for both kids and adults. In this article, we’ll walk through the complete process of constructing a basic bunk bed ladder using common hardware and lumber. We’ll cover planning considerations, materials and tools needed, step-by-step building instructions, and tips for customizing your ladder design. With some basic DIY skills and this guide, you’ll be able to create a sturdy, functional bunk bed ladder tailored to your specific needs.
Page Contents
Things to Consider Before Building a Bunk Bed Ladder
Here are some key factors to think through before starting your bunk bed ladder project:
- Size of the ladder – Measure the height from the floor to the top of the mattress and the width between vertical bed posts to determine ideal ladder length and width.
- Weight capacity – Consider the size of users and aim for a design that can safely hold over 200 lbs.
- Attachment style – Most ladders attach to the bed frame with hardware. Determine if you’ll attach to the side or end of the bed.
- Materials – Pine lumber and oak dowels are inexpensive options. Metal brackets provide strength.
- Design features – Consider including angled steps, storage steps, or side guardrails for safety.
- Finishing – Unfinished, painted, or stained wood are common ladder styles.
- Skill level – A basic ladder is reasonably easy. More complex designs require more tools and skills.
Thinking through these factors will help you plan out the design, material purchases, and tools needed to complete your project.
Materials and Tools Needed
Here are the basic materials and tools you’ll need to make a bunk bed ladder:
Materials
- 2×4 lumber – For stringers (long vertical side pieces) and steps. Length depends on bed height.
- 1×4 lumber – For side stringers if making a wide ladder. Length matches 2×4 stringers.
- Plywood – For ladder steps. 1/4″ or 1/2″ thickness is ideal.
- Wood screws – 1.5″ to 3″ screws for assembling the frame.
- Wood glue
- Sandpaper – For smoothing wood pieces if finishing with stain or paint.
- Wood finish – Stain, paint, or polyurethane for protecting the wood.
- Metal brackets – For attaching ladder to bed frame. Quantity depends on design.
Tools
- Hand saw or miter saw – For cutting lumber and plywood to size.
- Carpenter’s square – For squaring up cuts.
- Drill/driver – For driving screws to assemble ladder.
- Tape measure
- Safety equipment – Safety glasses, gloves, etc.
Purchasing unfinished pine lumber and plywood along with metal mounting brackets will provide all the raw materials you need. Having the right power tools for cutting and assembling will make the process much easier.
Step-by-Step Instructions
With your materials and tools gathered, you’re ready to start building. Follow these steps to construct a basic bunk bed ladder:
Step 1: Cut the Stringers
The two outer vertical pieces of the ladder are called stringers.
- Cut 2×4 lumber to required length for bed height.
- Cut an angle at top end so stringers fit flush to bed frame.
- Cut 1×4 side stringers if making a wider ladder.
Step 2: Cut and Attach Steps
- Measure and cut plywood to make ladder steps.
- Use wood glue to attach steps to stringers. Allow to dry.
- Screw steps from underside for extra strength.
Space steps evenly based on the height of your bunk bed. 10 to 12 inches apart is typical.
Step 3: Assemble the Ladder Frame
- Lay stringers on a flat surface.
- Attach side stringers with wood screws if making a wide ladder.
- Use carpenter’s square to ensure a 90 degree angle.
Step 4: Attach Mounting Brackets
- Measure and mark where top brackets will go.
- Attach top brackets with wood screws.
- Add lower bracket(s) to secure bottom of ladder.
Attaching at least two top brackets provides stability. Consider a lower bracket for additional safety.
Step 5: Finish the Wood
- Sand ladder with 120 grit sandpaper to smooth surfaces.
- Wipe away dust.
- Apply your choice of stain, paint, or polyurethane.
- Allow finish to dry completely.
Finishing protects the wood from wear and gives your ladder a polished look.
Step 6: Mount Ladder to Bed
- Position ladder against bed frame.
- Use hardware to attach brackets securely to frame.
- Confirm ladder feels sturdy before use.
With the ladder securely mounted, it’s ready for climbing!
Customizing Your Ladder Design
Once you’re comfortable with the basics, consider these options to customize your bunk bed ladder:
- Add side guardrails – Great for kid safety and preventing falls.
- Use angled steps – Alternating sides helps climb easier.
- Include built-in storage – Great for books, toys, or blankets.
- Make taller stringers – Allows mounting nightstands or lights.
- Use decorative wood choices – Like pine, oak, or cedar.
- Include a rope or dowel railing – Adds stability when climbing up.
Let the ladder reflect your personal style and needs. The basic construction steps remain the same while allowing for your unique custom details.
Conclusion
Constructing a bunk bed ladder is a straightforward DIY woodworking project. With proper planning, materials, tools, and safety precautions, you can create a ladder perfect for accessing your bunk bed. Customize the size, attachments, and design features to suit your needs. Not only will you save money compared to buying a pre-made ladder, but you’ll also have the satisfaction of building something practical with your own two hands. With this guide’s step-by-step instructions, you’ll develop valuable woodworking skills and enjoy the finished product for years to come. So grab your tools, lumber, and hardware and get ready to build a custom bunk bed ladder your way!
