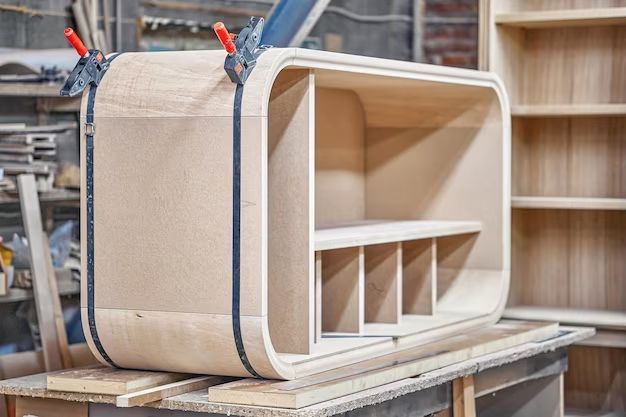
Making a clamp rack is a great way to organize and store your woodworking clamps. Having an organized clamp rack makes it easy to quickly grab the right clamp for the job. With just a few basic tools and materials, you can make a simple but effective clamp rack to suit your needs.
Page Contents
Planning Your Clamp Rack Design
The first step is deciding on the design for your clamp rack. Here are some things to consider:
- How many clamps do you need to store? Make sure the rack will have enough space.
- What types of clamps do you have? Will you need special slots or holders for bar clamps, C-clamps, pipe clamps, etc.
- Do you want the rack mounted on the wall or freestanding on a workbench?
- What material do you want to make it from? Plywood, 2x4s, pegboard, etc.
Sketch out some simple design ideas to get a sense for the size and layout. The main goal is to have organized slots or storage areas tailored to the types of clamps you own.
Gather Materials
Once you have a design in mind, make a list of the materials you will need. Common materials for DIY clamp racks include:
- Plywood or boards for the main structure
- Dowels, pegs, or hooks to hold clamps
- Wood screws and wood glue for assembly
- Tools for cutting wood and drilling holes
- Paint or wood finish (optional)
Make sure to purchase enough materials to accommodate the number of clamps you plan to store. It’s better to make the rack a little deeper than absolutely necessary so you have room to add more clamps later. You will also need appropriate tools for cutting, drilling, and assembling the rack.
Cut Pieces to Size
Using your design plan, cut your plywood or lumber pieces to size with a circular saw or miter saw. Cut along the grain for the strongest boards. For a freestanding rack, you may need 4 upright posts plus horizontal shelves or boards in between. For a wall-mounted rack, cut long horizontal boards to mount directly on the wall studs. Cut any specialty pieces needed for clamp storage slots.
Drill Storage Holes
Now drill holes for dowels, pegs, hooks, and clamps. Spacing depends on your clamp sizes, but leave at least 2-3” between holes. Some ideas for clamp storage:
- Drill holes with dowels for C-clamps and pipe clamps
- Use pegboard with cut slots for bar clamps
- Attach metal hooks for spring clamps
- Screw in cup hooks to hold F-style clamps
Get creative with the storage options tailored to your clamp selection. Position the holes strategically to maximize space and accessibility. Drill pilot holes when needed to prevent splitting the wood.
Assemble Rack Frame
Once all pieces are cut and holes are drilled, it’s time for assembly. For a freestanding rack:
- Apply wood glue to join the horizontal shelves to the upright 4×4 posts.
- Clamp pieces together while glue dries.
- Drive wood screws through the shelves into the posts for extra strength.
For a wall-mounted rack, simply screw the horizontal boards directly into the wall studs spaced at your desired rack height. Make sure screws are long enough to securely anchor the rack into the wall framing.
Add Clamp Storage Features
Now insert any clamp storage features into your pre-drilled holes:
- Glue and insert wooden dowels into holes for clamps to slide over.
- Press metal hooks, pegs, or cup hooks into holes.
- Screw in any additional clamp holders or brackets.
Double check that your clamps fit into the storage slots as expected before final assembly.
Finish and Mount Rack
Apply any desired finish like paint or wood stain to protect and beautify your shop-made clamp rack. For a freestanding rack, check that the base is level to prevent tipping. Screw in an additional brace on the bottom for stability if needed.
For a wall-mounted rack, locate and mark the wall studs for proper support. Hold the rack piece in position and drill pilot holes into the studs. Screw the rack securely into the wall using wood screws or lag bolts.
Once assembled and mounted, you’re ready to load up your clamps! Having an organized clamp rack makes it so much easier to find the right clamp, saving you time and frustration in your shop. Just follow these simple steps and you can DIY a custom clamp rack tailored exactly to your needs and clamp collection.
Conclusion
Building your own clamp rack is an easy woodworking project that pays dividends by keeping your shop organized. With minimal tools and materials, you can create customized storage to neatly hold all your bar clamps, pipe clamps, C-clamps, and other clamping tools. The key is designing simple slots, holes, and holders suited specifically for the clamps you own. Mount your finished DIY rack on the wall or workbench to always have your clamps readily at hand. An organized clamp rack makes any woodworking project go faster and smoother.
