Hot glue is an incredibly useful adhesive for crafting, minor repairs, and other quick fixes around the home. However, getting hot glue to adhere properly can be frustrating at times. The glue may not stick well to smooth surfaces like glass and metal or may peel off over time on materials like fabric and cardboard. Thankfully, there are several tricks to get hot glue to bind more durably so your projects will last.
Page Contents
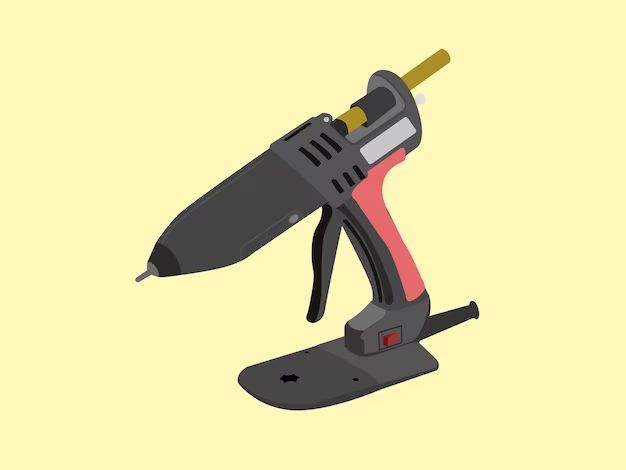
Use the Right Glue Gun and Glue Sticks
The first step in creating good hot glue bonds is using a decent glue gun and high-quality glue sticks. Glue guns come in a range of wattages from around 20W up to 100W or higher. Low-temp guns in the 20W range melt glue at around 250°F and are good for projects using heat-sensitive materials. High-temp guns around 100W+ melt glue at 380°F and above and provide the strongest bonds for most applications.
Higher temperatures allow the glue to flow smoothly into the bonding surfaces for maximum adhesion. Make sure to use glue sticks designed for your gun’s wattage and not exceeding it. For most daily glue tasks and crafts, a basic 100W or 120W glue gun will provide enough bonding power.
Glue stick composition also affects performance. The best glue sticks are made of a consistent, high-quality adhesive formula. Cheap, low-quality glue often has additives and fillers that make the glue lumpier and more prone to clogging guns. Sticks made for high-temp guns will also withstand higher melting heats. Using the right glue sticks for your gun will help the glue melt and flow optimally for sticking.
Recommended Hot Glue Guns and Glue Sticks
Here are some good hot glue gun and glue stick options for various needs:
| Use | Recommended Glue Gun | Recommended Glue Sticks |
|---|---|---|
| General crafting | AdTech Full-Size 400W High-Temp Gun | Gorilla Clear Glue Sticks |
| Delicate materials | Surebonder Pro2 60W Low-Temp Gun | Surebonder Low-Temp Clear Glue Sticks |
| Heavy duty | Stanley GR20KXT Full-Size Dual-Temp Gun | Stanley Extra Strong Clear Glue Sticks |
Prepare the Surfaces
Properly preparing the materials you want to glue is also key for creating strong bonds. Start by making sure the surfaces are clean and dry. Wipe away any dust, oils, or contaminants with isopropyl alcohol, acetone, or soapy water. Let the surfaces dry fully.
Lightly roughing up very smooth materials like plastic, glass, and metals will help give the glue something to grip. Use fine-grit sandpaper to scuff up the area, or etch it with a tool like a craft knife or screwdriver. Don’t over-roughen as you still want a reasonably smooth surface.
You can also use primer or adhesion promoter spray on problematic low-porosity surfaces. Primers work as an intermediary layer for the glue to stick to. lightly coat the areas you will glue with primer/adhesion promoter then let it fully cure.
For highly absorbent porous materials like wood, apply a thin coat of glue then let it cool completely before the final bonding. This helps seal and fill the pores for better adhesion.
Apply the Glue Correctly
Applying hot glue properly ensures it bonds to surfaces across the entire gluing area. Here are some tips for getting good glue coverage:
Use enough glue
Don’t skimp on the amount of glue you apply. Thicker glue beads and layers result in broader bonding. For most joins, aim for around 1/8-1/4 inch thickness of glue. Squeeze the gun steadily as you move it along the seam to get an even, molten flow of glue that fully wets both surfaces.
Glue into right angles/joints
Angle the nozzle into any interior corners or joints so the glue can penetrate fully and not just run along the seam. Cut the end of the nozzle if needed to get into tight spaces.
Clamp pieces together
Applying pressure brings the surfaces into intimate contact while the glue cools, improving adhesion. Use spring clamps, vice grips, weights or elastic bands to hold pieces together until the bond sets.
Let cool completely
Hot glue gains strength as it cools and solidifies. Never handle bonded items prematurely or the still-soft glue may tear away from surfaces. Let cool for at least 5 minutes before stressing the joint.
Use Fillers to Bridge Gaps
For joining uneven or poorly mating surfaces, you can add fillers to the glue to bridge any gaps. Materials like baking soda, dry cleaners clay, wood dust and aluminum powder help bulk up the glue. Mix a small amount of filler into some melted scrap glue until thoroughly blended. Then use the filler-enhanced glue to bond the pieces.
The filler helps span spaces between the surfaces while the glue adheres to both sides. Feather out some straight glue at the edges for maximum strength. Let dry then sand/trim any excess filler material.
Reinforce Bonds with Tape, Staples or Screws
For critical repairs or applications demanding high strength, reinforce hot glue with secondary mechanical fasteners. Applying tape, staples or small screws through the joint further stabilizes and strengthens the bond.
Electrical tape, duct tape or packing tape can add a tenacious gripping layer. Overlap this onto the joint, pressing firmly to maximize contact. Screws or staples physically clamp materials together, reducing shear stress on the glue. Drill pilot holes and partially drive fasteners into the pieces, then add glue and seat fasteners fully.
When possible, position tape/fasteners to be in shear or compression rather than peel forces. Diagonal orientations across joints work best. The combined mechanical and adhesive bonding creates a very robust Fix.
Use Two-Part Epoxy for Superior Strength
For the most heavy-duty permanent bonds, upgrade to two-part epoxy which offers greater adhesion than thermoplastic hot glue. It flows into intricate crevices before curing rigidly. Most 5 to 30-minute epoxies bond tenaciously to metals, plastics, glass, masonry, wood and more.
Apply epoxy mixtures precisely according to directions. Thoroughly mix equal parts resin and hardener, ensuring no streaks. Generously coat bonding areas with a popsicle stick, putty knife or disposable brush. Clamp parts together for the duration of cure time. The resulting joint will be extremely durable and waterproof.
Conclusion
Using the right glue products and proper application techniques allows you to get reliable, long-lasting bonds from hot glue. Preparing surfaces is key, as is applying sufficient amounts of glue and firmly holding pieces together as it cools. For extra-strong repairs, reinforce with tape, staples or screws. In the most demanding situations, upgrade toGap-filling two-part epoxies. With some care and practice, hot glue can become an effective tool for superior sticking power.
Frequently Asked Questions
What causes hot glue not to stick?
Hot glue may not stick well due to several factors:
- Low-quality glue gun or unsuitable glue sticks – Can clog guns and result in poor flow and adhesion.
- Insufficient heating – If the glue is not molten enough, it won’t bond properly.
- Smooth, non-porous surfaces – Materials like metal and plastic are hard for glue to grip.
- Dust, grease, or debris – Contaminants prevent glue contacting surfaces effectively.
- Too little glue used – Thin glue layers don’t create broad bonding area.
- Premature handling – Glue needs time to fully cool and harden undisturbed.
How can I get hot glue off surfaces?
To remove unwanted hot glue:
- Peel off glue while still warm if possible.
- Soften dried glue with heat – blowdryer, hot water, iron.
- Scrape away residue with plastic scraper or old credit card.
- Rub gently with oil, cooking spray, or adhesive remover liquid.
- Use acetone nail polish remover on hard surfaces.
- Sand or scrape wood, being careful not to gouge surface.
What materials does hot glue work best on?
Hot glue provides the strongest bonds on these materials:
- Wood
- Paper
- Cardboard
- Fabric
- Ceramics
- Plastics like ABS, PVC, styrene
- Rubber
Porous materials allow glue to penetrate surface for grip. Priming smooth metals, glass, and plastics first creates better adhesion.
Does hot glue work on plastic and metal?
Yes, hot glue can bond plastic and metal but with some preparation:
- Lightly roughen smooth plastic or metal with sandpaper.
- Use primer/adhesion promoter spray.
- Apply generous amounts of glue for broader bonding.
- Reinforce joint with tape, clamps, or fasteners.
- Two-part epoxy gives the strongest plastic/metal bonds.
Can you glue wood with hot glue?
Yes, hot glue is excellent for bonding wood. Steps for strong wood joints:
- Sand surfaces well to remove finish/coatings.
- Apply thin “sealing” layer of glue, let fully cool.
- Glue fully along joint, let dry undisturbed.
- Long joints benefit from tape/staple/screw reinforcement.
- Fill gaps with mixed sawdust/glue filler before bonding.
The porous wood allows the glue to penetrate deeply for very effective adhesion. Hot glue wood joints can be as strong as wood itself.