Matching wood stain to an existing piece can be tricky, but with some preparation and testing, it can be done. The key steps are:
- Determine the existing stain color
- Choose a stain close to the existing color
- Test the stain on a wood sample
- Adjust the stain color if needed
- Apply the final stain
Getting an accurate color match requires patience and some trial and error. With multiple rounds of testing and adjusting, you’ll be able to match new wood to blend seamlessly with the original.
Page Contents
Determine the Existing Stain Color
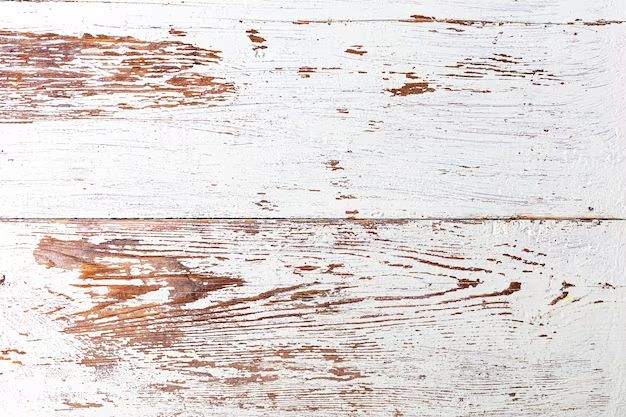
Start by examining the existing stained wood and identifying its color tones. Here are some tips for determining the color:
- Look at the stained wood in natural daylight for the most accurate color
- Compare to wood stain color charts to identify the closest match
- Identify if the wood has yellow, red, or blue undertones
- Note if the stain has aged and grayed over time
- Consider if the wood has a translucent wipe or solid stain
You may need to sand a small section of the existing wood to see its fresh stain color if age has faded or yellowed the original stain. Getting the closest match now will make the testing process easier.
Choose a Stain Similar to the Existing Color
With the existing color in mind, browse wood stains looking for a close match. Here are some buying tips:
- Select the same stain brand as the original, if possible
- Match the stain color numbering system between products
- Choose the same stain type (gel, liquid, wipe-on, etc.)
- Buy a range of shades around the target color
- Pick different finishes like matte, satin, or gloss
You’ll likely need to purchase multiple stain options since color representations online and on labels can be deceiving. Having 2-3 shades darker and 2-3 shades lighter will give you enough options for testing.
Test the Stain on a Wood Sample
With stain colors purchased, it’s time to start testing. Testing on a wood sample is crucial before staining the final project wood. Follow these steps for stain testing:
- Sand and prep a sample wood piece to match the existing wood surface
- Wipe on the stain colors from lightest to darkest
- Allow stains to fully dry per the manufacturer instructions
- Hold the samples next to the existing wood to compare
- Make adjustments as needed (see next section)
Using scrap wood cut from your final wood piece will give you the most accurate representation for testing. Apply stains in sections to allow for color adjustments.
Adjust the Stain Color If Needed
Your first staining attempts may not achieve an exact color match. Here are some techniques to adjust the stain color:
- Lighten with wood conditioner – dilutes the color
- Darken with a darker stain – apply lightly over first coat
- Add gray with weathered gray or driftwood stain – gives aged look
- Warm up the tone with golden oak or cherry tones
- Cool down the tone with walnut or ebony tones
- Thin with paint thinner or mineral spirits – lightens without stripping
Test adjustments on the wood sample before applying to the final project. Allowing the stain to fully dry shows you the actual color. Repeat this process until you achieve the perfect color match.
Apply the Final Matching Wood Stain
Once the stain color matches the original, you’re ready to apply it to the final wood project. Follow these best practices for success:
- Lightly sand the new wood with the grain to prep the surface
- Wipe or brush on the stain using consistent techniques
- Maintain the same number of coats as the existing stain
- Allow the stain to fully dry between coats
- Apply a finish coat for protection and sheen
Work in sections, following the wood grain pattern. Use a rag, foam brush, or staining pad to gently apply the stain. Let the stain sit for 5-15 minutes before wiping off excess. Allow the stain to fully dry for at least 8-12 hours between coats.
Tips for Matching Tricky Situations
Matching stained wood gets more complicated when the existing piece has unique grain patterns or damage. Here are some solutions:
- Wood grain variation – Use wood conditioner to even out blotchiness
- Stain wear patterns – Recreate wear and sanding patterns before staining new wood
- Sun fading – Lightly bleach wood to fade color
- Water rings – Use non-grain raising methods like iron or ammonia
- Scratches and dents – Add colored putty before staining if matching precisely
Taking time to mimic the exact finish and imperfections will help the new wood blend better with the old. Test your techniques first before applying to the final piece.
Conclusion
Matching wood stain requires careful color analysis, testing, adjustments, and application. With patience and the right techniques, you can achieve a seamless color match between woods. Determining the original stain color, choosing a close match to test, and tweaking the color will get you to the perfect result. Follow best practices when applying the final stain for a beautiful uniform finish.