Exterior wood trim takes a beating from the elements and needs to be repainted periodically to maintain its appearance and protect the wood. Proper preparation is key to achieving a long-lasting, quality paint job that enhances your home’s curb appeal. Here are the steps for prepping exterior wood trim prior to repainting:
Page Contents
Assess the Current Condition
Before doing anything, carefully examine all your exterior wood trim. Look for these common issues:
- Flaking or peeling paint – Indicates layers of old paint that have failed
- Blistering paint – Bubbles formed when moisture is trapped between paint layers
- Cracks or splits in the wood – Check for rot or insect damage
- Mold, mildew, or algae growth – Caused by moisture retention
- Exposed wood grain – Signs of paint wear allowing moisture inside
Take note of any repairs needed and the overall scope of the prep work. This will help determine the required tools, materials, and time investment.
Clean the Surface
Start by washing the wood trim with an exterior wood cleaner or mild detergent and water. Use a soft brush to gently scrub away dirt, mold, mildew, chalky paint residue, and other contaminants. Rinse thoroughly.
Pay close attention to crevices, joints, and areas prone to mildew growth. Let the trim dry completely before moving to the next step.
Remove Loose Paint
Use a paint scraper, putty knife, or wire brush to remove any loose, cracked, or peeling sections of old paint. Work methodically and take care not to gouge or scratch the wood surface.
Scraping off the top, weakened layer of paint allows for better adhesion of the new paint. Dispose of paint debris properly.
Sand the Surface
Lightly sand all areas of the wood trim using 120-150 grit sandpaper. This roughens the surface to help the new paint adhere properly.
Be careful not to cut into the wood grain. Wipe away sanding dust with a dry cloth.
Fill Holes and Cracks
Inspect for any holes, cracks, or other imperfections. Fill small holes with exterior-grade wood filler. Seal cracks and splits with caulk designed for exterior use.
Allow proper dry time according to the product instructions. Sand smooth when dry.
Prime Bare Wood
Use a high quality exterior primer specifically made for wood to coat any exposed bare wood. Primer seals the wood grain and provides an optimal base coat for the new paint.
Apply primer in thin, even coats per the manufacturer directions. Let dry completely before painting.
Repair Rotted Areas
Badly rotted wood may need patching or full replacement. Remove loose splintered wood with a utility knife. Sand rough edges smooth.
Use an exterior wood filler epoxy for minor damaged spots. Replace extensively damaged trim boards with new wood cut to size.
Caulk Gaps and Joints
Carefully caulk any gaps, joints, or seams with exterior-grade paintable caulk. This blocks moisture and prevents drafts that could lift the new paint.
Tool the caulk with your finger to smooth it out and remove any excess. Wipe area clean with a damp cloth.
Add Primer Coat
Applying a full coat of primer over the entire surface will maximize paint adhesion and provide extra protection. Use an extended paint roller and brush to reach all areas of the trim.
Allow the primer coat to fully dry per the manufacturer’s recommendations before adding topcoat paint.
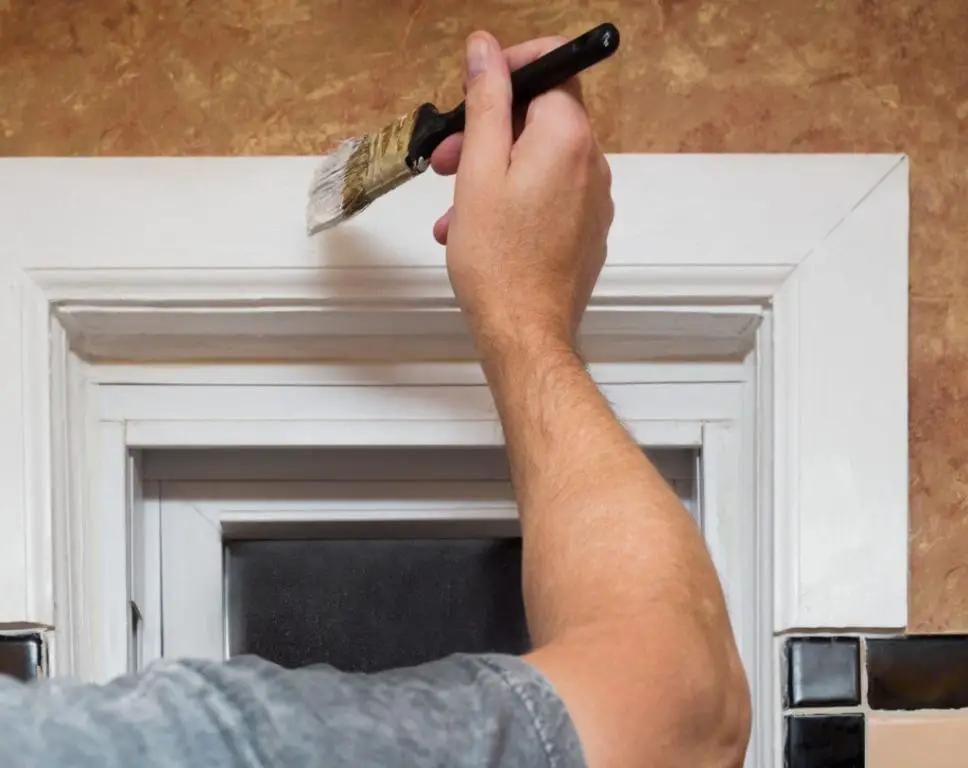
Apply Topcoat Paint
The final step is applying two coats of high-quality exterior grade latex paint formulated for wood trim. Allow proper dry time between coats.
Use a brush for the edges and corners. Roll larger areas. Work methodically and maintain a wet edge to prevent lap marks.
Clean Up and Protect the Fresh Paint
Once fully dry, your freshly painted trim is ready to enjoy. Remove any painter’s tape right away. Properly clean brushes and other painting tools.
Protect the finish by waiting 2-3 weeks before washing or exposure to harsh weather. Avoid placing plants, yard decor, or other items against the trim.
Conclusion
With the proper prep work and techniques, you can achieve professional-quality results repainting your exterior wood trim. Patience and diligence are key. Always use high-quality exterior-grade primers, paints, stains, caulks, and fillers.
Renewing the protective paint coat before excessive wear and tear occurs will save you time and work in the long run. Your freshly painted trim will look great for years while protecting your home from the outdoor elements.