Page Contents
Quick Answers
Putting on an end cap to a countertop involves a few key steps:
- Measure the end of the countertop and cut the end cap to size
- Apply adhesive to the back of the end cap
- Position the end cap on the end of the countertop
- Clamp the end cap in place while the adhesive dries
- Seal around the edges with caulk
The most important things are getting an accurate measurement, using enough adhesive, and applying steady pressure while clamping to get a secure bond. Taking the time to do this properly will give you a seamless look on your countertop.
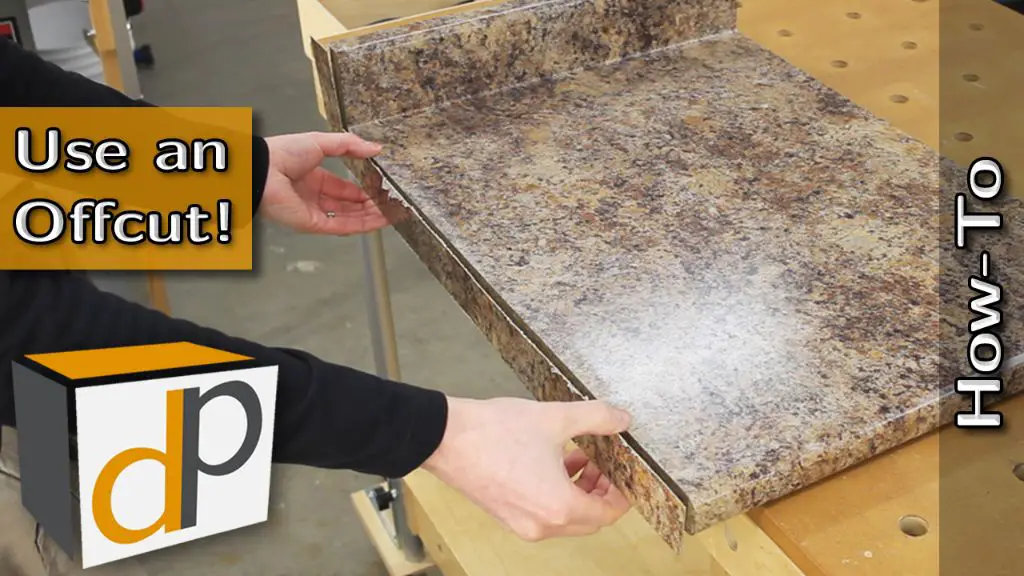
Adding an end cap is a great way to give your countertop a finished, professional look. End caps, also called endsplashes, cover the exposed ends of countertops around sinks, ranges, and other openings. Not only does an end cap improve aesthetics, but it also provides extra protection from moisture and damage.
While end caps may seem like a small detail, they make a big difference in the overall appearance of your kitchen or bathroom. Selecting the right end cap material and installing it properly ensures your countertop ends look neat and tidy for years to come.
This guide will walk through the complete process of measuring, cutting, adhering, and sealing an end cap. With the right supplies and techniques, you can complete this project yourself and avoid the cost of hiring a pro. We’ll also cover clever solutions for dealing with tricky angled corners.
Follow these steps and you’ll have beautiful, seamless end caps on your countertops.
Measuring and Sizing the End Cap
The first step is getting accurate measurements so your end cap fits perfectly. Here’s how:
- Measure the length of the overhang past the edge of the cabinet. This is usually 1 1⁄4” but measure yours to be sure. Write this number down.
- Measure the depth of your countertop from front to back. Write this number down.
- For the height, measure from the countertop surface up to where you want the end cap to end. Most go up 1 1⁄2” higher than the surface.
Be sure to measure the countertop overhang length in several spots and use the smallest measurement. Countertops often bow slightly so you want the end cap tight to the shortest distance.
Once you have the three dimensions, add them together. This will give you the size to cut your end cap. Most end caps are 4 1⁄2” wide so you just need the height.
Always double check your measurements before cutting to avoid wasting material. It helps to hold up the end cap to visualize the fit too.
Dealing with Angled Corners
For countertops with angled or mitered corners, you need to make angled end cap pieces. Here are two options:
Option 1:
- Measure the two sides needing end caps. Cut two rectangular end caps to size.
- With the rectangles in place as guides, use a straightedge to mark angled lines where they meet in the corner.
- Remove the rectangles and cut along the angled lines.
- The two angled pieces should now fit together in the corner.
Option 2:
- Measure the length of the overhang along the longest side needing an end cap.
- Plunge cut this measurement into the end cap material using a jigsaw. Make the plunge cut at the same angle as the countertop corner.
- Trim the edges with a hand plane for an exact fit into the corner.
Both methods work well. Option 1 is often easier and less scary for DIYers. Option 2 creates one seamless piece but requires skilled use of a jigsaw.
Applying Adhesive to the End Cap
With your end cap cut to size, the next step is applying adhesive. Be sure to use an adhesive made specifically for bonding solid surfaces. Here are some good options:
- 100% clear silicone
- Two-part epoxy
- Specialized solid surface adhesive like Seal King’s Polybond
Avoid multi-purpose adhesives like Liquid Nails or Gorilla Glue, which don’t bond well long-term.
Use a caulk gun to apply a 1⁄4” bead of adhesive along the top, bottom, and sides on the back of the end cap. You want full coverage without gaps. Spread the adhesive evenly using a putty knife or finger.
Be sure to wear gloves and work in a ventilated space. Most solid surface adhesives contain strong solvents.
Tips for Applying the Adhesive
- Make sure surfaces are clean before applying adhesive.
- Apply adhesive to end cap only – not the countertop.
- Apply a thick, continuous bead – don’t skimp.
- Spread into an even layer for full coverage.
- Work in a well-ventilated area.
Avoiding gaps in the adhesive is crucial for getting a strong, lasting bond. Taking the time to properly apply the adhesive will pay off down the road.
Positioning and Clamping the End Cap
Once your end cap is prepped with adhesive, it’s time to position and clamp it:
- Place the end cap centered on the end of the countertop overhang.
- Apply firm pressure by hand for 30-60 seconds to flatten and adhere.
- Slide clamps like spring clamps, quick clamps, or C-clamps over the edges.
- Tighten clamps gradually to apply even pressure.
- Use enough clamps to apply pressure along the entire end cap.
- Check for any gaps and reposition if needed before adhesive sets.
- Allow adhesive to cure for at least 24 hours before removing clamps.
Proper positioning is critical for getting a straight, seamless look. Take your time pressing and aligning before clamping. You only get one chance!
Having enough clamps to apply continuous pressure is also key. Any gaps or uneven pressure can result in cracks or weak spots in the bond.
Letting the adhesive cure fully makes a huge difference in strength. Be patient and leave the clamps on for at least 24 hours before removing.
Tips for Clamping Success
- Align the end cap evenly before clamping.
- Tighten clamps gradually to avoid cracking.
- Aim for at least 20-30 lbs of even pressure.
- Have at least one clamp every 6-8 inches.
- Check for gaps and realign quickly if needed.
- Allow adhesive to cure fully before removing clamps.
Proper positioning and thorough clamping prevents leaks, cracks, and a weak bond down the road.
Sealing the Edges
For waterproofing and an invisible seam, the last step is sealing around the edges with silicone caulk.
Choose a clear silicone caulk that matches your countertop material. Moisture-cure silicone works best. Avoid latex or acrylic caulks, which don’t adhere well.
Here are a few recommended silicone caulk options:
| Brand | Product |
|---|---|
| DAP | Alex Plus Clear Kitchen and Bath Silicone |
| Loctite | Clear Silicone Sealant |
| Red Devil | 100% Silicone Sealant Clear |
To apply the caulk:
- Load caulk into a caulk gun and cut the tip at a 45 degree angle.
- Apply a continuous 1⁄4” bead along the seam where the end cap meets countertop.
- Use a damp fingertip to smooth and shape the caulk into a neat fillet.
- Allow the caulk to cure for 24-48 hours before use.
The caulk fills any tiny gaps and gives a polished, seamless look. Taking the time to smooth it into a nice shape makes a difference.
Caulking Tips
- Choose a silicone caulk matching your countertop.
- Cut caulk tip at 45 degree angle for best flow control.
- Apply a continuous bead without gaps or air bubbles.
- Shape caulk gently for a smooth, neat fillet.
- Allow full 24-48 hours to cure before use.
Quality caulk work prevents leaks and completes your end cap installation.
Conclusion
Installing end caps is an easy way to add a built-in, seamless look to exposed countertop edges. By following the steps of measuring, cutting, adhering, clamping, and sealing, you can achieve professional-looking results.
The most important things to remember are:
- Take detailed measurements for a custom fit
- Use an adhesive formulated for solid surfaces
- Apply adhesive thoroughly with no gaps
- Clamp tightly for an even, gap-free bond
- Seal edges smoothly with quality silicone caulk
While it takes some patience and attention to detail, installing end caps is very doable for DIYers. The difference it makes in the finished look of your kitchen or bath is amazing.
So don’t be afraid to tackle this project yourself. With the right materials and these step-by-step instructions, you can save money and learn new skills. Get creative with mitered end caps for angled corners. And most importantly, take your time for the cleanest results.