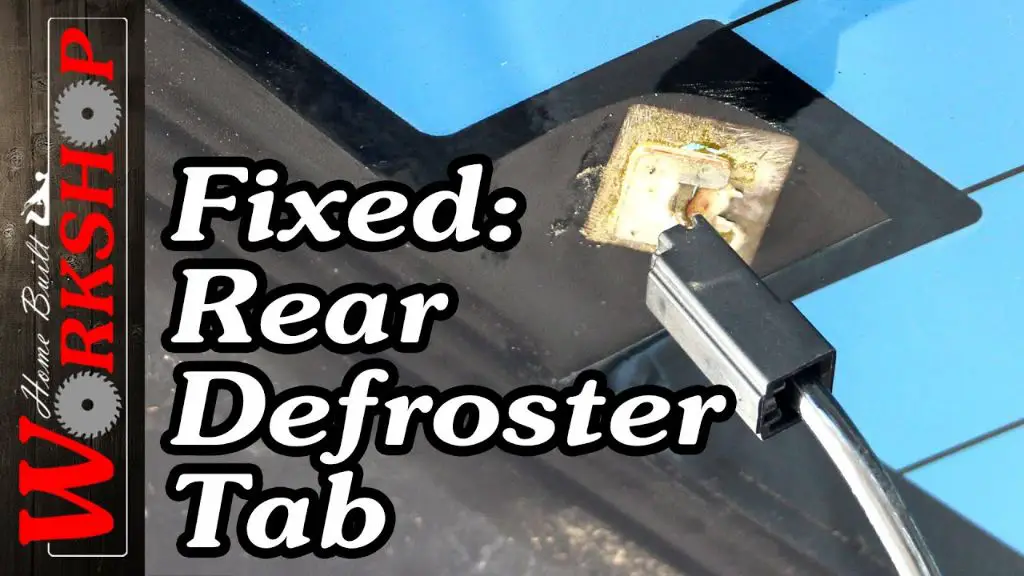
Reattaching a rear window defroster tab that has become detached is a common repair that can easily be done at home with a few tools and supplies. The defroster tabs are the silver or black horizontal lines running across the rear windshield that heat up to clear frost and fog. Over time, the adhesive holding the tabs can weaken and cause them to peel up or detach from the glass. Reattaching any loose tabs is important for ensuring the defroster works properly and avoiding further damage. Here is a step-by-step guide to reattaching a rear window defroster tab.
Page Contents
Materials Needed
You’ll need the following materials:
- Rear window defroster repair kit
- Isopropyl alcohol
- Clean rags or paper towels
- Masking tape
- Squeegee or plastic card
A rear window defroster repair kit will contain replacement adhesive tabs to reattach the defroster. You can find these kits at most auto parts stores or online. The isopropyl alcohol is used to clean the area first. Masking tape helps hold the tabs in place as the adhesive sets. And the squeegee or plastic card helps smooth the tabs down.
Preparing the Window
Start by cleaning the rear windshield where the detached tab is located. Isopropyl alcohol works best for removing any dirt, oil or debris. Wipe the area thoroughly with the alcohol using a clean rag or paper towel.
If the original adhesive is still on the windshield, use a plastic razor blade or scraper to remove any remaining adhesive residue. You want the glass surface to be completely clean and smooth for the new adhesive tabs to stick properly.
Once cleaned, dry the area completely with a clean cloth. Make sure no alcohol or moisture remains on the glass.
Applying the New Defroster Tab
The new defroster repair tabs will have adhesive on one side. Peel off the backing to expose the sticky surface. Carefully press the new tab down over the area where the original detached. Try to match the ends up with the existing defroster lines for the best continuity.
Use your fingers to press the tab firmly into place, starting from the center outward. Make sure it lays as flat as possible against the glass.
Next, tape over the top of the new tab with masking tape. This helps secure the tab tightly to the windshield as the adhesive cures. Rub the tape down with your fingers to adhere it firmly.
Smoothing the Defroster Tab
Once taped into place, use a plastic squeegee or an old credit card to smooth out the tab. Run it across the length of the tab, pressing it down with firm, even pressure. This helps ensure the adhesive makes consistent contact with the glass surface.
Make several passes back and forth over the full length of the tab to remove any air bubbles or gaps between the adhesive and windshield.
Allow Time to Cure
After smoothing the defroster tab in place, allow adequate time for the adhesive to fully cure. This usually takes between 12-24 hours. Refer to the repair kit instructions for exact cure times recommended by the manufacturer.
Keep the window out of direct sunlight while curing. Sunlight can heat the glass and prevent the adhesive from setting properly. The car can be driven during this time, but avoid going through any automatic car washes.
Once fully cured, carefully peel off the masking tape. Inspect that the edges have adhered smoothly and evenly. The tab should now be securely reattached and ready for normal defroster use.
Tips for Defroster Tab Repair
Follow these tips for getting the best results from rear window defroster tab repair:
- Clean the glass thoroughly – Any dirt or oily residues will prevent the adhesive from bonding.
- Work in dry conditions – Moisture will interfere with the adhesive curing.
- Press tabs down firmly – Eliminate any air gaps between the adhesive backing and glass.
- Smooth evenly with plastic squeegee – Removes air pockets and ensures consistent contact.
- Allow full cure time – Most adhesives take 12-24 hours to reach full strength.
- Reattach loose tabs promptly – Prevents further detachment or damage.
- Align tab ends with existing lines – Maintains continuity of the defroster grid lines.
What Causes the Defroster Tabs to Detach?
There are a few common reasons the rear window defroster tabs can detach from the glass over time:
- Age and UV exposure – The adhesive slowly weakens and deteriorates after years of heat cycling and UV exposure.
- Temperature extremes – Very high temperatures can soften the adhesive while cold temperatures make it brittle and less flexible.
- Car washes – Harsh chemicals and scrub brushes during automatic car washes can wear down the adhesive.
- Scraping ice – Forcefully scraping frost or ice off the window can pull up the tabs.
On older vehicles, it’s common to find some tabs becoming loose or detached just due to the adhesive wearing out over time. Reattaching them promptly helps prevent further damage.
When to Call a Professional
In most cases, rear window defroster tab repair is straightforward and can be easily accomplished at home. However, in some situations it may be better to have a professional auto glass technician handle the repair:
- If there are multiple tabs detached in close proximity, a pro can replace the entire section for better consistency.
- For rear windows with built-in antennas, avoid amateur repair to prevent antenna damage.
- If the detachment caused damage to the defroster grid wires, professional repair may be needed.
- For vehicles still under warranty, use dealership service to avoid voiding warranty coverage.
Even if most of the tabs are still adhered properly, it’s a good idea to have a technician inspect the defroster grid if any portions feel loose or become detached. They can check for any underlying issues and make sure the repairs are done correctly.
Conclusion
Repairing a detached rear window defroster tab is a simple DIY project. With a defroster repair kit, cleaning supplies, and following the proper application techniques, you can easily reattach loose tabs in around an hour. Pay close attention to thoroughly cleaning the glass and firmly pressing the new adhesive tabs in place. Allowing adequate cure time ensures durable repairs. Handle any major detachment issues promptly before they can spread and cause further defroster damage. With careful attention to detail, you can restore your detached defroster tabs and maintain clear winter vision.