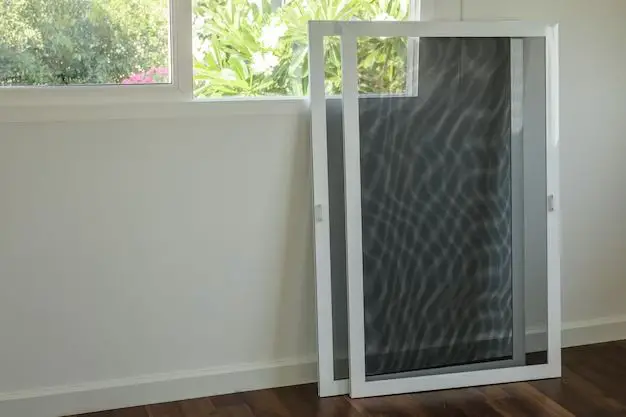
Removing and replacing a screen door screen is a straightforward task that most homeowners can tackle themselves. The process involves removing the existing screen, preparing the new screen, and installing the new screen in the door frame. With some basic tools and materials, and following key steps, you can remove and replace a screen door screen in less than an hour.
Page Contents
When Do Screen Doors Need Screen Replacement?
There are a few signs that indicate it’s time to replace the screen in your screen door:
- The screen has holes, tears, rips, or has come unattached from the frame
- The mesh is sagging, warped, or stretched out
- Pets or bugs can easily get through the damaged screen
- The screen framing is bent, broken or rusted
- The screen continually pops out of the track
- Sun damage has made the screen brittle and difficult to see through
Replacing the screen ensures bugs stay out of your home and also improves visibility and airflow through the screen door.
What You’ll Need
Before starting this project, make sure you have the necessary materials on hand:
- Replacement screen material (fiberglass or aluminum screen mesh)
- Screen spline (rubber tubing that fits into the screen frame)
- Screen roller tool or spline roller
- Utility knife
- Pliers
- Screwdriver
- Scissors
You’ll also need to take measurements of your existing screen door frame to buy a correctly sized screen. Carefully measure the height and width of the frame to determine the dimensions for your new screen material.
Removing the Old Screen
Start by removing the existing screen from the door frame. Follow these steps:
- Use a screwdriver to pop out the spline from the screen frame. The spline is the rubber tubing that secures the screen in place. Go around the entire frame, removing all the spline.
- With the spline removed, you can now pull the screen material out of the frame. You may need to use pliers to get a grip on the screen if it’s stuck in place.
- Remove any remaining bits of old screen material or spline from the frame using utility knife or scissors.
- Clean the screen frame with soap and water and let it dry completely.
With the old screen removed, inspect the door frame for any damage, rotting wood, rust or sharp edges that need repair before inserting new screen material.
Preparing the New Screen
Once you have your replacement screen material cut to the proper width and height, you’ll need to prep it for installation:
- Lay the new screen mesh on a flat surface.
- Trim off any uneven or sharp edges using utility knife or scissors.
- Reinforce the edges of the screen by folding over and creasing about 1/2 inch of the mesh.
- Apply a vinyl guard strip or additional spline material around all four sides of screen. This reinforces the edges to prevent fraying.
The screen should now have clean, straight edges and reinforced corners ready to install into the frame.
Installing the New Screen
You’re now ready to attach the new screen material into the door frame. Follow these instructions:
- Starting at one corner, place the screen into the screen door frame channel.
- Use a roller tool or the flat end of a screwdriver to gently push the screen material into the frame channel around the entire door.
- Cut a length of spline slightly longer than one side of the frame.
- Insert spline into frame channel over top of screen material using spline roller tool.
- Roll spline to secure screen in place, working your way around the entire frame.
- Use utility knife to trim off any excess spline hanging over frame.
- Install spline around entire frame, securing each side of the screen.
- Trim any additional excess spline.
Check the screen for drum-like tightness. If needed, tap around the frame with a screwdriver handle to further secure the screen. Carefully trim any remaining frayed edges. Your new screen is now installed!
Tips for Screen Door Screen Replacement
Follow these tips and tricks for smooth screen installation and to extend the life of your new screen:
- Buy quality screen material made of fiberglass or aluminum for durability.
- Check that the screen fits tightly in the frame channel before inserting spline.
- Use a screen roller tool to ensure the spline is pressed tightly into the frame.
- Reinforce screen corners with extra spline to prevent premature wear.
- Coat aluminum screen with vinyl guard to prevent corrosion.
- Avoid forcing screen into warped or damaged frames that need replacement.
- Keep pets away from screen doors to prevent damage.
- Use caution when opening screen doors to avoid tearing the screen.
Taking time to properly install the new screen and exercising care when using your screen door will help ensure you get long lasting performance from your screen replacement project.
How Much Does Screen Door Replacement Cost?
If you decide to hire a handyman or contractor to replace your screen door screen instead of doing it yourself, expect to pay anywhere from $75 to $200. Factors like the size of the door, quality of materials, and your location will impact the total project cost.
Many homeowners tackle DIY screen replacement to save on installation costs. Purchasing a fiberglass or aluminum replacement screen kit with spline costs $15 to $50 depending on size. With basic tools most people already have on hand, the project can be done very affordably.
Average Costs of Screen Door Replacement
| Screen Door Replacement Project | Average Cost |
|---|---|
| Hiring a handyman to replace screen | $75 – $200 |
| DIY replacement screen kit (fiberglass mesh, spline, instructions) | $15 – $50 |
| New screen door (pre-assembled with screen) | $100 – $350 |
As you can see, DIY screen replacement offers significant savings over hiring a professional. And purchasing a full new preassembled screen door is considerably more expensive.
Conclusion
Replacing a screen door screen is an easy fix most DIYers can accomplish in less than an hour. With basic tools, materials, and proper technique, you can have your screen door looking like new again. Just follow the key steps:
- Remove old screen and clean frame
- Prepare and cut replacement screen to size
- Install screen into frame channel
- Secure screen with spline using roller tool
- Trim excess spline
Adhering to sound installation practices, choosing durable screen material, and exercising care when using your screen door will all extend the life of your new screen. And you can save considerable money by replacing the screen yourself instead of hiring a handyman. With these tips, you’ll be ready to take on a screen door screen replacement project.