Over time, crank window handles can become loose or break altogether. Replacing a crank window handle is an easy DIY project that can usually be completed in under an hour. With some basic tools and a replacement handle kit, you can get your windows opening and closing smoothly again in no time. In this article, we will walk through the entire process step-by-step. We will cover how to remove the old handle, choose the right replacement kit, install the new handle, and make any needed adjustments.
Page Contents
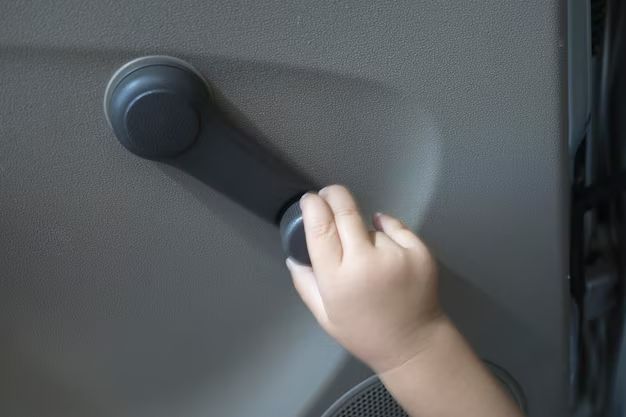
When to Replace a Crank Window Handle
Here are some signs that it may be time to replace your crank window handle:
- The handle is loose or wiggly
- You need to jiggle it to get the window open or closed
- The handle no longer turns smoothly
- The handle is stripped or broken
- The window is stuck shut
- You can see cracks or damage on the handle
If your window handle exhibits any of these issues, it likely needs to be replaced. Catching problems early allows you to avoid further damage to the window mechanism.
Tools and Materials Needed
Replacing a crank window handle is a relatively straightforward DIY project. With a few basic tools and a new handle kit, you can get the job done. Here is what you will need:
- Replacement handle kit (make sure it is compatible with your windows)
- Phillips head screwdriver
- Flat head screwdriver
- Pliers
- Hammer
- Putty knife
- Utility knife
- Penetrating oil (like WD-40)
- Cloth
- Safety glasses
Before getting started, inspect your window frame and handle to determine what size and style replacement kit you need. Take the old handle to the hardware store with you to make sure you get an exact match.
Preparing to Remove the Old Handle
Before removing the old crank window handle, you will need to do a little prep work:
- Open the window fully to access the handle and mechanisms.
- Spray penetrating oil on the areas where the handle attaches to the window. Allow it to sit for about 15 minutes.
- Use a putty knife to carefully pry off any caulk or paint that is sealing the handle in place.
- Remove the window screen if necessary.
The penetrating oil will help loosen up any rust or corrosion. Be very careful when prying under the handle with the putty knife. You do not want to damage the window sash. Go slowly and gently.
Removing the Old Crank Handle
Once you have prepped the area around the handle, you are ready to remove it:
- Locate the set screw underneath the handle. Use a Phillips or flat head screwdriver to loosen and remove it.
- There will likely be a second screw, clip, or fastener securing the handle. Remove this as well with a screwdriver or pliers.
- Twist the handle slightly to break it free from the gearbox.
- If needed, use a hammer to gently tap it loose.
- Pull the handle away and off the shaft.
Take care not to lose any small screws or fasteners. You may need to reuse parts of these to install the new handle. Inspect the gearbox mechanism once the handle is off. Make sure the gears turn freely and nothing looks damaged or worn.
Choosing the Replacement Crank Handle
Once the old handle is removed, it is time to choose your replacement. There are a few factors to consider:
- Handle style – Does your window take a push-up or push-down handle?
- Handle length – Measure the old handle to find the right size replacement.
- Number of turns – How many turns does it take to fully open/close the window?
- Handle offset – Is the handle offset from the gearbox or inline?
- Handle shape – What is the grip style and shape of the old handle?
You want your new handle to match the old one as closely as possible. Take detailed measurements and photos before visiting the hardware store. Also bring the old handle with you. The store associates can help you find an accurate match.
Installing the New Crank Handle
Once you have the replacement kit, you are ready to install it:
- Test fit the new handle to make sure it aligns properly with the gearbox shaft.
- Apply a small amount of grease to the shaft and handle connection.
- Slide the handle fully onto the gearbox shaft. Align it correctly.
- Replace any set screws, clamps, or fasteners to secure the handle in place.
- Make sure the handle is straight and turns smoothly without resistance.
- Reinstall the screen if you removed one.
- Seal any open holes with caulk to prevent air leaks.
The handle may be slightly stiff at first but should loosen up quickly. If it feels too tight, loosen the set screw and realign the handle before tightening it again. Add a small amount of grease or penetrating oil if needed.
Testing and Adjusting the New Handle
Once installed, test the handle fully:
- Turn the handle through its full range of motion in both directions.
- Make sure the window opens and closes properly at each turn.
- Watch the mechanisms closely as you turn the handle, looking for any issues.
- The motion should be smooth without any catching or grinding.
If the window does not operate correctly, you may need to make some adjustments:
- Loosen the handle and realign it if the direction is off.
- Adjust the window sash if it is binding.
- Lubricate sticking mechanism joints.
- Consult a window pro if significant repairs are needed.
Minor tweaks to the handle alignment or sash adjustment can often resolve any issues. Test again until the window works perfectly.
Tips for Smooth Operation
Here are some tips for keeping your new crank window handle operating smoothly:
- Lubricate the moving parts 1-2 times per year.
- Keep sash rollers and channels free of dirt and debris.
- Avoid forcing the handle past its natural stop points.
- Close windows gently – do not slam.
- Periodically check for loose set screws or fasteners.
- Address any minor issues quickly before they become major.
With proper care and maintenance, your new handle should provide years of trouble-free use. Be attentive to any signs of loosening or damage. Replacing handles proactively will save you more work down the road.
Conclusion
Replacing a worn or damaged crank window handle is usually a quick, straightforward process. With some basic DIY skills and the right replacement kit, you can have your window operating smoothly again in under an hour. Pay close attention to handle style and size when selecting a replacement. Carefully follow each installation step, testing the handle operation fully once complete. A bit of periodic maintenance will keep everything working perfectly. Sticking windows or broken handles are annoying but easy fixes with the right know-how. Hopefully this article has given you the knowledge needed to complete this useful repair job.