Replacing a rotted board under the kitchen sink is a common repair that many homeowners face. Over time, leaks, moisture and damage can cause the wood boards under the sink to rot and deteriorate, requiring replacement. While this repair may seem daunting, it can typically be completed by a handy homeowner in just a few hours.
Page Contents
- 1 What causes the boards under the sink to rot?
- 2 Tools and materials needed
- 3 Shutting off water supply lines
- 4 Removing contents under sink
- 5 Inspecting for leaks
- 6 Removing old sink baseboard
- 7 Measuring for new baseboard
- 8 Installing new baseboard
- 9 Sealing baseboard edges
- 10 Applying protective finish
- 11 Tips for preventing future rot
- 12 Conclusion
What causes the boards under the sink to rot?
There are a few common causes of rotted boards under kitchen sinks:
- Slow leaks – Even small, slow leaks from the drain pipes, supply lines or sink itself can allow moisture to seep into and compromise the wood over time.
- Standing water – If water routinely builds up and pools under the sink, it will cause damage.
- Poor ventilation – Lack of air circulation under the sink prevents moisture from dissipating.
- Damage from past leaks – Even if leaks are fixed, residual moisture trapped in the boards can eventually cause rot.
Any of these moisture sources over an extended period can soak into the porous wood and cause it to rot and weaken. Catching leaks and moisture issues early is key to prevent major sinking damage.
Tools and materials needed
Replacing a rotted sink baseboard is a straightforward DIY project. Here are the common tools and materials you’ll need:
- Pry bar
- Hammer
- Screwdriver
- Wood chisel
- Utility knife
- Flashlight
- Safety glasses
- Dust mask
- New sink baseboard to match existing size (typically 1×4 or 1×6 lumber)
- Galvanized screws or deck screws
- Exterior wood glue
- Danish oil or protective sealer (optional)
It’s a good idea to have a bucket on hand to catch any water in the sink drain lines when disconnected. A cordless drill/driver will also help speed up the screw removal and replacement process.
Shutting off water supply lines
Before starting, locate the shutoff valves for the sink’s supply lines under the cabinet and turn them off. This prevents water from spilling out of the disconnected supply tubes. It’s also smart to place a bucket under the sink to catch any remaining water in the drain trap.
Removing contents under sink
Take everything out from under the kitchen sink, including the trash can, cleaning supplies and any storage containers. You’ll need full access to the sink base. Removing any chemical bottles or cleaners reduces the risk of spilling during the repair work.
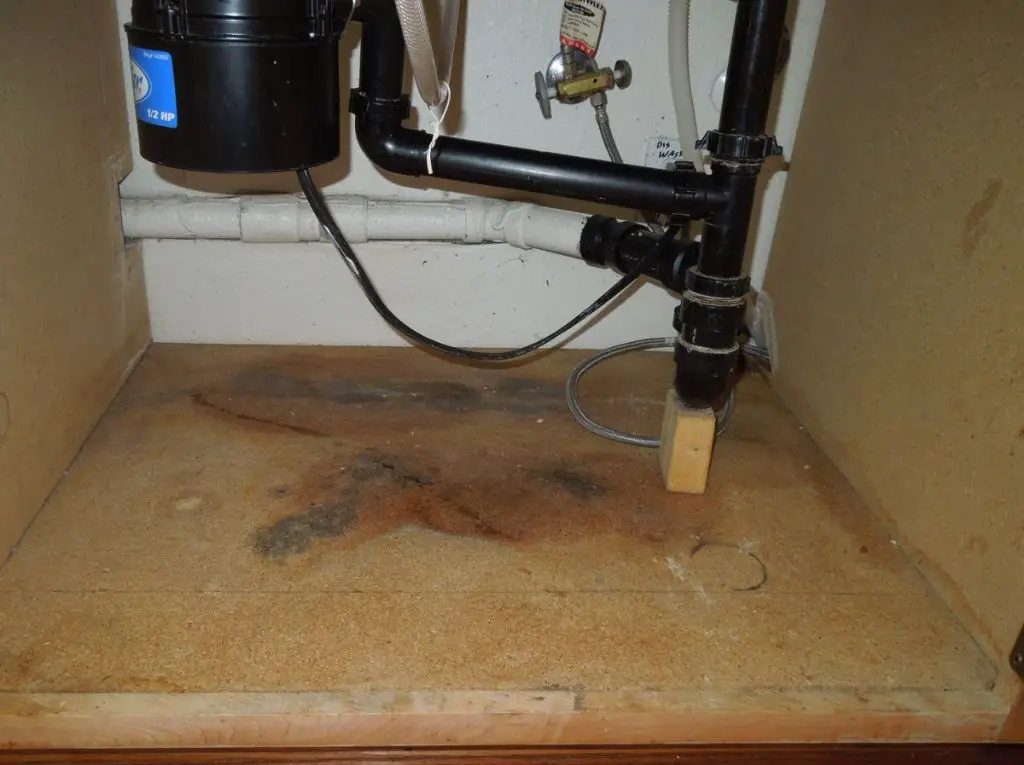
Inspecting for leaks
With everything removed from the cabinet, do a thorough inspection using a flashlight. Look for signs of water damage, mold or active leaks. Leaks around drain connections or supply tubes need to be addressed before the new board is installed, or the problem will persist. Apply sealant, tighten connections or replace any leaky plumbing components as needed.
Removing old sink baseboard
Use a pry bar and hammer to gently pry up the old rotted baseboard from the floor. In most cases, it should pop up fairly easily since the fasteners are compromised. Remove any remaining screws, brackets or adhesive with a multi-tool or utility knife. Scrape away old caulk or putty.
With the old sink base removed, inspect the flooring underneath for any signs of water damage or mold growth. Minor damage can be sanded down, but extensive water stains will require replacing sections of the flooring before installing the new board.
Measuring for new baseboard
Measure the sink cabinet opening to determine what size replacement board you need. Standard 1×4 or 1×6 lumber is commonly used. The board should fit flush on all sides. Measure twice and cut to size with a miter saw or circular saw for an accurate fit.
Installing new baseboard
Place the new baseboard into position in the cabinet. It should fit snugly against all sides. Drill pilot holes and use galvanized or exterior deck screws to secure the board to the floor. Apply a bead of exterior wood glue for extra adhesion and gap-filling. Wipe away any excess glue squeeze-out with a damp rag.
Replace the plumbing components and sink after the glue dries. Reconnect supply tubes and drain pipes using slip joints and gaskets. Make sure rubber gaskets are properly seated to prevent leaks.
Sealing baseboard edges
Once everything is reinstalled under the sink, apply waterproof silicone caulk around the edges of the new baseboard. Smooth the bead with a finger or caulk tool. This seals any small gaps and helps prevent moisture from wicking into the wood. Allow the caulk to cure overnight.
Applying protective finish
For extra protection, consider applying a layer of Danish oil or polyurethane sealant to the new baseboard. This waterproofs the wood and prevents future swelling, rot and damage. Allow finish to fully cure before replacing contents under the sink.
Tips for preventing future rot
Here are some tips to help prevent the new baseboard from rotting prematurely:
- Stay vigilant for leaks and immediately fix any water supply issues.
- Keep the area under sink dry and well ventilated.
- Seal any cracks in flooring or sides of the cabinet.
- Routinely check baseboard for moisture or water damage.
- Re-apply protective finish every few years.
Conclusion
Replacing a rotted sink baseboard is a doable DIY project for most homeowners with basic skills. Careful removal of the old board, proper preparation and installation of a new baseboard, and sealing the edges are key steps. Preventing moisture issues and maintaining the area under the sink will help avoid future rotting problems.