Replacing the oven door hinges on a Jenn Air oven is a fairly straightforward process that most homeowners can tackle themselves. The key steps involve removing the old hinges, installing the new hinges, and re-hanging the oven door. Proper preparation and having the right tools on hand will ensure the project goes smoothly.
Page Contents
When Do Oven Door Hinges Need Replacing?
There are a few signs that indicate it’s time to replace the oven door hinges:
– The door is sagging, failing to stay upright when opened. This is a sign that the hinges have become loose or worn out.
– The door makes noises like squeaking or creaking when opened or closed. Noisy hinges need lubrication or replacement.
– The oven door is difficult to open or close. Stiff hinges that lack smooth motion need to be replaced.
– The hinges show visible damage like cracks, dents or corrosion. Damaged hinges should be replaced to prevent further issues.
Tools and Materials Needed
Gather the following tools and materials before starting this project:
– Replacement oven door hinges for your model of Jenn Air oven
– Phillips screwdriver
– Flathead screwdriver
– Pliers
– Gloves for heat protection
– Rags
– Bucket for storing door screws
– Pencil and paper for noting screw locations
Make sure you purchase hinges designed specifically for your oven. Jenn Air oven models typically use two hinges on the bottom corners of the door. Refer to your owner’s manual for the right part numbers.
Steps to Replace Jenn Air Oven Door Hinges
Follow these key steps to successfully replace your Jenn Air oven door hinges:
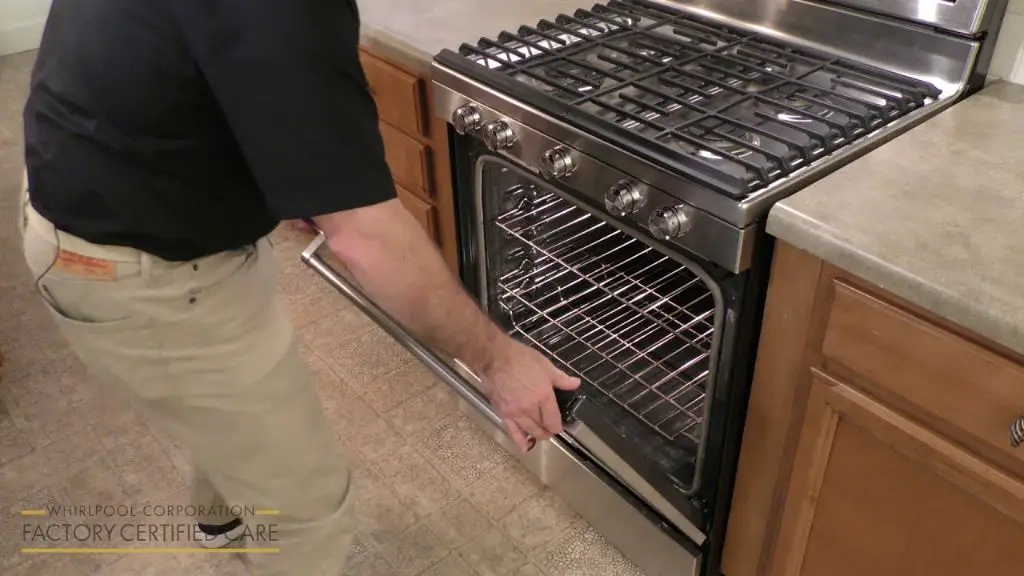
1. Turn Off Power and RemoveDoor
– Switch the oven off at the circuit breaker. This ensures no accidental turning on of the oven during the project.
– Open the oven door fully. Slide a flathead screwdriver under the hinge caps on both sides to pry them off. This exposes the hinge screws.
– Using a Phillips head screwdriver, remove the screws holding each hinge bracket to the oven frame. Be sure to save these screws.
– Carefully lift the oven door and place it on a soft surface. You may need a second person to assist with the weight.
2. Remove Old Hinges
– With the door removed, unscrew the hinges from the door itself using a screwdriver.
– Completely detach the old hinges and discard or recycle them appropriately.
– Thoroughly clean the screw holes on the oven door edges with a rag. Remove any dirt or grease so the new hinges attach properly.
3. Install New Hinges
– Position the new hinge correctly on the oven door. It will be marked either L (Left) or R (Right).
– Insert the screws that came with the new hinge kit and tighten them with a screwdriver. Don’t overtighten.
– Similarly, attach the other new hinge to the opposite door edge. Make sure both align properly.
4. Re-hang the Oven Door
– Lift the door back up and slide the hinge brackets over the screw holes on the oven frame.
– Re-insert the original screws you removed earlier and tighten. Don’t overtighten.
– Check that the door opens and closes smoothly without friction. Adjust if needed.
– Replace the hinge caps.
– Turn circuit breaker back on and test oven operation.
Helpful Tips
– Have someone assist with lifting and holding the oven door in place while re-hanging for an easier installation.
– Take photos of the original screw positions before disassembly. This helps proper re-assembly.
– Clean hinges periodically using warm water and mild detergent. Avoid harsh cleaners or scrubbing that can damage the finish.
– If hinges still squeak after replacing, apply a small amount of household oil or WD40 to the joints.
– When re-hanging door, ensure the slots and tabs on the new hinges fit correctly over the frame mounts.
Conclusion
Replacing worn out oven door hinges is an economical way to extend the life of your Jenn Air oven. Follow the steps carefully, use the correct tools and materials, and refer to your oven’s user guide for model-specific instructions. With some patience and proper care, you can avoid the cost and wait of professional repair. Performing your own basic oven maintenance can be simple and rewarding.
| Tool | Purpose |
|---|---|
| Phillips screwdriver | Removing screws from hinges |
| Flathead screwdriver | Prying off hinge caps |
| Pliers | Loosening stuck screws |
| Gloves | Protection from hot oven surfaces |
| Rags | Cleaning dirt from screw holes |
| Bucket | Storing door screws |
| Pencil and paper | Noting screw positions |
| Step | Instructions |
|---|---|
| 1 | Turn off power and remove door |
| 2 | Remove old hinges |
| 3 | Install new hinges |
| 4 | Re-hang oven door |
Here are some additional tips for replacing Jenn Air oven door hinges:
– Check the oven manual for specific disassembly steps for your model
– Work slowly and carefully when removing door screws
– Support door with hand towels or cardboard when placing it down
– Take detailed photos if unsure of how to reassemble
– Make sure new hinges align perfectly before screwing in
– Ensure door opens, closes and seals properly after installing
– Contact Jenn Air customer service if you have any issues
Replacing oven hinges requires working around hot oven components so remember to exercise caution. With patience and care, you can swap out those worn out hinges and get your Jenn Air oven opening and closing like new again.