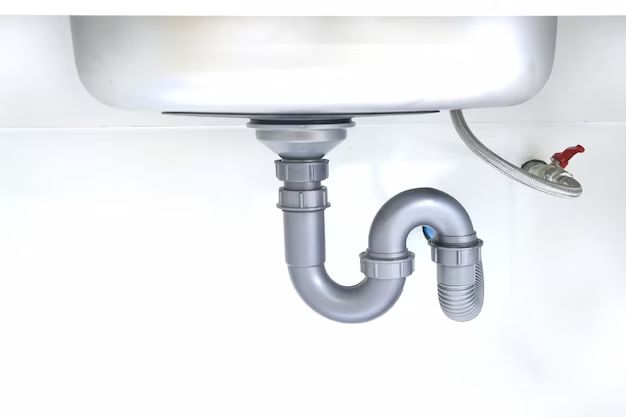
Over time, the seal around your shower drain can become loose or damaged, allowing water to leak through and cause potential water damage. Resealing your shower drain is an easy DIY project that can prevent leaks and save you money on plumbing repairs. In this comprehensive guide, we will walk through the entire process of resealing a shower drain step-by-step.
Page Contents
What You’ll Need
Resealing a shower drain requires just a few simple materials:
- Silicone caulk – Choose a mildew-resistant, waterproof silicone caulk made for wet areas.
- Caulk gun – To dispense the caulk evenly.
- Paper towels or rags.
- Denatured alcohol.
- Utility knife.
- Safety gloves and eye protection.
Step 1: Prepare the Area
Proper preparation is key to achieving a watertight seal around the drain. Follow these steps to get the area ready:
- Clean the area thoroughly – Remove any old caulk, mildew, or debris from the drain and surrounding area using a utility knife, scrub brush, and denatured alcohol.
- Dry the surface – Use paper towels or rags to remove all moisture. The area must be completely dry for the new sealant to adhere properly.
- Plug the drain – To prevent caulk or debris from falling down the drain, stuff paper towels or rags into the opening.
- Protect surfaces – Lay down drop cloths or towels to protect the surrounding surfaces from excess caulk.
Proper cleaning and drying are essential prep steps, so take your time to do them thoroughly.
Step 2: Apply the Caulk
With the area prepped, it’s time to lay down a smooth, consistent bead of caulk around the drain. Follow these tips for best results:
- Cut the nozzle – Cut the caulk tube tip at a 45-degree angle to help control the bead size.
- Insert the caulk gun – Insert the caulk tube into the caulk gun.
- Apply steady pressure – Squeeze the gun handle slowly and evenly as you guide the nozzle around the drain.
- Make a continuous bead – The caulk should completely encircle the drain without any gaps.
- Smooth the caulk – Once applied, run your finger around the bead to smooth it out.
- Remove excess – Wipe away any excess caulk with a paper towel or rag.
Take your time applying the caulk, and don’t rush this important step. A continuous, smooth bead is crucial for an effective seal.
Step 3: Let the Caulk Cure
With the fresh caulk applied, allow adequate time for it to fully cure and harden:
- Remove plugs – Carefully remove any plugs or towels from the drain.
- Let cure – Most silicone caulk takes 24-48 hours to fully cure. Avoid using the shower during this time.
- Look for gaps – After curing, inspect the caulk bead for any gaps or voids. Reapply caulk if needed.
- Check for leaks – Turn on the shower to test for leaks after the caulk has hardened.
Allowing the caulk to fully set up is crucial to creating a waterproof seal that will last. Be patient during the curing process.
Tips for a Successful Reseal
Follow these additional tips and recommendations to ensure your shower drain reseal is effective and long-lasting:
- Prevent mildew – Choose a mildew-resistant silicone caulk made for wet areas.
- Avoid latex caulk – Latex caulks don’t perform well in wet environments like showers.
- Apply when dry – Only apply caulk when surfaces are completely dry.
- Maintain proper thickness – The caulk bead should be between 1/8″ – 1/4″ thick.
- Reapply yearly – Plan to reseal the drain every 12-18 months to maintain a tight seal.
- Watch for cracks – If cracks appear in the caulk, that’s a sign it’s time to reseal.
Closely following these tips will result in a successful, long-lasting shower drain seal.
Common Questions
Resealing a shower drain is a straightforward project, but these common questions often come up:
What kind of caulk should I use?
Use a mildew-resistant, waterproof silicone caulk made for wet areas and frequent water exposure. Avoid latex-based caulks.
Does the drain need to be completely removed?
No, the drain grate can usually be left in place. Simply apply the caulk around the grate perimeter.
How long does caulk last in a shower?
Shower caulk should last 12-18 months before needing to be reapplied. Proper prep and application techniques can maximize longevity.
Can I use the shower right after caulking?
No, allow 24-48 hours for the caulk to fully cure before using the shower. This ensures a watertight seal.
How do I smooth the caulk after applying?
Use a damp finger, sponge, or smoothing tool to gently press and smooth the caulk into a consistent, uniform bead.
Conclusion
Resealing your shower drain is an easy, inexpensive way to prevent leaks and water damage. By following this step-by-step guide, using the right caulk, and allowing adequate cure time, you can achieve a successful, watertight seal that will last over a year. Be sure to inspect and reapply caulk periodically to maintain that leak-free barrier.