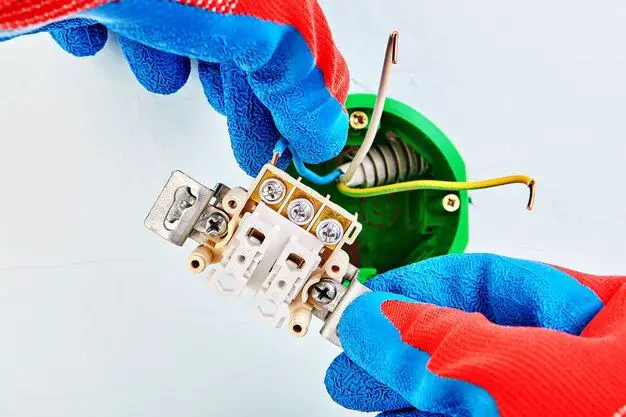
Securing an outlet box in drywall is an important part of any electrical project. A loose outlet box can lead to safety issues and affect the functionality of the outlet or switch. There are a few key steps to properly securing an outlet box in drywall:
Page Contents
Use an Appropriate Outlet Box
Choose an outlet box that is designed for drywall installation. Look for boxes labeled “new work” or “old work”. New work boxes are installed before the drywall. Old work boxes are installed by cutting a hole in the existing drywall. Make sure the box is large enough for the number of wires and connections needed.
New Work vs Old Work Outlet Boxes
| New Work | Old Work |
|---|---|
| Installed before drywall goes up | Installed by cutting hole in existing drywall |
| Attaches directly to stud | Uses adjustable brackets to secure to drywall |
| Easier to position accurately | Placement more challenging |
Position the Outlet Box Correctly
Outlet boxes should be installed at least 1 inch back from the face of the finished wall. This allows room for the drywall, then the outlet cover plate. Place the box between 14-18 inches above the floor, unless local codes specify otherwise. Make sure the box is attached securely to a stud rather than just pinched between drywall panels. Use additional braces if needed to firmly attach the box.
Secure Box to Stud
Attach the outlet box directly to a wall stud with screws or nails. The stud provides strength and stability. If spaces between studs make positioning difficult, use a cross brace to create a secure mounting point for the box. Braces and adjustable mounting brackets are available at hardware stores. Do not rely solely on drywall to support the outlet box.
Tips for Securing Outlet Box to Stud:
- Use appropriate length screws or nails to attach box to stud
- Pre-drill holes in stud to make driving screws easier
- Use washers to hold box flat against stud
- Drive at least 2 screws or nails through opposite corners
Seal Outlet Boxes
Fill gaps around the outlet box with acrylic latex caulk. This seals openings that could allow air leakage. Make sure to wipe away any excess caulk so it does not interfere with installing the outlet and cover plate. Spray foam can also be used to seal gaps and increase insulation.
Install Drywall
With the outlet box stabilized, the drywall panels can be installed. Cut openings where needed so the drywall rests directly against the outlet box. Having the drywall positioned flush with the box allows for correct installation of outlets and switch plates later. Avoid leaving gaps between the drywall edges and box.
Drywall Installation Tips:
- Cut drywall openings accurately for a tight fit
- Double check position before cutting opening
- Use drywall saw for clean cuts
- Go slowly to avoid cracking drywall face paper
- Shim any gaps around box with drywall scraps
Mud and Tape Drywall Seams
Finish the drywall with joint compound and tape. Feather out the mud so seams are smooth and even with the rest of the wall surface. Avoid getting compound in the outlet box. The pros mask boxes before mudding to keep them clean. Let joint compound dry completely before sanding seams. Be careful not to damage the outlet box while sanding.
Mudding and Taping Tips:
- Apply joint compound over tape with drywall knife
- Feather out compound in thin, smooth layers
- Allow plenty of drying time between coats
- Lightly sand between coats for best results
- Avoid over-sanding which can damage drywall face
Install Wall Plates
With mudding and taping complete, the wall is ready for installation of electrical devices and outlet covers. Insert switches, outlets, and lights into the boxes and secure with mounting screws. Attach the appropriate style of wall plate to cover gaps and hide mounting hardware. Finally, caulk around wall plates for a neat, finished look.
Wall Plate Installation Tips:
- Use spacers or shims if box is too far back from wall surface
- Carefully align wall plate and tighten screws straight
- Choose wall plates that fit decor – many styles and finishes available
- Caulk around wall plate with paintable acrylic latex caulk before painting
Conclusion
Securing an outlet box when installing drywall involves several important steps. Choose the correct type of box and position it accurately on wall studs. Seal boxes prior to drywall installation to avoid air leaks. Cut drywall openings carefully for a good fit. Tape and mud seams for a seamless wall finish. Finally, install devices, wall plates, and caulk gaps. Taking care to firmly secure boxes makes for a safer, more professional electrical and drywall project.

