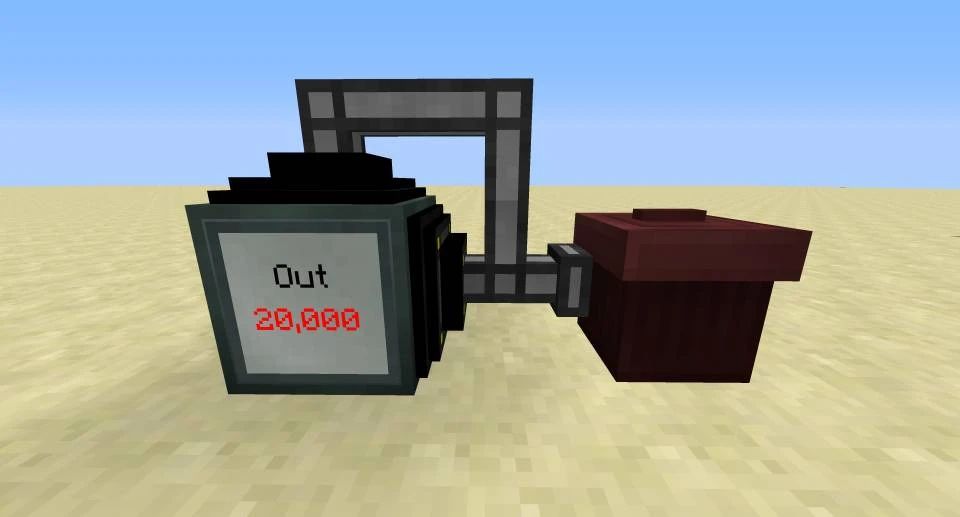
Transfer pipes are a useful item from the Extra Utilities mod that allow you to transport items, fluids and more between inventories, machines and storage blocks. They provide a convenient automated way to move resources around your base or modpack world.
Page Contents
What are transfer pipes?
Transfer pipes are blocks added by the Extra Utilities mod. They come in a few different varieties:
- Transfer pipes – Move items between inventories
- Fluid transfer pipes – Transport fluids between tanks and machines
- Item transfer pipes – Allow extraction specifically from inventories
- Energy transfer pipes – Transfer RF power between machines and storage
Transfer pipes connect to adjacent inventories, machines, tanks and more to automatically insert and extract items, fluids and energy as needed. They provide a simple way to automate resource transportation without the need for other mods like Buildcraft pipes.
How do transfer pipes work?
Transfer pipes connect to blocks with inventories in the 6 cardinal directions – north, south, east, west, up and down. When connected, they will automatically attempt to insert or extract items from the connected inventory.
Pipes attempt to evenly distribute items between connected inventories. For example, connecting a chest full of cobblestone to two furnaces with transfer pipes will make the cobblestone split evenly between both furnaces.
Transfer pipes have a built-in buffer to hold items as they are transported. The buffers can fill up if there are no valid destinations for extracted items, so make sure to avoid clogged pipes.
Transfer pipe extraction
Transfer pipes can extract items from inventories in a few different ways:
- Regular transfer pipes will only extract items if there is a valid destination to insert them into.
- Item transfer pipes will always extract items regardless, filling up their own buffer.
- Filter transfer pipes selectively extract items matching a configured filter.
Transfer pipe insertion
When inserting items into inventories, transfer pipes follow this priority:
- Attempt to fill items into destination machine slots first if possible.
- If machine slots are full, fill remaining space in the target inventory.
- If inventory is full, attempt to insert into next connected inventory.
- If no space left, items will be voided or fill the pipe buffer.
This allows automation to target machines first before filling up chests or other storage.
Crafting transfer pipes
All types of transfer pipes are crafted from Glass Pipes, which are made from glass panes. Here are the recipes for each pipe type:
Transfer Pipe
| Glass Pipe | Glass Pipe | Glass Pipe |
| Glass Pipe | Redstone | Glass Pipe |
| Glass Pipe | Glass Pipe | Glass Pipe |
Fluid Transfer Pipe
| Glass Pipe | Glass Pipe | Glass Pipe |
| Glass Pipe | Bucket | Glass Pipe |
| Glass Pipe | Glass Pipe | Glass Pipe |
Item Transfer Pipe
| Glass Pipe | Glass Pipe | Glass Pipe |
| Glass Pipe | Comb | Glass Pipe |
| Glass Pipe | Glass Pipe | Glass Pipe |
Energy Transfer Pipe
| Glass Pipe | Glass Pipe | Glass Pipe |
| Glass Pipe | Conductance Coil | Glass Pipe |
| Glass Pipe | Glass Pipe | Glass Pipe |
Transfer pipe configuration
There are a few different ways transfer pipes can be configured to change their behaviors:
Filters
Filter modules can be applied to most transfer pipes to control which items are extracted or accepted:
- No filter – No restrictions on items.
- Item filter – Only extract/insert specific items.
- Ore Dictionary filter – Match items by ore dictionary name.
- NBT filter – Match items by NBT data.
- Mod filter – Restrict to items from a specific mod.
Pipe priorities
Transfer pipes can be given a priority to control order of operations. Higher priority pipes will be processed first.
Pipe superspeed
Speed upgrades can be applied to transfer pipes to make them transfer items faster. This is useful for high throughput automation.
Using transfer pipes
Here are some examples of how transfer pipes can be used for automation and transportation:
Item sorting
Use filter pipes to automatically sort items into storage. For example, pull only cobblestone from a multi-item input to send to a furnace array.
Processing automation
Connect machines like furnaces or pulverizers with transfer pipes to auto-feed ingredients from chests and export processing results.
Fluid transportation
Transfer fluids like lava or water between tanks and machines using fluid transfer pipes.
Ender chest access
Use transfer pipes on ender chests to access their linked storage from remote locations.
Item transportation
Build transfer pipe networks between your base, farms and processing areas to transport items.
Power distribution
Share energy between machines and your power grid using energy transfer pipes.
Tips for using transfer pipes
Here are some useful tips to follow when setting up transfer pipes:
- Use item transfer pipes when extracting from inventories to void overflow.
- Balance pipe connections – Don’t insert from multiple pipes into one inventory.
- Avoid loops – use filters to prevent pipes loop-feeding each other.
- Give enough space for items to flow smoothly.
- Use speed upgrades when handling large quantities.
- Place high priority pipes closest to machines.
- Use ender markers to connect distant inventories.
Conclusion
Transfer pipes provide a simple but powerful item transportation solution for modded Minecraft. With good planning and configuration, they can enable efficient automation and logistics for various tasks.
Setting up smart filters, priorities and speeds are key to creating an effective pipe network. following general best practices helps avoid common pitfalls. With transfer pipes, moving items around your world is easy.
